|
TRADUÇÕES:
Obrigada aos nossos tradutores!
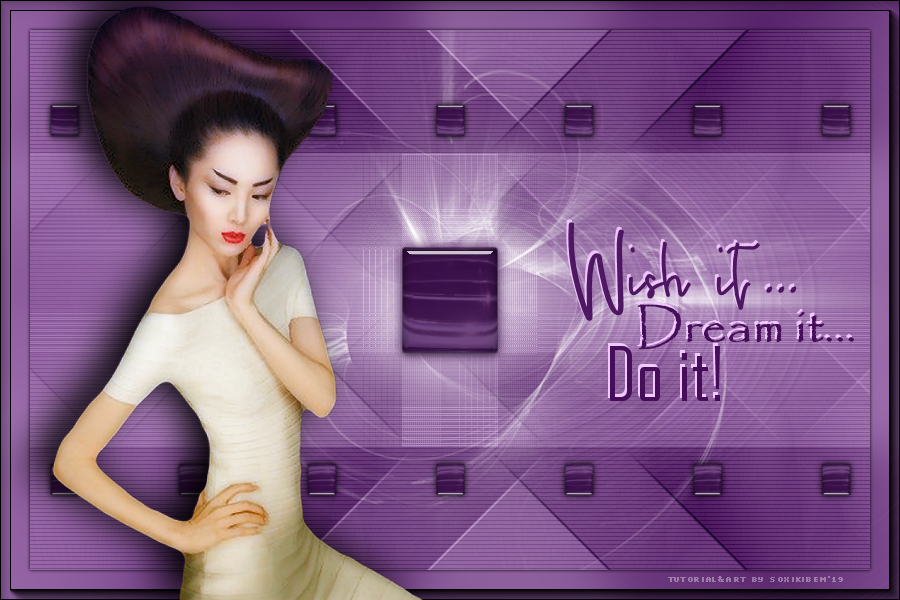
MATERIAL 1 Tube a sua escolha, grafico70_soxikibem.pspimage, Narah_Mask_0909 WA_WishItDreamItDoIt_bysoxikibem
Pluguins Alien Skin Eye Candy 5, Funhouse, Mehdi, Graphics Plus, Unlimited 2.0, Carolaine and Sensibility
Execução
1 - E u ainda não escolhi o tube para trabalhar,mas escolhi as cores que eu quero usar. Foreground: #450e59 Background: #f1c9fe
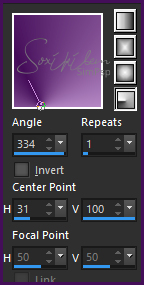
2 - Abra o grafico70_soxikibem.pspimage. Pintar com um gradiente Radial formado pelas cores escolhidas.
3 - Effects > Filters Unlimited 2.0 > Tile & Mirror > Distortion Mirror (horizontal): 138.
4 - Effects > Plugin Mehdi > Sorting Tiles.
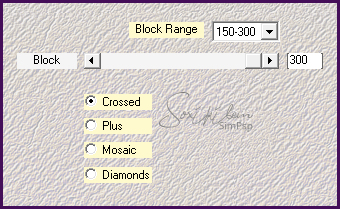
5 - Effects > Plugin Graphics Plus > Quick Tile II: 144, 0, 0, 0.
6 - Effects > Plugin Carolaine and Sensibility > cs_texture.
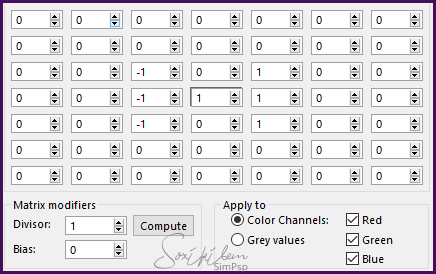
7 - Effects > User Defined Filter.
8 - Layers > New Raster Layer. Selections > Load/Save Selections > Load Selection From Alpha Channel: rec_01_xiki.
9 - Pintar a seleção com a cor do foreground. Selections > Select None.
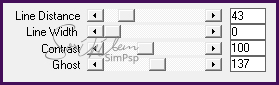
10 - Effects > Plugin Italian Editors Effect > Effetto Fantasma: 115, 40. Nomei esta layer EF.
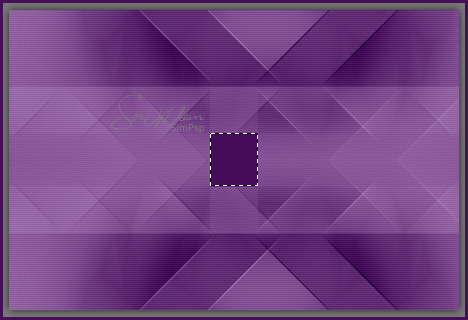
11 - Com a ferramenta Magic Wand selecione o quadrado do meio deste efeito.
12 - Promote Selection to layer. Selections > Select None.
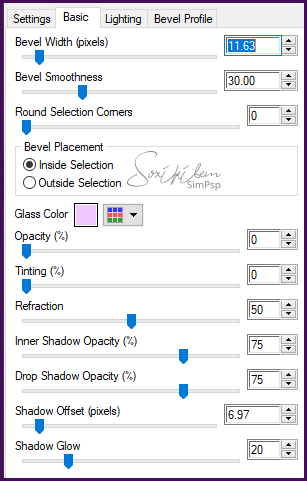
13 - Effects > Plugin Alien Skin Eye Candy 5 > Impact: Glass. Settings: Clear Bevel Profile: Factory Profile > Button
14 - Layers > Duplicate. Image > Resize em 30%. Resize all layers desmarcado.
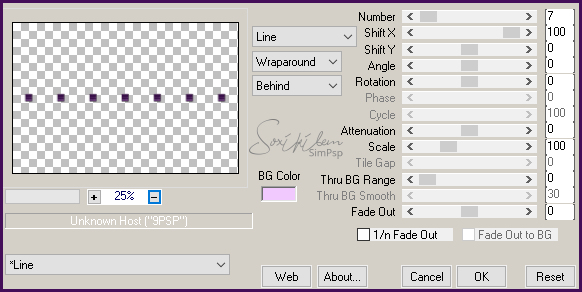
15 - Effects > Plugin Mura's Meister > Copies.
16 - Effects > Image Effects > Offset: Horizontal 0, Vertical 180, Custom, Transparent.
17 - Layers > Duplicate. Image > Mirror > Mirror Vertical. Layers > Merge > Merge Down. Effects > 3D Effects > Drop Shadow: 0, 0, 100, 10.
18 - Ative a layer EF. Effects > Plugin Funhouse > Loom: 40, 2, 0, 0, 0, 0, 0, 0.
19 - Ativar a layer EF. Layers New Raster Layer. Pintar com a cor branca. (#FFFFFF)
20 - Aplique a mask indo em Layers > New Mask Layer > From Image > Narah_Mask_0909. Layers > Merge > Merge Group.
21 - Adjust > Sharpeness > Sharpen.
22 - Ativar a layer Promoted Selection. Effects > 3D Effects > Drop Shadow: 0, 0, 100, 20, com a cor do foreground.
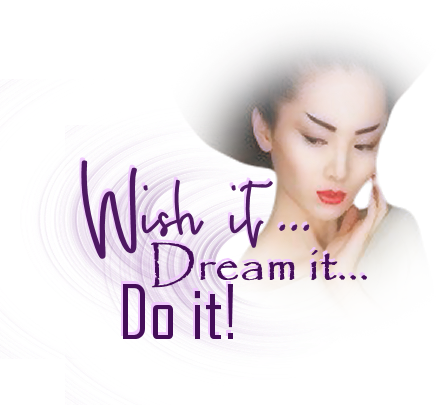
23 - Layers > Merge > Merge Visible. Selections > Select All. Selections > Modify > Contract: 30.
24 - Selections > Invert. Adjust > Blur > Gaussian Blur: 20.
25 - Effects > Plugin AAA Frames > Foto Frame. Mude o valor em Width para 10.
26 - Selections > Invert. Effects > 3D Effects > Drop Shadow: 0, 0, 100, 5, com a cor preta. Selections > Select None.
27 - Edit > Copy no tube. Edit > paste as new layer. Effects > 3D Effects > Drop Shadow a sua escolha.
28 - Aplique a word art: WA_WishItDreamItDoIt_bysoxikibem. Edit > Copy e Edit > paste as new layer ou exporte como Custom Brush para colocar na cor desejada. Eu apliquei como brush, adicionando uma nova layer.
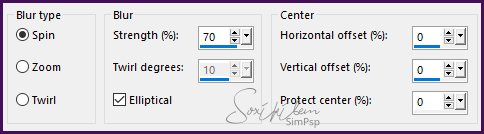
29 - Duplique a layer do word art e na layer debaixo aplique Radial Blur.
30 - Effects > Edge Effects > Enhance.
31 - Image > Add borders > symmetric de 1px na cor preta.
32 - Se desejar redimensione seu trabalho. Aplicar sua marca d'água ou assinatura. File > Export > JPEG Optimizer.
CREDITOS: Tube by SuizaBella - Mask by Narah
Tutorial by Soxikibem'19
Sinta-se à vontade para enviar suas versões. Terei todo o prazer em publicá-las em nosso site.
|