|
English Translation by Soxikibem Original Tutorial
MATERIAL 1 Main Tube of your choice 1 Decorative tube of your choice WordArt, linhas1_xiki
Plugins AAA Frames, Carolaine and Sensibility, Filter Factory Gallery B, Mehdi Bkg Designer sf10 I imported by Filters Unlimited 2.0,
Execution
1 - Open the tube, duplicate and close the originalChoose two colors: Foreground: #30171d Background: #e1e4e3
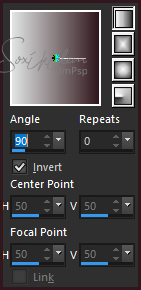
2 - Open a transparency of 900x600px. Paint with a gradient formed by the colors you choose. Linear, Angle 90, Repeats 0, Invert unchecked.
3 - Effects > Plugin Mehdi > Fur: 68, 35.
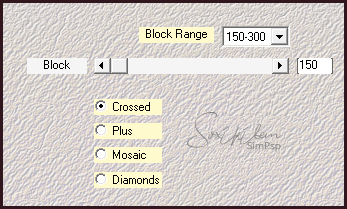
4 - Effects > Plugin Mehdi > Sorting Tiles.
5 - Effects > Edge Effects: Enhance.
6 - Layers > New Raster Layer. Paint with the gradient, mark the invert.
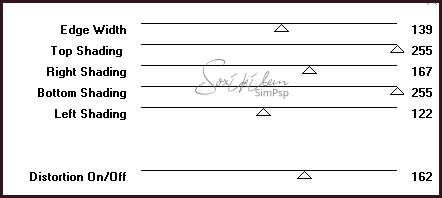
7 - Effects > Filters Unlimited 2.0 > Bkg Designer sf10 I > ALFs Border Mirror Bevel: 166, 64.
8 - Effects > Filter Factory Gallery B > Button Deluxe.
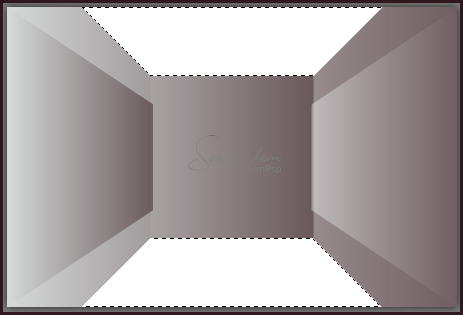
9 - With the Magic Wand tool select as indicated.
Hit the Delete key on the keyboard. Selections > Select None.
10 - Effects > Plugin Carolaine and Sensibility > cs-LDots: 50, 3, 2.
11 - Adjust > Sharpness > Sharpen.
12 - Effects > Italian Editors Effect > Effectto Fantasma: 41, 41.
13 - Effects > 3D Effects > Drop Shadow: 0, 0, 100, 40, with the foreground color.
14 - Layers > New Adjustment Layer > Hue/Saturation/Lightness. - General change Blend mode to Multiply. - Adjustment in Edit leave Master e values 0. - Overlay leave Opacity in 50%.
15 - Edit > Copy in the linhas1_xiki file and paste a new layer. Effects > Image Effects > Offset: Horizontal -90, Vertical 160, Custom, Transparent.
16 - Layers > Duplicate. Image > Mirror > Mirror Vertical. Layers > Merge > Merge Down.
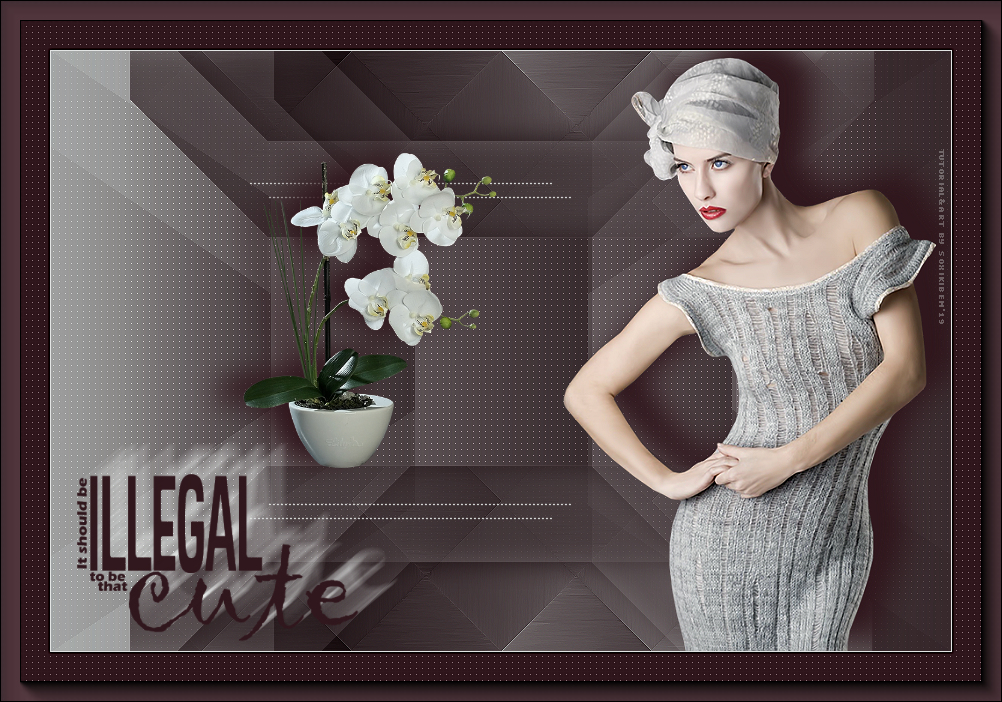
17 - Edit > Copy no tube decorative. Edit > paste as new layer, position as you prefer. Effects > 3D Effects > Drop Shadow: as your choice.
18 - Edit > Copy at the main tube. Edit > paste as new layer, position as you prefer. Effects > 3D Effects > Drop Shadow: as your choice.
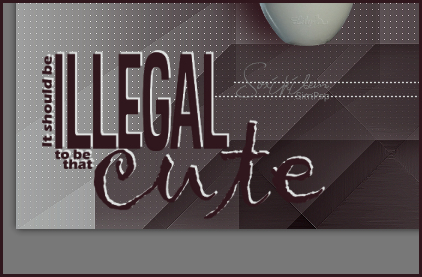
19 - Open the WordArt: elegant WA illegial cute copy.png. Export as Custom Brush.
20 - Layers > New Raster Layer. Apply the brush in size 300, with the background color.
21 - Layers > New Raster Layer. Reapply the brush with the foreground color.
22 - Position the brush layers as below, so one ot the layers is the shadow.
23 - Activate the WordArt layer below. Adjust > Blur > Motion Blur: Angle50, Strength 100.
24 - Adjust > sharpness > Sharpen.
25 - Image > Add Borders > 1px - symmetric - in the background color.
26 - Selections > Select All. Image > Add Borders > 50px - symmetric - in the Foreground color. Selections > Invert.
27 - Effects > Plugin Carolaine and Sensibility > cs-LDots: 50, 3, 2.
28 - Adjust > Sharpness > Sharpen More.
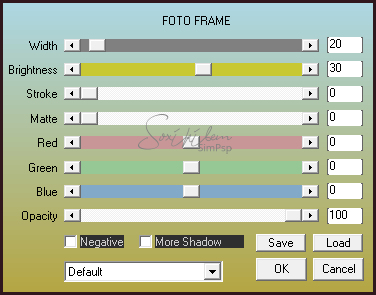
29 - Effects > Plugin AAA Frames > Foto Frame.
Selections > Select None.
30 - If you want to resize your work now.Apply your watermark or signature. File > Export > JPEG Optimizer...
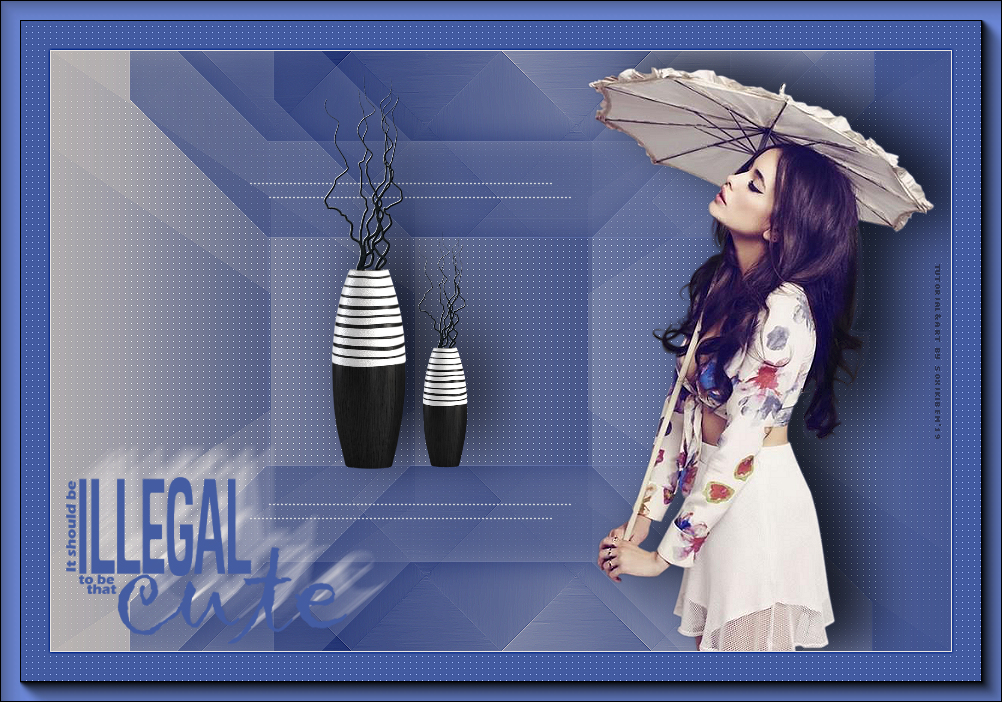
CREDITS: Version1 - Main Tube e decorative by Lily - WordArt by Bethanny Version2 - Tube L&B Tubes Tube Vase by Kamil - WordArt by Bethanny
Tutorial by Soxikibem'19
Feel free to submit your versions. I'll be happy to post them on our site.
|