|
MATERIAL 1 main tube of your choice; 1 decorative tube of your choice 1 WordArt.
Pluguins AAA Frames, Alien Skin , DSB flux, Filter Unlimited 2.0, Mura's Meister, Toadies (I imported through Unlimited)
Execution
1 - Open your material on PSP, duplicate and close the original.Choose two colors: Foreground #b22955 Background #e1bbca
2 - Open a transparency of 900x600px. Selections > Select All. Edit > Copy in the main tube. Edit > paste into selection. Selections > Select None.
3 - Effects > Image Effects > Seamless Tling: Default.
4 - Adjust > Blur > Gaussian Blur: 50.
5 - Plugin DSB flux > Linear Transmission.
6 - Effects > Geometric Effects > Skew: Vertical, -45, Transparent.
7 - Layers > Duplicate. Image > Mirror > Mirror Horizontal. Layers > Properties > General > Blend Mode: Lighten. Layers > Merge > Merge Down.
8 - Effects > Distortion Effects > Pinch: 100.
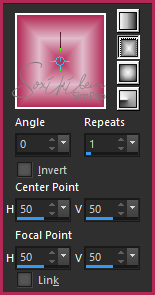
9 - Layers > New Raster Layer. Paint with the gradient formed by the chosen colors: Rectangular - Angle 0 - Repeats 1 - Invert unchecked. Center Point: 50/50 - Focal Point: 50/50.
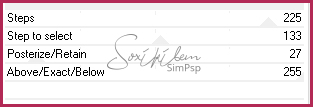
10 - Filter Unlimited 2.0 > Toadies > Darwin.
11 - Effects > Distortion Effects > Pixelate: Block width 363, Block height 36, symmetric unchecked.
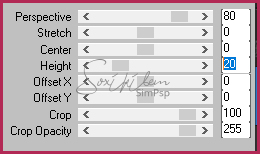
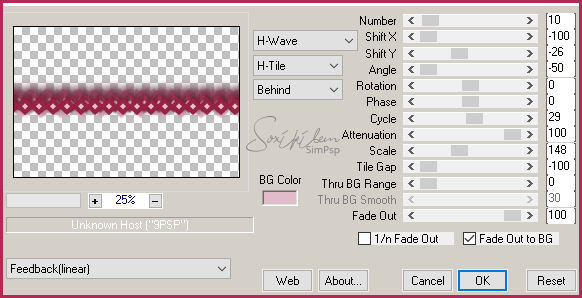
12 - Plugin Mura's Meister > Perspective Tiling
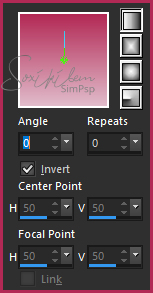
13 - Layers > New Raster Layer. Paint with the gradient formed by the chosen colors: Linear, Angle 0, Repeats 0, Invert Marked.
14- Layers > Arrange > Send to Botton.
15 - Enable Raster Layer 1. Layers > Properties > General > Blend Mode: Overlay.
16- Ativar a layer Raster 2. Layers > New Raster Layer.
17 - With the Freehand Selection Tool select the diamond as shown in the image:
18 - Paint the selection with the foreground color. Selections > Select none.
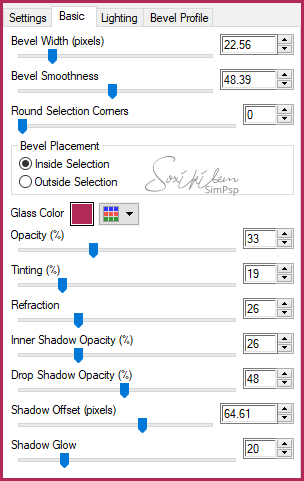
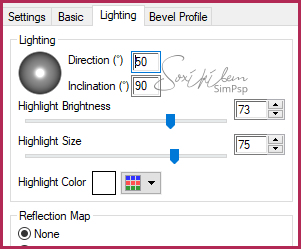
19 - Plugin Alien Skin > Eye Candy 5 > Impact > Glass. Settings: Clear - Bevel Profile: Button
20 - Layers > Duplicate.
21 - Plugin Mura's Mister > Copies.
22 - Move the layer below the Raster 2 layer. Effects > Image Effects > Offset > Horizontal 0, Vertical -180, Custom, Transparent.
23 - Edit > Copy on gráfico1_xiki. Edit > paste a new layer.
24 - Effects > image Effects > Offset: Horizontal 0, Vertical 4, custom, Transparent.
25 - Layers > Duplicate. Effects > Image Effects > Offset: Horizontal 380, Vertical -5, custom, Transparent.
26 - Layers > Duplicate. Image > Mirror > Mirror Horizontal.
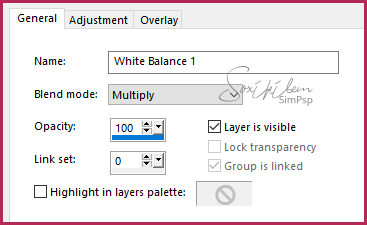
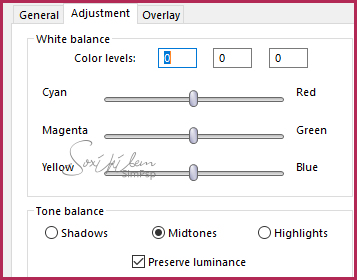
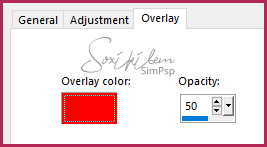
27 - Layers > New Adjustment Layer > White Balance.
28 - Edit > Copy no tube. Edit > paste a new layer. Move the tube layer to the top of the layers. Effects > 3D Effects > Drop Shadow: as you prefer.
29 - Edit > Copy in the decorative tube. Edit > paste a new layer and place it as you wish. Effects > 3D Effects > Drop Shadow: as you prefer.
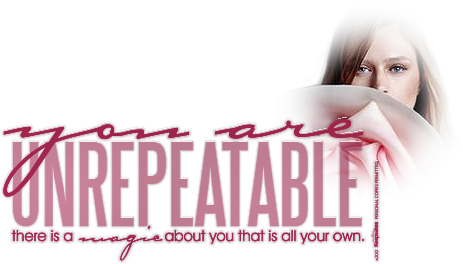
30 - Edit > Copy na WordArt You_Are_Unrepeatable-Black. Edit > paste a new Layer. Or export as Custom Brush and apply in the color that suits your work.
31 - Image > Add Bordes > 3px - simmetric - color: used in foreground.
32 - Selections > Select All. Image > Add Bordes > 50px - simmetric - color: #FFFFFF (white) Selections > Invert.
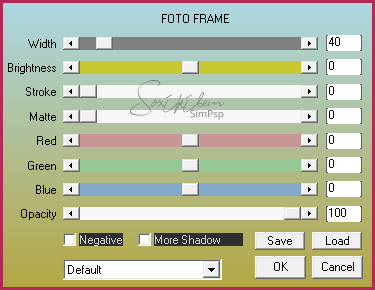
33 - Plugin AAA Frames > Foto Frame.
34 - Selections > Select None.
35 - If you want to resize your work now. A pply your watermark or signature.File > Export > JPEG Optimizer... CREDITS: Tube by SuizaBella - Tube decorative by KamilTubes - WordArt by Keepsakes
Tutorial by Soxikibem'19
Feel free to submit your versions. I will be happy to post them on our site.
|