|
Tutorial in English by Soxikibem
MATERIAL 1 Tube of your choice 1 Tube Misted Landscape of your choice autumn_blessings_soxikibem,pspimage, WordArt, Narah_Mask_1263
Pluguins Carolaine and Sensibility, Filters Unlimited 2.0, Italian Editors Effect , Xero
Execu tion
1 - Open your materials on PSP to work. Choose two colors to work with. Here I used the color #573423 to the foreground and #f6ddb7 to the background.
2 - Open the file autumn_blessings_soxikibem,pspimage.
3 - Paint with Foreground color. Selections > Select All. Edit > Copy on tube. Edit > paste into selection. Selections > Select None.
4 - Effects > Image Effects > Seamless Tiling: Default.
5 - Adjust > Blur > Motion Blur: Angle 50, Strength 100. Edit > Repeat Motion Blur.
6 - Effects > Edge Effects > Enhance. Edit > Repeat Enhance Edges.
7 - Plugin Carolaine and Sensibility > cs-HLines: 100, 140, 0.
8 - Filters unlimited 2.0 > BKg Designer sf10 II > Hinzeberg's Mirror 01: 14.
9 - Layers > New Raster Layer. Selections > Load/Save Selections > Load Selection From Alpha Channel: rec1_xiki. Paint with foreground color this selection.
10 - Plugin Carolaine and Sensibility > cs-LDots: 50, 3, 2.
11 - Effects > Edge Effects: Enhance. Decrease the visibility of this layer to 80%.
12 - Add a new layer and paint the selection with the background color.
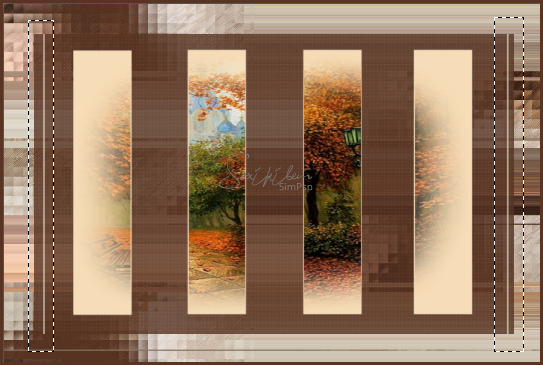
13 - Layes > New Mask Layer > From Image: Narah_Mask_1263. Layers > Merge > Merge Group. Selections > Select None. With the tool selection, select the lines as shown in the print below.
Edit > Cut (Or press Delete in your keeboard). Selections > Select None. Layers > Properties > General > Blend Mode: Soft Light.
14 - Layers > New Raster Layer. Selections > Load/Save Selections > Load Selection From Alpha Channel: rec2_xiki.
15 - Edit > Copy in misted landscape. Edit > Paste into selection. Selections > Select None. Plugin Xero > Porcelain in the original settings. Layers > properties > General > Opacity: 60%.
16 - Active the last layer below the work. Selections > Select All. Selections > Modify > contrat: 50.
17 - Selections > Invert. Adjust > Blur > Gaussian Blur: 30.
18 - Plugin Carolaine and Sensibility > cs-LDots: 50, 3, 2.
19 - Adjust > Sharpness > Sharpen More.
20 - Selections > Invert. Drop Shadow: 20, 20, 50, 10, with the foreground color.
21 - Repeat the Drop shadow changing the value in vertical and horizontal to -20.
22 - Keeo selected, activate the top layer of all and add a new layer. Paint with background color.
23 - Selections > Modify > Contrat: 5. Hit keyboard Delete key. Selections > Select None.
24 - Drop Shadow 0, 0, 100, 10, color back.
25 - Edit> Copy in the tube and Edit > paste a new layer. Position left and apply drop shadow as you prefer.
26 - Layers > New Raster Layer. Selections > Load/Save Selections > Load Selection From Alpha Channel: rec3_xiki. Paint this selection with background color Selections > Select None. Layers > Arrange > Move Down.
27 - Plugin Italian Editors Effect > Effetto Fantasma: 147, 41.
28 - Plugin Carolaine and Sensibility > cs-DLines: 155, 5.
29 - Effects > Edge Effects: Enhance.
30 - Open the wordart and export as Custom Brush.
30 - Layers > New Raster Layer and apply the brush with one of the colors in use.
31 - Finish with a 1px border with the color black. If you want to resize your work, apply your watermark or signature after. File > Export > JPEG Optimizer...
CREDITS :Tube by GraphicsBeatrice - MistedLandscape by Alenza - Mask by Narah - WordArt by KathyFrances Version 2: Tube by Lily - Misted Landscape Here
Tutorial by Soxikibem'19
Feel free to submit your versions. We'll be happy to post them on our site,
|