|
MATERIAL:
1 Tube
principal a sua escolha;
Masks:
Narah_mask_0785,
mask pspcybermk005
PLUGINS
Filter Unlimited 2.0
> Plugins AB 09
> WireMesh
Greg's factory output Vol. II
> Pool Shadow
Simple >
Blintz
Transparency
> Eliminate Black
VÍDEO AULA
Se preferir acompanhar em vídeo no Youtube, clique no link abaixo:

Se este tutorial te inspirou:
Deixe seu like
Ative o sininho
Compartilhe com outros amantes do PSP
E deixe um comentário contando o que achou!
ROTEIRO:
1 - Abra o tube, duplique e
feche o original.
2 - Retirar duas cores para
trabalhar.
Aqui vou usar a cor preta para o foreground
e branco para o background.
3 - Abra uma
transparência
1000x500px
Pintar com a cor branca (cor usada no background).
4 -
Layers > New Raster Layer.
Pintar com um gradiente:
Linear, 45, Repeats 1, invert desmarcado.
5 - Plugim Simple
> Blintz.
6 - Effects
> Texture Effects
> Soft Plastic: Detail high blur.
7 - Effects
> Edge Effects
> Enhance.
8 -
Layers > New Raster Layer.
Pintar com o gradiente
em uso.
9 -
Layers > New Mask Layer > From Image:
Narah_mask_0785.
Layers >
Merge > Merge Group.
Effects
> Edge Effects > Enhance More.
10 -
Layers > Duplicate.
Effects >
Geometric Effects >
Circle: Transparent.
11 -
Image > Mirror >
Mirror Vertical.
12 - Objects
> Align>
Left.
(Se estiver usando uma versão do PSP que não
possui essa ferramenta,
mova para a esquerda manualmente).
13 -
Layers > New Raster Layer.
Pintar com o gradiente
em uso.
14 - Filter Unlimited
2.0 > Plugins AB 09
> WireMesh In Negative: 6, 8, 4,4, 53, 32, 21,
224.
15 - Plugim
Transparency >
Eliminate Black.
16 -
Layers > New Raster Layer.
Pintar
com o gradiente em uso.
17 -
Layers > New Mask Layer > From Imae: mask
pspcybermk005.
Layers >
Invert Mask.
Layers >
Merge > Merge group.
18 - Effects
> Edge Effects
> Find Horizontal.
19 - Effects
> 3D Effects
> Drop Shadow: 1, 1, 35, 1, com a cor preta.
20 -
Layers > New Raster Layer.
21 - Com a ferramenta Selection ativa, clique em Custon Selection:
Top 0, Left 600, Right 800,
Bottom 500.
22 - Pintar esta selecao com
a cor escura em uso.
Selections > Select none.
23 - Diminua a visibilidade
desta layer para 40%.
24 -
Layers > New Raster Layer.
Ativar a
ferramenta Custon Selection nas configuracoes:
Top 0, Left 650, Right 750,
Bottom 500.
25 - Pinte a selecao com a
cor escura em uso.
Selections > Select none.
26 - Mude o
Blend desta
layer para Soft Light.
27 - Diminua a opacidade
para 40 %.
28 -
Edit > Copy no tube.
Edit >
Paste a New Layer.
Posicione
e aplique um drop Shadow como preferir.
29 - Escreva seu texto
ou aplique um brush se preferir.
30 -
Image > Add Borders:
1px preta.
31 -
Selections > Select All.
Image >
Add Borders:
15px com qualquer cor.
Selections > Invert.
Pintar com o gradiente.
32 - Effects
> Texture Effects
> Soft Plastic: Detail high blur.
Effects > Edge Effects
> Enhance.
33 - Pluguin Greg's
factory output Vol. II >
Pool Shadow: Default.
Selections > Select none.
34 -
Image > Add Borders:
1px preta.
35 - Assine e decore como
preferir.
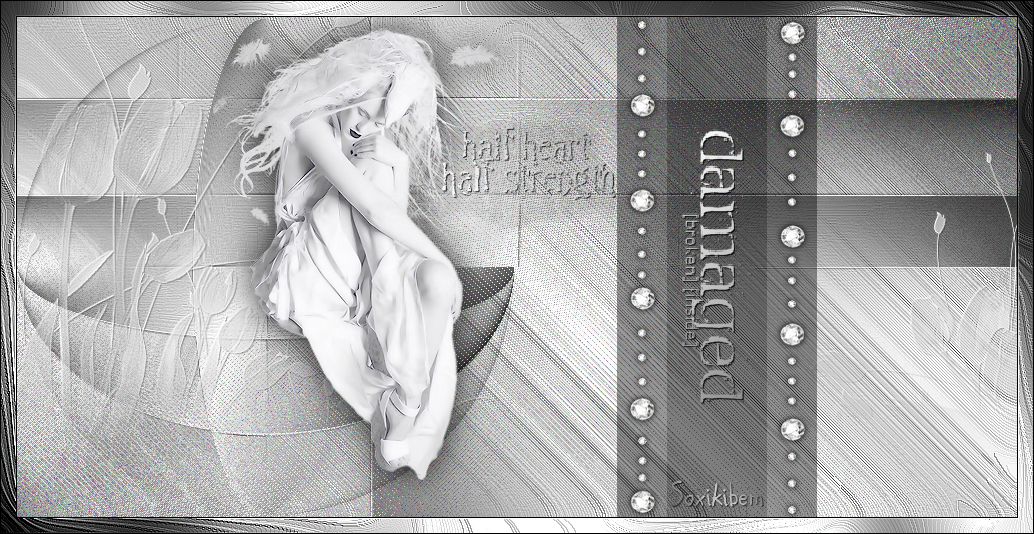
MATERIAL
Primeiro Exemplo: Tube
Tube_Womans_99_GB_Trasparent - Mask: Narah_mask_0785, mask
pspcybermk005 - Elemento Scrap: BD_Milky_Way
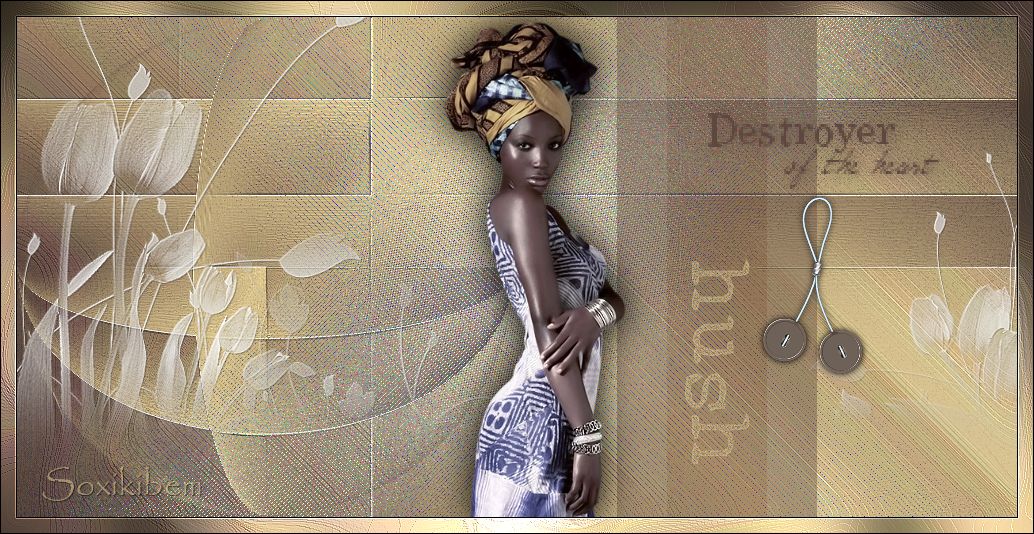
Segundo Exemplo: Tube by
L&B - Masks usadas no tutorial - Elemento Scrap: AD_Cleopatra
|