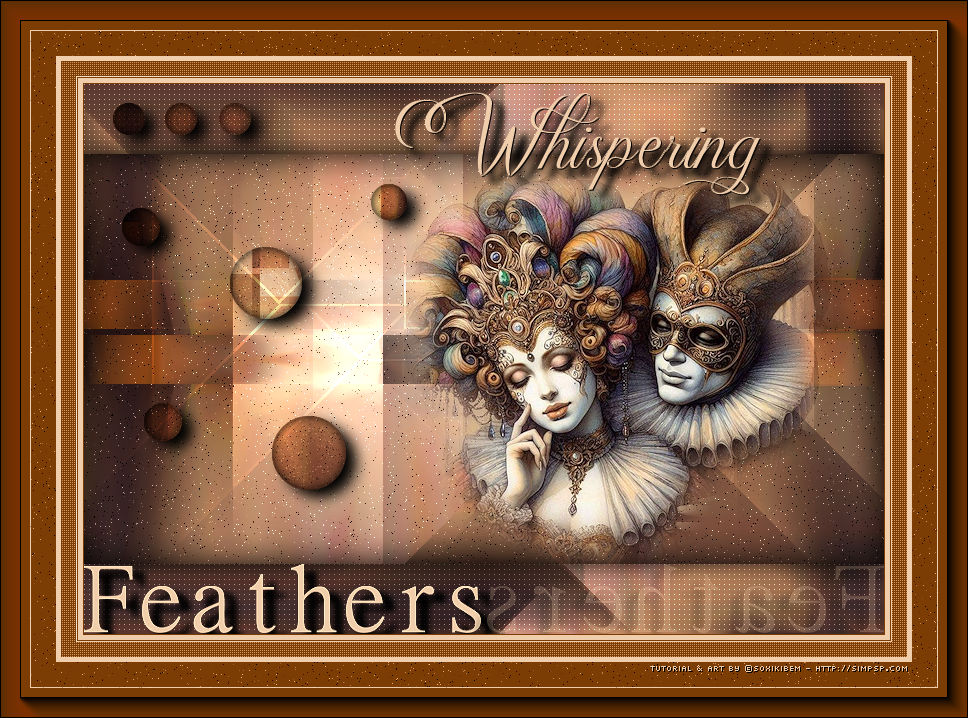
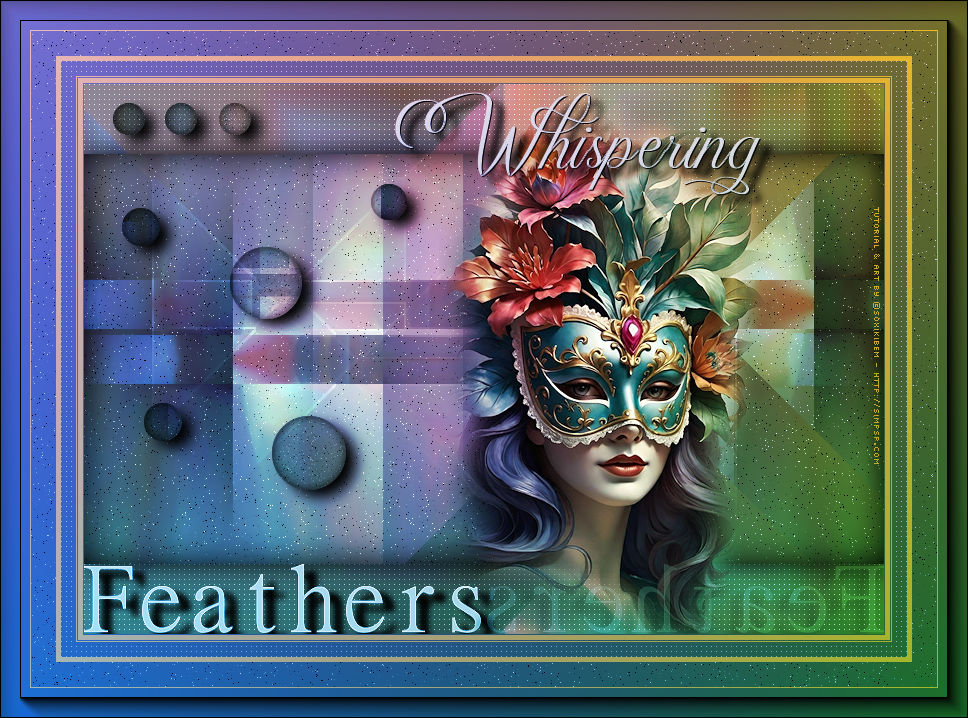
"When the clock announces the end of the party and the masks begin to fall, only the Whisperin Feathers will know the secrets that were whispered there."
TRADUÇÕES:
Obrigada aos nossos tradutores!
MATERIAL 1 Misted Personagem ou Tube a sua escolha Selections: Salvar as seleções na pasta Selections do PSP.
PLUGINS AAA Frames > Foto Frame Filters Unlimited 2.0 > AFS Import > ewscript Mehdi > Sorting Tiles Simple > Pizza Slice Mirror
Este Tutorial foi escrito por Soxikibem, qualquer semelhança é mera coincidência. Tutorial testado e revisado por Inácia Neves.
Tutorial elaborado no PSP 2022
O meu agradecimento as Tubeiras pelos Tubes e Masks
Fique a vontade para mudar os Blends das layers, pois dependendo das cores e imagens o resultado pode mudar.
TUTORIAL
1 - Abrir o material no PSP, duplique e feche os originais. Escolha 2 cores para trabalhar. Foreground: #7c3d04 Background: #f1ceab
2 - Abra uma Transparência de 800x550px. Pintar com a cor do Foreground. Selections > Select All.
3 - Edit > Copy no Misted escolhido. Edit > Paste Into Selections. Selections > Select None.
4 - Effects > Image Effects > Seamless Tiling: Default. Adjust > Blur > Radial Blur.
5 - Plugin Mehdi > Sorting Tiles.
6 - Plugin Simple > Pizza Slice Mirror. Effects > Image Effects > Seamless Tiling.
7 - Layers > Duplicate. Selections > Load/Save Selections > Load Selections From Disk: WFeathers_Xiki1. Edit > Cut ou aperte a tecla Delete do teclado. Selections > Select None. Image > Mirror > Mirror Horizontal.
8 - Adjust > Add/Remove Noise > Add Noise.
9 - Layers > New Raster Layer. Selections > Load/Save Selections > Load Selections From Disk: WFeathers_Xiki2. Effects > 3D Effects > Cutout.
10 - Effects > 3D Effects > Drop Shadow: Color: #000000 (preto)
Selections > Select None.
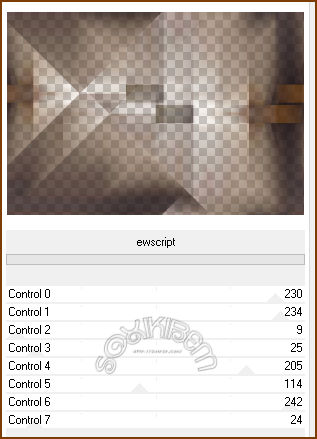
11 - Ativar a Layer Raster 1. Layers > Duplicate. Layers > Arrange > Bring to Top. Filters Unlimited 2.0 > AFS Import > ewscript.
12 - Layers > Properties > General: Blend Mode: Dodge. Effects > Edge Effects > Dilate. Edit > Repeat Dilate.
13 - Ativar a Layer Raster 1. Plugin Penta.com Color Dot.
14 - Ativar a Layer Copy of Raster 1. Edit > Copy. Ativar a Layer do Topo (Copy of Raster1). Layers > New Raster layer. Selections > Load/Save Selections > Load Selections From Disk: WFeathers_Xiki3. Edit > Paste Into Selection.
15 - Adjust > Sharpness > Sharpen. Layers > Properties > General > Blend Mode: Hard Light.
16 - Layers > New Raster Layer. Effects > 3D Effects > Cutout.
17 - Effects > 3D Effects > Drop Shadow: Color #000000 (preto)
Selections > Select None. Confira as Layers.
18 - Edit > Copy no Misted em uso. Edit > Paste as New Layer. Posicione à direita. Aplique efeito sombra se desejar.
19 - Edit > Copy no WF_titulo_Xiki. *Lembre-se de deletar minha marca d'agua. Edit > Paste as New Layer. Pick Tool: Position X: 0 - Position Y: 8.
21 - Image > Add Borders > Symmetric: 1px cor Foreground 5px cor Background 1px cor Foreground 1px cor Background
22 - Selections > Select All. Image > Add Borders > Symmetric: 15px cor Foreground Selections > Invert. Plugin Penta.com Color Dot.
Selections > Select None.
23 - Image > Add Borders > Symmetric: 5px cor Background Selections > Select All. 25px cor Foreground
24 - Selections > Invert. Adjust > Add/Remove Noise > Add Noise.
Selections > Select None.
25 - Image > Add Borders > Symmetric: 1px cor Background 30px cor Foreground
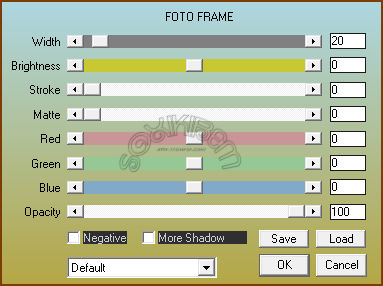
26 - Plugin AAA Frames > Foto Frame.
27 - Aplicar sua marca d'água ou assinatura. File > Export > JPEG Optimizer.
*OPCIONAL* Na segunda versão eu quis brincar com as cores e adicionei uma nova layer. Pintei com a cor do Foreground. Apliquei o Plugin Filters Factory Gallery M > Ambrosia.
Layers > Properties > General > Blend Mode: Overlay - Opacity: 70%.
VERSÃO:
CRÉDITOS: Criação - Formatação e Art Final by Soxikibem Tube Principal: Tubed by Pqna&Alice
Sinta-se à vontade para enviar suas versões. Terei todo o prazer em publicá-las em nosso site.
|