|
"A best friend is like a four-leaf clover: hard to find and lucky to have" "Um melhor amigo é como um trevo de quatro folhas: difícil de encontrar e sortudo de ter"
TRADUÇÕES:
Obrigada aos nossos Tradutores
MATERIAL: 1 Tube Principal ou Personagem à sua escolha 1 Misted Paisagem à sua escolha TituloLuckyBySoxikibem Clover-ShamrockFour-leaf DecorBySoxikibem TextoByxiki
PLUGINS: Filters Unlimited 2.0 > Bkg Designer sf10 II Graphics Plus > Cross Shadow Mura's Seamless > Emboss at Alpha
Este Tutorial foi escrito
por Soxikibem, qualquer semelhança é mera coincidência.
2 - Abra uma imagem
transparente de 900x650px.
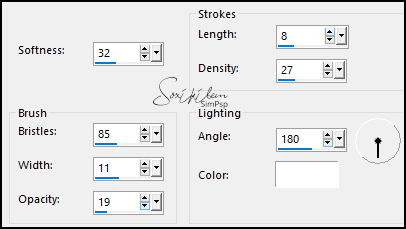
3 - Effects > Art Media Effects > Brush Strokes.
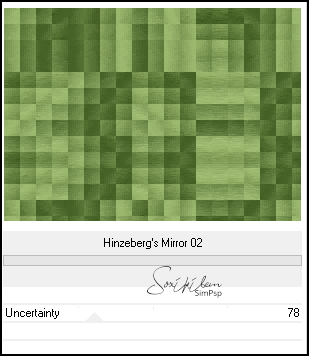
4 - Layers > Duplicate. Filters Unlimited 2.0 > Bkg Designer sf10 II > Hinzeberg's Mirror 02.
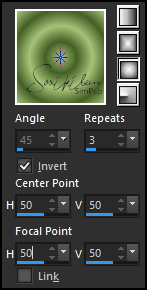
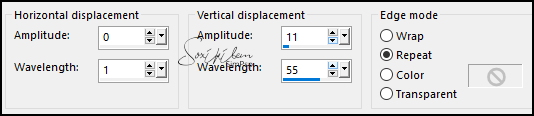
5 - Effects > Geometric Effects > Perspective - Horiozontal: 70, Transparent. Effects > Geometric Effects > Perspective - Horiozontal: -95, Transparent. Effects > Distortion Effects > Wave.
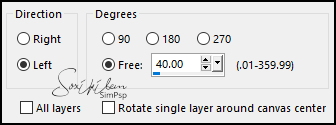
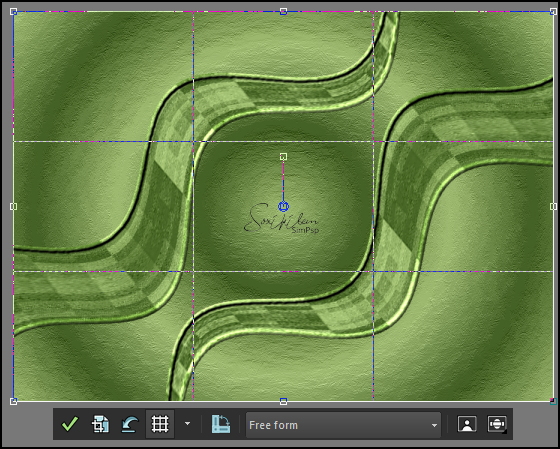
6 - Image > Free Rotate.
7 - Pick Tool: Position X: 252, Position Y: 63. Layers > Duplicate. Image > Mirror > Mirror Horizontal. Image > Mirror > Mirror Vertical. Layers > Merge > Merge Down.
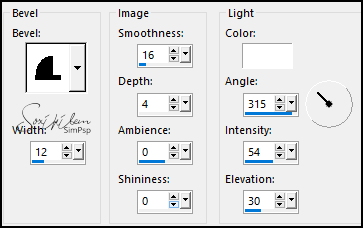
8 - Effects > 3D Effects > Inner Bevel.
9 - Ferramenta Crop tool > Merged Opaque > clique em Apply.
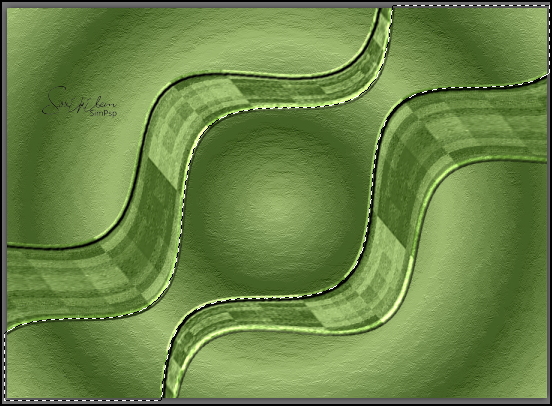
10 - Com a ferramenta Magic Wand, Tolerance e Feather 0, clique no meio deste efeito para selecionar. Selections > Modify > Expand: 5.
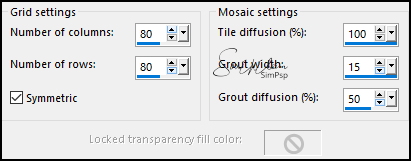
11 - Layers > New Raster layer. Edit > Copy no Misted Paisagem. Edit > Paste Into Selections. Effects > Texture Effects > Mosaic - Antique. Nota: Em outras versões do PSP o efeito Grout width: 10, é o máximo:
Layers > Properties: Blend Mode Dodge, Opacity 50%.
12 - Selections > Select None. Layers > Arrange > Move Down.
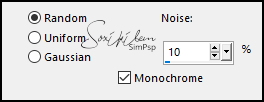
13 - Ativar a Layer Copy of Raster 1. Adjust > Add/Remove > Add Noise.
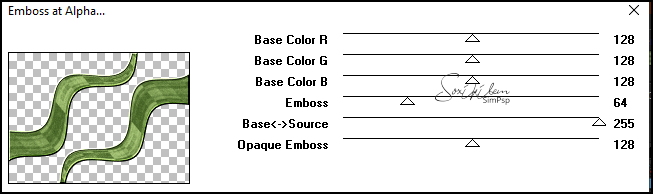
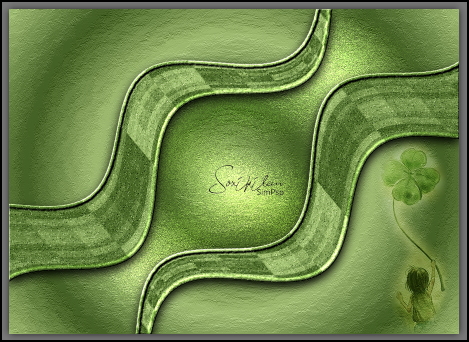
14 - Plugin Mura's Seamless > Emboss at Alpha: Default.
Effects > 3D Effects > Drop Shadow: 8, 0, 100, 30, cor preta.
15 - Edit > Copy no Misted Paisagem. Edit > Paste as New Layer. Se estiver usando o do material, de um resize de 40%. Posicione à direita do trabalho.
Layers > Properties: Blend Mode Soft Light. Adjust > Sharpness > Sharpen.
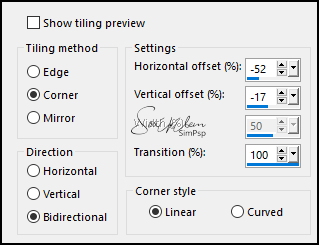
16 - Effects > Image Effects > Seamless Tiling.
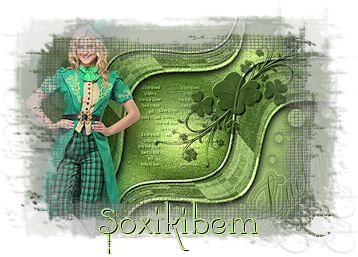
16 - Edit > Copy no Clover-ShamrockFour-leaf ou outro que preferir. Edit > Paste as New Layer. Pick Tool: Position X: 377, Position Y: 41.
17 - Ativar a Layer Raster 2. Edit > Copy no TextoByxiki. Edit > Paste as New Layer. Layers > Properties: Blend Mode Luminance (L). Pick Tool: Position X: 333, Position Y: 209.
18 - Ativar a Layer do topo. Edit > Copy no TituloLuckyBySoxikibem. Edit > Paste as New layer. Pick Tool: Position X: 638, Position Y: 352. Layers > Properties: Blend Mode Luminance (L).
19 - Edit > Copy no DecorBySoxikibem. Edit > Paste as New Layer. Pick Tool: Position X: 0, Postion Y: 9.
20 - Edit > Copy no Tube Personagem. Edit > Paste as New Layer. Posicione à esquerda, aplique Drop Shadow como preferir.
21 - Ativar a Layer Raster 1. Edit > Copy.
22 - Image > Add Borders: 1px cor foreground 5px cor background 1px cor foreground
23 - Selections > Select All Image > Add Borders: 20px com qualquer cor Selections > Invert. Edit > Paste Into Selection. Plugin Graphics Plus > Cross Shadow: Default. Selections > Invert. Effects > 3D Effects > Drop Shadow: 0, 0, 100, 30, cor preta. Selections > Select None.
24 - Image > Add Borders: 2px cor background Selections > Select All Image > Add Borders: 30px com qualquer cor. Selections > invert. Edit > Paste Into Selection. Plugin Graphics Plus > Cross Shadow: Default.
25 - Selections > Invert. Effects > 3D Effects > Drop Shadow: 0, 0, 100, 30, cor preta. Selections > Select None.
26 - Image > Add Borders: 1px cor foreground.
27 - Se você desejar
redimensione seu trabalho.
VERSÃO:
Créditos: Formatação, Arte Final e Tutorial by Soxikibem Tube Principal: Tubed by Pqna&Alice Clover-ShamrockFour-leaf Aqui Outros Materiais: by Soxikibem
Sinta-se à vontade para enviar suas versões. Terei todo o prazer em publicá-las em nosso site.
|