|
Tutorial By Roberta Maver English Translation by Soxikibem Original Tutorial
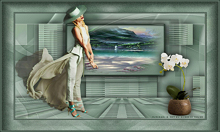
MATERIAL 1 Main Tube 1 Misted Landscape 1 Decorative Tube 1selecao_roberta Narah_Mask_1230
NarahsMasks_1522
PLUGINS Alien Skin > Eye Candy 5 >Impact Italian Edtitors Effect Mehdi Mura's Meister Mura's Pro Visual Manipulation
TUTORIAL 1 - Open the material on the PSP, duplicate and close the original. Choose colors to work with.
I used color #7a3756 for the foreground and color #cc467b for the background.
2 - Open a transparent 800 x500 px image.
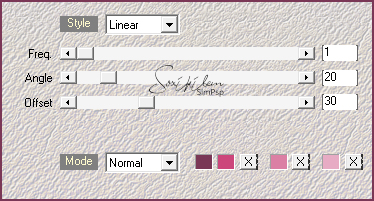
3 - Plugim> Mehdi> Wavy Lab1.1: Com as cores 1, 2, 3, e 4.
4 - Plugim> Mura's Pro> Seamless.
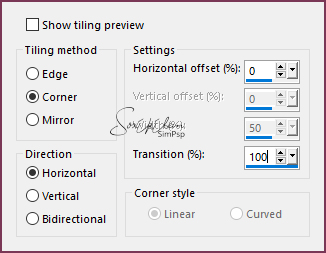
5 - Effects > Image Effects > Seamless Tiling: Default.
6 -Layers > Duplicate. Image> Mirror> Mirror horizontal.
7- Image> Resize: 80%, all layers unchecked.
8- Image> Mirror > Mirror Vertical .
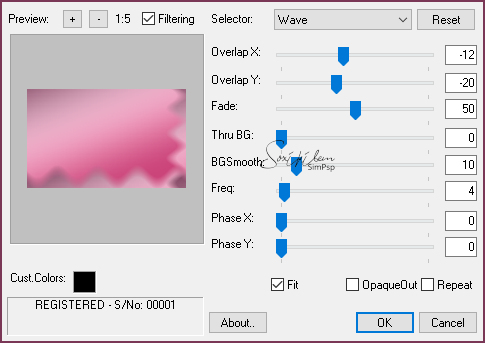
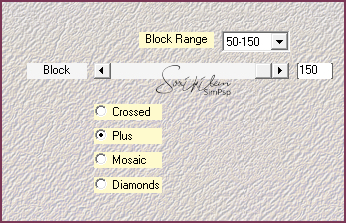
9 -Plugim > Mehdi > Sorting tiles.
10- Effects > Image Effects > Seamless Tiling.
11- Adjust / Sharpness / Sharpen.
12 - Selections / Load/Save Selection > Load selection From Disk: Selection - 1seleção_roberta.
13 - Effects > 3D Effects > Drop Shadow: -1, 0, 50, 45, black color.
14 - Effects > Edge Effects > Enhance.
16 - Plugim> Visual Manipulation> transmission.
Keep selection.
17 - Effects > 3D Effects > Drop Shadow: -1, 0, 50, 45, black color.
Selections > Select None.
18 - Activate the Raster1 layer.
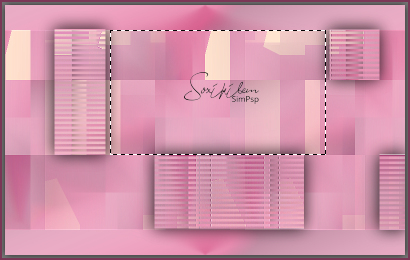
19 - With the Selection tool, select as shown in the print.
20 - Selections > Promote Selection to Layer. Layers > Arrange> Bring to Top.
21 - Edit> Copy in Misted Landscape. Edit > Paste Into Selection. Adjust > Sharpness > Sharpen.
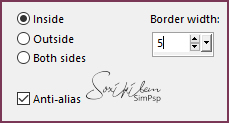
22 - Keep selecting. Selection > Modify > Select Selection Bords.
Pinte com a cor escura.
23- Plugim > Alien Eye Candy > Impact > Glass: Settings choose Clear. Selections > Select None.
25 - Activate Copy of Raster 1. Layers > New Raster Layer. Paint with the color White.
Layers > Merge > Merge Group. Layers > Properties > General > Blend Mode: Luminance L.
27 - Activate Copy of Raster 1. Layers > Duplicate.
28 - Effects > Plugins > Mura's Meister > Perspective Tiling.
29 -Effects > 3D Effects > Drop Shadow: 0, 0, 100, 30, black color.
30 -Effects> reflection Effects> Rotation Mirror.
Layers > Arrange > Move Up.
31 - Layers > New Raster Layer. Paint with the color White.
32- Layers > New Mask Layer > From Image: NarahsMasks_1522. Layers > Merge > Merge Group.
33 - Layers > Properties > General > Blend Mode: Soft Ligth.
34- Activate promoted selection layer. Duplicate and use the original.
35 - Plugim> Italian Editors Effects> Effetto Fantasma.
36 - Use the Pick Tool to position: Position X 135, Position Y 57. Layers > Duplicate. Use the Pick Tool to position: Position X 203, Position Y 13.
37 - Layers > Merge > Merge Down.
38 - Activate the Copy of Promoted Selection layer. Effects > 3D Effects > Drop Shadow: 0, 0, 100, 30, black color.
39 - Edit> Copy on the main tube. Edit > Paste a New Layer. Position and apply Drop Shadow as you prefer.
40- Edit> Copy on the decorative tube. Edit > Paste a New Layer. Position.
41- Effects > 3D Effects > Drop Shadow as you wish.
42 - Image > Add Borders: 2px foreground color 2px background color 2px foreground color
43- Selections > Select All. Edit > Copy.
44- Image > Add Borders: 50 px white color. Selections > Invert. Edit > Past Into Selection.
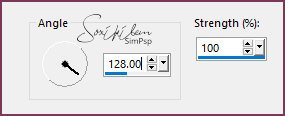
45- Adjust > Blur > Motion Blur.
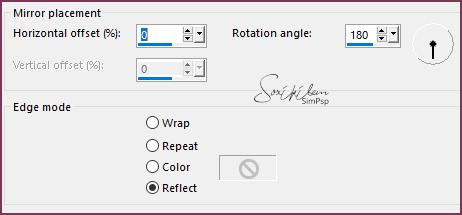
46 - Effects > Reflection Effects > Rotation Mirror.
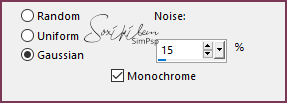
47 - Adjust > Add/Remove Noise > Add Noise.
Selections > Select None.
49- Image > Add Borders: 2px background color 2px foreground color
50 -
If you wish, resize your work. File > Export > Jpeg Optimizer.
Credits Tutorial by Roberta Maver'20
Sinta-se à vontade para enviar suas versões. Terei todo o prazer em publicá-las em nosso site.
|