|
English Translation by Soxikibem Original Tutorial
Material: 1Main Tube of your choice 1 Flower Tube of your choice alpha_channel_flowers.pspimage texto_flowers.pspimage
Plugins: Simple > Pizza Slice Mirror Carolaine and Sensibility > CS-LDots MuRa's Meister > Perspective Tiling Penta.com > Jeans
Tutorial
- 01- Choose two colors: Foreground: #5a3863 Background: #ecd1e1
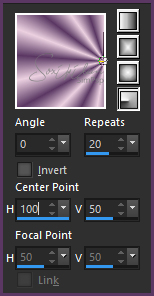
- 02- Open the alpha_channel_flowers.pspimage Paint with the gradient formed by the colors you choose: Radial - Angle: 0 - Repeats: 20 - Inverte unchecked Center Point: H-100 - V-50
- 03 - Effects > Plugin Simple > Pizza Slice Mirror. Layers > Duplicate.
- 04 - Image > Mirror > Mirror Horizontal. Layers > Properties > General > Opacity: 50%. Layer > Merge > Merge Down. Effects > Edge Effect > Enhance More.
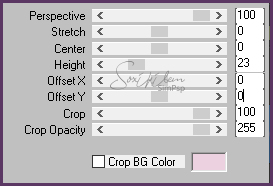
- 05 - Layer > Duplicate. Plugin > Murra's Meister > Perspective Tiling:
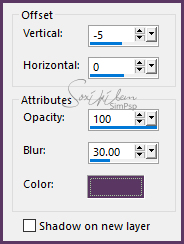
Effects > Edge Effects > Enhance. Effects > 3D Effects > Drop Shadow: -5 /0/100/30 with the foreground color.
- 06 - Enable Layer > Copy of Raster 1. Selections > Load/Save Selection > Load Selection From Alpha Channel > Selection #1. Selections > Promote Selection to Layer. Selections > Select None.
Layers > Duplicate. Image > Mirror > Mirror Horizontal. Layer > Merge > Merge Down.
- 08 - Effects > Plugin It@lian Editors Effect > Effetto Fantasma.
Adjust > Sharpness > Sharpen. Layer > Arrange > Move UP. Layer > duplicate. Layer > Merge > Merge Down.
- 09 - Selections > Load/Save Selection > Load Selection From Alpha Channel > Selection #2. Effects > Plugin Carolaine > CS-LDots:
Adjust > Sharpness > Sharpen. Selections > Select None.
- 10 - Effects > Plugin Penta.com Jeans
Adjust > Sharpness > Sharpen. Selections > Select None.
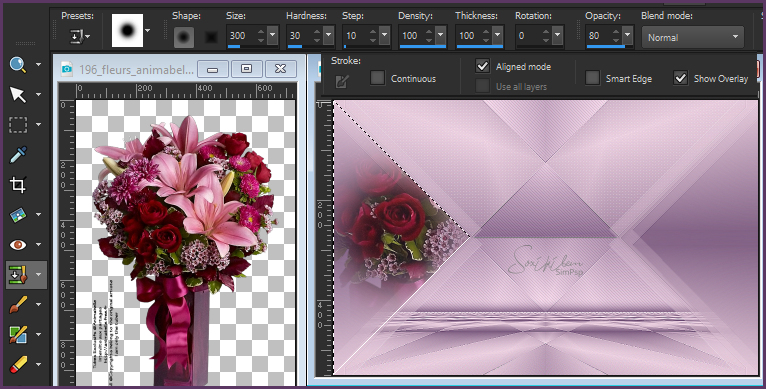
- 11 - Layers > New Raster Layer. Selections > Load/Save Selection > Load Selection From Alpha Channel > Selection #1. With the Clone Brush Tool configured as in the image below... 1 - Clique com botão direito do mouse no misted. 2- Left click inside selection to clone a part of misted.
- 12 - Selections > Select None. Layer > duplicate. Image > Mirror > Mirror Horizontal. Layer > Merge > Merge Down.
- 13 - Layer > New Raster Layer. Selections > Load/Save Selection > Load Selection From Alpha Channel > Selection #4. Paint with the background color. Selections > Modify > Contract 10. Paint with the foreground color. Selections > Selection None.
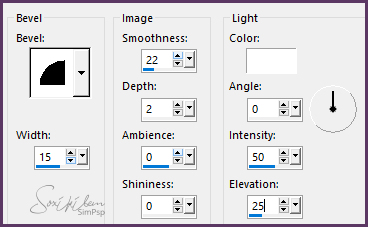
- 15 - Effects > 3D Effects > Inner Bevel:
Image > Resize 50% - Resize All layers unchecked. Effects > 3D Effects > Drop Shadow: 0/0/80/10/ #000000.
- 16 - Layer > New Raster Layer. Selections > Load/Save Selection > Load Selection From Alpha Channel > Selection #5. Paint with the background color. Selections > Modify > Contract 3. Paint with the foreground color. Selections > Selection None.
- 17 - Effects > 3D Effects > Inner Bevel:
Effects > 3D Effects > Drop Shadow: 0/0/80/10/ #000000.
- 18 - Edit > Copy no Tube. Edit > Paste a new layer. Effects > 3D Effects > Drop Shadow of your choice. Position of your choice.
- 19 - Edit > Copy Special > Copy Merged. Image > Add Bordes > 1px - simmetric - black color. Selections > Select All.
- 20 - Image > Add Bordes > 48px - simmetric. Selections > Invert. Edit > Paste into selection. Adjust > Blur > Gaussian Blur: 30
- 21 - Effects > Plugin Penta.com Jeans
Adjust > Sharpness > Sharpen. Selections > Invert. Effects > 3D Effects > Drop Shadow: 0/0/80/30/ #000000. Selections > Select None. Image > Add Bordes > 1px - simmetric - black color.
- 22 - Edit > Copy in texto.png Edit > Paste a new layer. Colorize as you prefer . Effects > 3D Effects > Drop Shadow of your choice. Position of your choice.
- 23 - If you wish, resize your work. Apply your watermark or signature. File > Export > JPEG Optimizer.
- - - - - - - - -
You have finished the tag. I hope that you enjoyed.
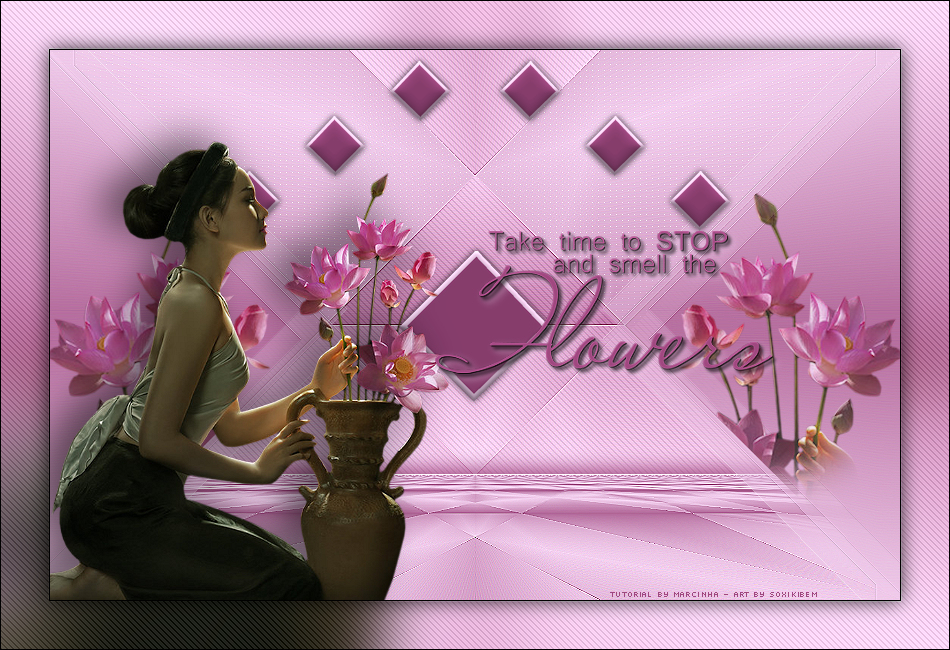
VERSION 2
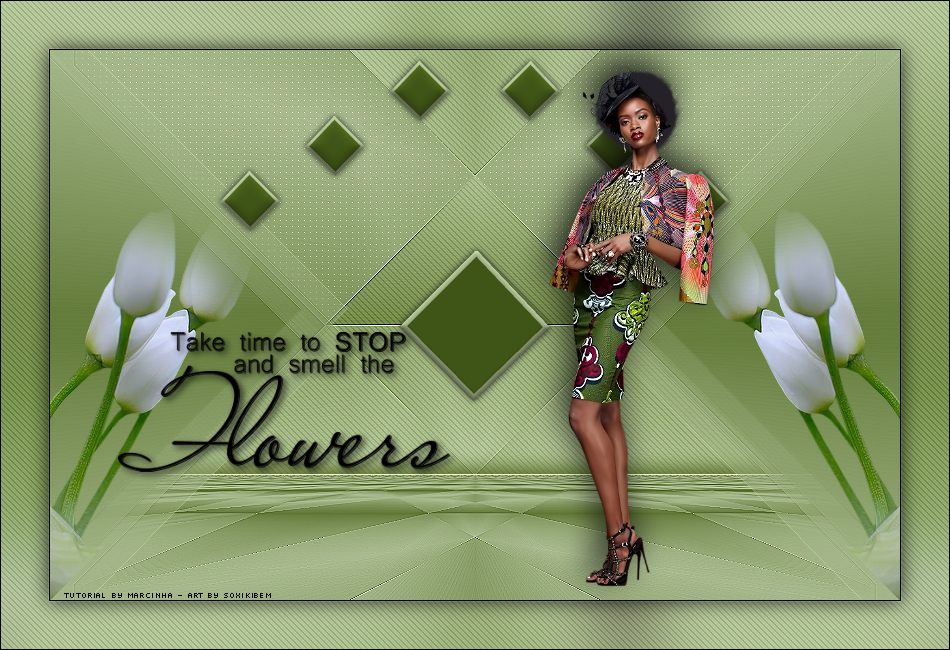
VERSION 3
CR EDITS:Tutorial by Márcinha Version 1 & 2: Tube by CickaDesign Version 1: Flower by Animabelle Version 3: Tube & Flower by Animabelle Remaining material provided by tutorial author
|