|

English Translation by Soxikibem
Original Tutorial

MATERIAL
1 Main Tube
of your choice

PLUGINS
Greg's Factory Output Vol. II > Pool Shadow
Plugin Mehdi > Sorting Tiles
AAA Frames >
Foto Frame
Tutorial
created on PSP 2018
TUTORIAL
- 1 -
Open the tube, duplicate
and close the original.
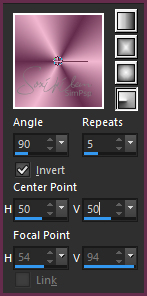
Choose two colors to
form a Radial Grandient,
a dark foreground color (# 652c4c)
and a light background color
(# f1b7d0).
- 2 -
Open a 700x500px
transparency image.
Paint with the gradient
formed.
- 3 -
Adjust > Blur > Gaussian Blur: Radius/10
- 4
-
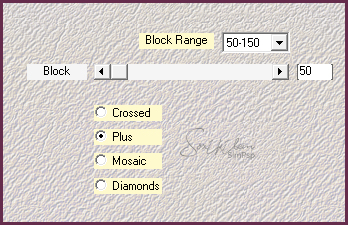
Plugin Mehdi > Sorting Tiles.
- 5 -
Effects > Edge Effects > Enhance.
- 6 -
Layers >
New Raster Layer.
- 7-
Selections > Selection All.
Selections > Modify >
Contract: 60 and paint with light color.
- 8 -
Layer > New
Raster Layer
and
paint with dark color.
- 9 -
Apply mask Narah_Mask_1199.
Layers > Merge> Merge Group.
- 10 -
Layer > New
Raster Layer
and
paint with dark color.
- 11-
Selections > Modify > Contract: 1
Hit the
delete key on the keyboard.
- 12-
Selections > Selection None.
- 13 -
Click on
mask layer (Group - Raster 3).
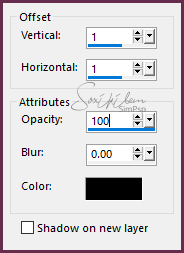
Effects >
3D Effects > Drop Shadow.
- 14 -
Adjust > Sharpness > Sharpen.
- 15 -
Edit > Copy
on your Tube.
-
16 -
Enable
layer Raster 2.
Selections > Selection All.
Selections > Modify > Contract: 60.
- 17-
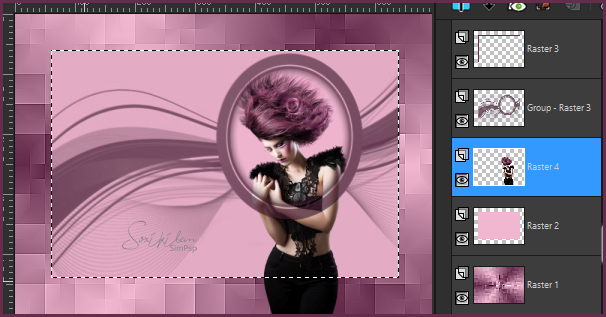
Edit > Paste a New Layer.
Arrange part of
your tube inside the mask frame.
* Be careful not
to move the layer that is applied to maks.
Tip: To move the
tube click and hold the part that is outside the
selection.
- 18 -
After positioning
the tube inside the mask frame go to
Selections
> Invert and then press the delete key on the keyboard,
thus erasing the
part of the tube that was left out of the selection and the
frame.
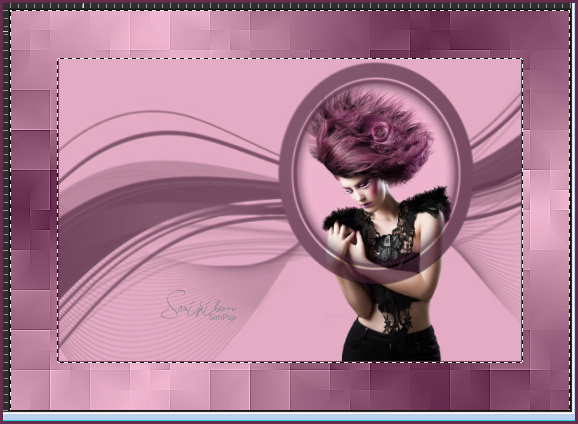
- 19 -
Selections > Selection None.
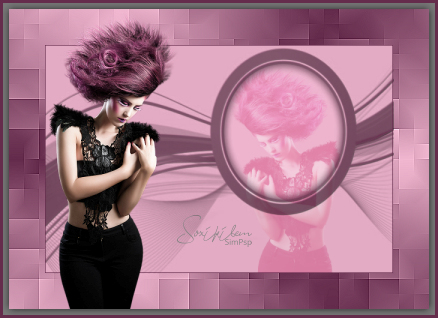
- 20 -
Change the Blend Mode of
this layer to Soft Light.
- 21 -
Copy again
on Tube.
Enable
Layer Raster 3.
Edit >
Paste a New Layer.
Image > Mirror and position left.
- 22-
Layers >
Duplicate.
Close the
visibility of the Copy layer.
- 23 -
Click on the tube layer
that is visible.
Layers> Merge Visible.
- 24 -
Plugin AAA Frames>Foto Frame.

-
25 -
Selections > Selection All.
Selections > Modify > Contract: 30.
- 26 -
Selections > Invert.
- 27 -
Plugin Greg's Factory Output Vol. II > Pool Shadow.

Edit >
Repeat Pool Shadow.
- 28
-
Selections > Select None.
-
29 -
Open
and enable the visibility of the tube layer.
- 30 -
Effects >
3D Effects > Drop Shadow.
- 31-
Type a sentence or copy and paste
a word art.
- 32 -
Image > Add
Borders: 2px, Black color.
- 33 -
Sign your
work and save in jpeg.

CREDITOS VERSĂO 1&2:
Tutorial by
Márcinha'19 - Tube by Animabelle
- Mask by Narah - WordArt by KathyFrances


|
Tutorial created by Marcinha / Agosto / 2018
- revised June 2019 - for SIM-PSP. It may
not be copied, removed from its place,
translated or used in learning lists or
groups without the prior consent of the
author. |
|