PLUGINS
Crescent Moon - Cut Glass
FM Tile Tools - Blend Emboss
AFS (IMPORT)
Guidance for this tutorial by Li Pereira
Very simple tutorial to do, but the challenge is to be able
to create beautiful graphics
and use the right shades, to get an effect close to or
similar to the model, or according to
its creation. I made two examples, a light and a dark;
in example 2 I created light color graphics to demonstrate
that it is possible
get good results also with light colors.
Tip: the secret is to choose blend modes and transparency
"Check the author's versions on the original tutorial page"
TUTORIAL
1.Open a 900x600 layer;
2. Paint with the gradient - fore #7a0427 back #fef693
as in the print below
3. Select, copy the flower tube and paste in the selection;
none
4. Effects / image effects / semless tile (default) and
again semless tile, changing to "side by side"
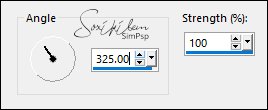
5. Adjust/blur/motion blur, Three times
6. Effects/edge effects/enhance more
7. Plugin Crescent Moon/cut glass: 2/30/0;
8. New layer select; copy graph 1 (or your choice) and
paste;
9. Change blend mode to soft light; merge visible.
10. New layer and load the selection lili_1;
11. copy grafico_2 (or your own) and paste in the selection;
change blend mode to multiply;
12. Effects/3D effects/drop shadow:
5/5/100/50 balck color and select none;
13. New layer and load the selection lili_2; copy
folhas_lili (or a mist of
foliage of your choice) and paste in the selection;
14. Change blend mode to screen (or other);
15. FM Tile Tools / blend emboss plugin 2 times and deselect;
16. Effects/Effects 3D/ drop shadow: 5/-22/100/50,
twice
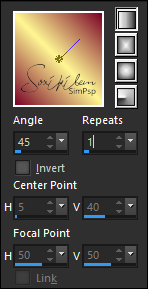
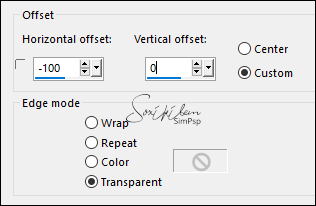
17. Open the tube of the Colibrix flower, copy and paste in
your work;
resize 80% 2 times and effects / image effects off set as
below
18. Select the Warp Brush tool in the following
configuration

click with the selected preset in the middle of the flower
so that it gives movement to the flower
as in the model or similar (or as you
find more beautiful, or if you use another flower);
19. Drop shadow: 5/-22/100/50
20. Open Gabry's tube (or one of your choice) and resize 90%
if necessary,;
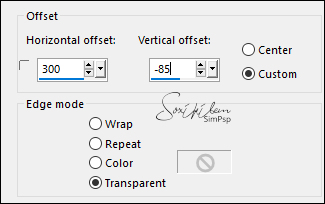
21. Effects/image effects/off set:
22. Duplicate the tube and in the original apply adjust /
blur / guassian blur 10,
23. Effects / image effects / Off set as below or in the
configuration
better for the tube you are using
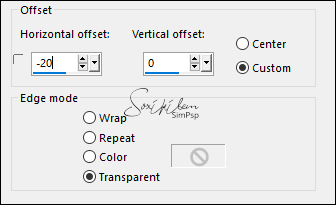
change blend mode if necessary
24. Move below the flower layer, copy and paste the text
position as in the model;
merge visible;
25. reserve a copy to make the border.
Borders
a.add borders: 1 px background color #ffbbe6 ;
b.add borders 40px with any color; select this border;
c. new layer and paste the image you copied;
d. Plugin AFS (IMPORT)/tilemirr, (default)
e. With the magic wand configured as below

select the white parts and delete on the keyboard,
f. Plugin Alien Skin Eye Candy/Impact/glass with the preset
"spring" that you imported;
g. drop shadow 5/5/100/50 color #a31a22, twice;
h. select none and merge visible
i. add borders 1 px #ffbbe6
j. apply my watermark, sign and save