|
Tutorial By Li Pereira English Translation by Soxikibem Original Tutorial
MATERIAL 1 Main Tube of your choice city_li masknoisette-celia sel.city1_li.PspSelection VSP_186 VSP_191 text
PLUGINS Sem Plugins
Guidance for this tutorial by Li Pereira Leave "ruller" enabled (in View).
TUTORIAL 1. Open a 980 x 600 px transparency.
2. Paint with #1d2635 (or the color that matches your tube).
3. Layers > New Raster Layer and paint with color #e81212.
4. Layers > New Mask Layer > From Image: VSP_186. Layers > Merge > Merge Group. Layers > Duplicate. Layers > Merge > Merge Down.
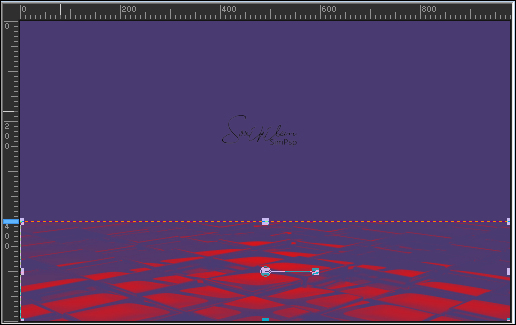
5. With the raster deform tool pull the layer down to the
height of 400 in vertical ruler
6. Layers > New Raster Layer and paint with color #27d37c.
7. Layers > New Mask Layer > From Image: VSP_191. Layers > Merge > Merge Group. Layers > Duplicate. Layers > Merge > Merge Down.
8. Layers> New Raster Layer and paint with #FFFF3F. Layers > New Mask Layer > From Image: noisette_celia, witn INVERT checked. Layers > merge > Merge Group.
9. Layers > New Raster Layer. Selections > Load/Save Selections > Load Seletion From Disk: sel.city_li. Paint this selection with the color #e81212 (or one that matches your tube).
10. Layers > New Mask Layer > From Image: city_li. Layers > Merge > Merge Group. Selections > Select None. Layers > Arrange > Move Down. Selections > Select None. Layers > Merge > Merge Visible.
Borders
1px #e81212 (or the color you used in item 9) Image > Resize: 80%. Edit > Paste the New Layer in your work.
12. Effects > 3D Effects > Drop Shadow as you prefer.
13. Edit > Copy in the texto. Edit > Paste a New Layer.
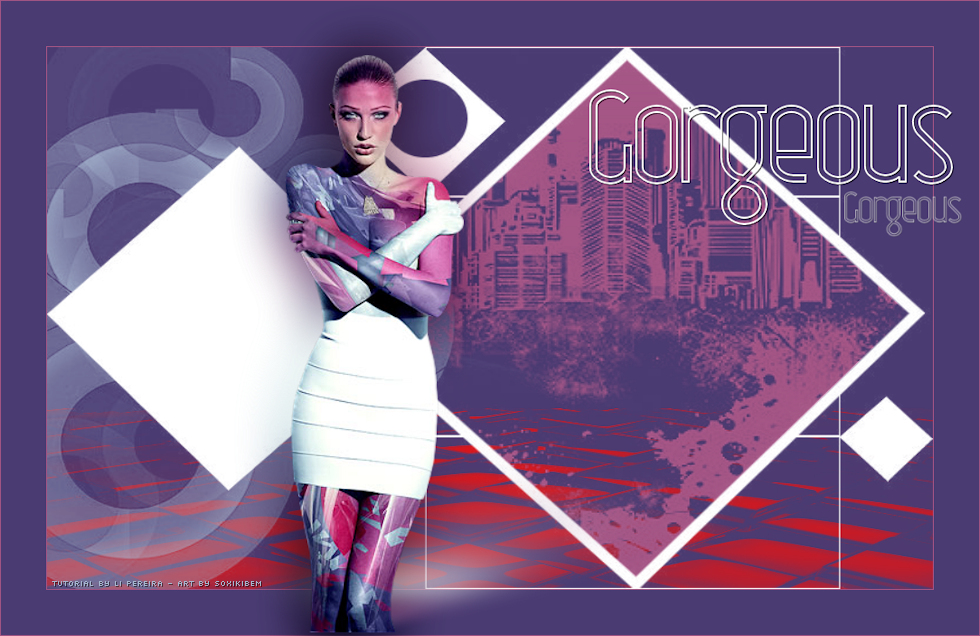
14. Sign your work and resize the image to 980 x 600 px.
Credits Main tube by Nicole - Remaining material provided by Li Pereira
Tutorial by Li Pereira
Feel free to send your versions. I will be happy to publish them on our website.
|