|
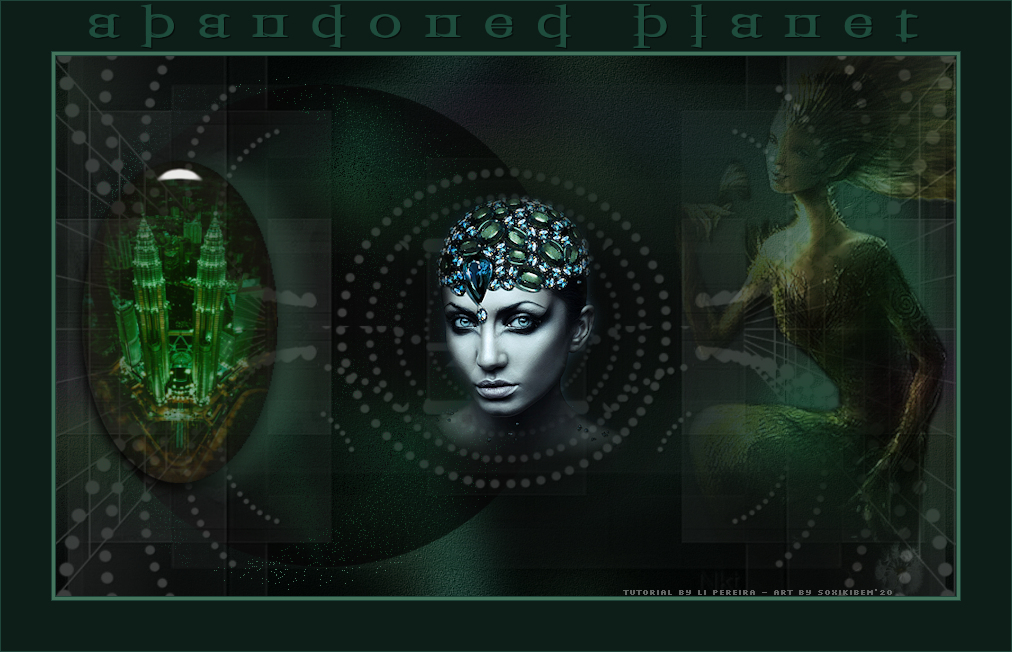
Tutorial By Li Pereira English Translation by Soxikibem Original Tutorial
MATERIAL 1 Misted face of your choice
PLUGINS Alien Skin Eye Candy
Adjust
Guidance for this tutorial by Li Pereira This tutorial is very simple to do, but the challenge is to always work in dark colors and find the right images for your art.
The images are all misted, except the one used to make the
background of the work. TUTORIAL
Foreground #1f4439 Background #45765d
2. Open a transparent image of 1000x600px.
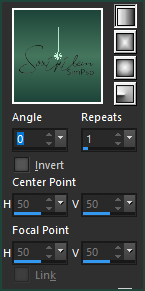
3. Paint this transparency with a Linear gradient formed by the chosen colors.
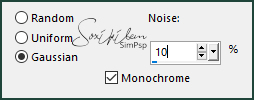
4. Adjust > Add/Remove Noise > Add Noise
5. Plugin Graphics Plus > Emboss: Deafult.
6. Layers > New Raster Layer. Selections > Select All. Edit > Copy in the tube femme 437-coly.
*We will use this tube only for the color effect. But if you change this, skip item 9.* Selections > Select None.
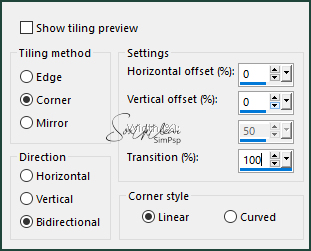
7. Effects > Image Effects > Seamless Tiling.
8. Adjust > Blur > Guassian Blur: 30.
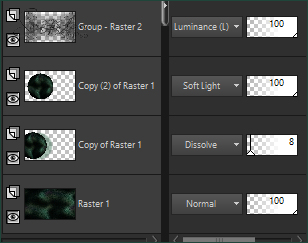
9. Layers > Properties: Blend Mode Multiply. Layers > Merge > Merge Down.
10. Layers > Duplicate.
11. Effects > Geometric Effects > Circle. Image > Resize: 90%
12. Layers > Duplicate. Activate the Copy of Raster 1 layer.
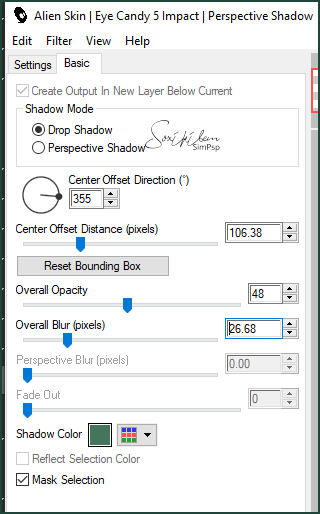
13. Plugin Alien Skin > Eye Candy > Impact > Perspective Shadow.
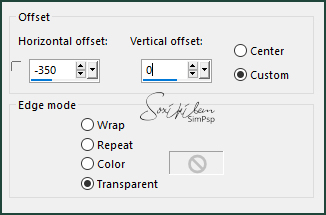
Layers > Properties: Blend Mode Dissolve, Opacity 8%. Opacity will vary depending on the colors you use. Effects > Image Effects > Offset.
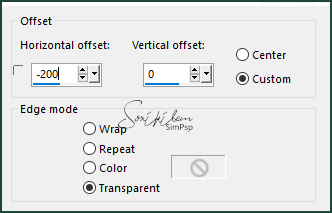
15. Activate the Copy (2) of Raster 1. Effects > Image Effects > Offset
Layers > Properties: Blend Mode Soft Light.
16. Layers > New Raster Layer. Paint this layer with the color of the foreground. Layers > New Mask Layer > From Image: 1250181869_nikita_masques, With Invert Transparency checked. Layers > Merge > Merge Group. Effects > 3D Effects > Drop Shadow: 1, 1, 70, 1, black color.
17. Plugin Adjust > Variations: Clicking once on BLUE and 10 times on darken, if you use the same colors as the original tutorial, otherwise just darken your preference. Layers > Properties: Blend Mode Liminance [L].
18. Layers > New Raster Layer. Selections > Load/Save Selection > Load Selection From Disk: urbana1.PspSelection.
19. Edit > Copy in the Misted City. Edit > Paste Into Selection.
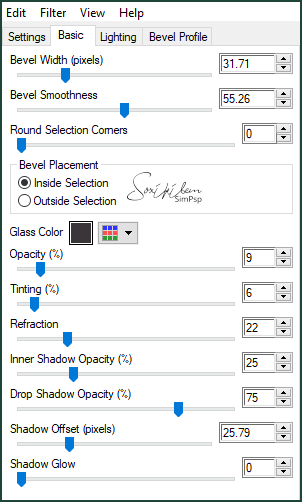
20. Plugin Alien Skin > Eye Candy > Impact > glass: glass_majo.f1s. Apply twice.
Effecs > 3D Effects > Drop Shadow: 0, 33, 30, 40, with background color. Selections > Select None.
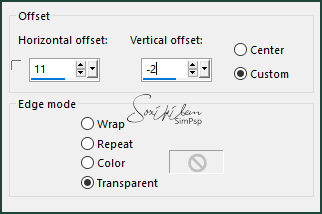
21. Edit > Copy on Misted Facial. Edit > Paste a New Layer. Effects > image Effects > Offset.
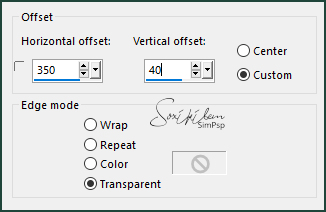
22. Edit > Copy on Misted 532760629fbd00fcc30401f01a7dc064 or another of your preference. Edit > Paste a New Layer. Effects > image Effects > Offset.
Layers > Properties: Blend Mode Dodge or another of your preference.
23. Image > Resize 90%, all layers checked. Image > Add Borders: 1px #a48797 background color 3px #1f4439 foreground color 1px #a48797 background color 50px #0e0209 1px #a48797 background color Edit > Copy in text_li.pspimage. Edit > Paste a New Layer. Effects > Image Effects > Offset.
24. Plugin Adjust: click once on darken as you like.
25. Effects > 3D Effects > Drop Shadow: 1, 1, 70, 1, color #000000.
26 - Apply your watermark or signature. Apply the watermark of the tutorial author. File > Export > Jpeg Optimizer.
Credits Version 1: Main tube by Colybrix - fee pissenlit tub by MM - Mask by Narah Version 2: Tubes Femme by Nikita - Image received in a group of exchanges without the author's name
Remaining material provided by Li Pereira Tutorial by Li Pereira
Feel free to send your versions. I will be happy to publish them on our website.
|