|
Tutorial By Li Pereira English Translation by Soxikibem Original Tutorial
MATERIAL 1 Misted face of your choice Remaining of the necessary material attached
PLUGINS Nick Software Color Efect 3.0
Guidance for this tutorial by Li Pereira
This tutorial is very easy, but the big challenge is
knowinghow to play with the colors (using Nick Softweare,
for example) in the tubes that must be the same, except for
the girl's face, which you can choose one to your liking.
You can color, lighten or darken the "background" more
according to the colors of the "girl" tube you choose. To do
this, open a layer on it, paint with a color from your
"girl" tube and change the blend mode until you are
satisfied. After that, blend visible and lighten or darken
this background to match your tube. TUTORIAL 1 - Open a layer of 1000x750 px. Selections > Select All.
2 - Edit> Copy in the "fundo" image. Edit > Paste Into Selection. Selections > Select None.
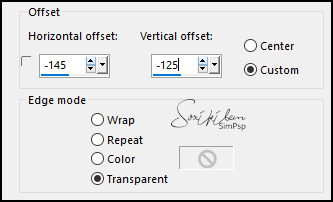
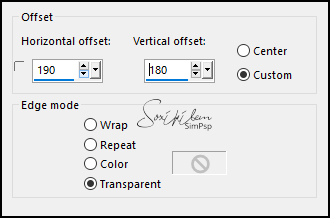
3 - Open the" tubeclaudiaviza-flores191" tube. Edit > Copy. Edit > Paste a New Layer. Effects > Image Effects > Offset.
4 - Open the Msted Face. Edit > Copy. Edit > Paste a New Layer. Leave it this way.
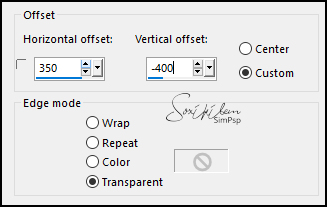
5 - Open the Tube "flor1". Edit > Paste a New Layer. Effects > Image Effects> Ooffset.
Layers > Properties: Blend Mode Multiply.
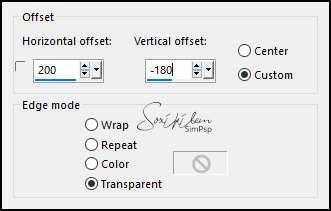
6 - Open the "flor2". Edit > Copy. Edit > Paste a new Layer. Eeffects > Image Effects > Offset.
Layers > Properties: Blend Mode Multiply.
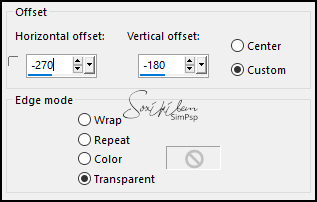
7 - Open the tube "calguischinesepaintingZouchuanAn26102011". Edit > Copy. Edit > Paste a New Layer. Effects > Image Effects > Offset.
8 - Open the tube "flor 3". Edit > Copy. Edit > Paste a New Layer. Effects > Image Effects > Offset.
Layers > Properties: Blend Mode Overlay.
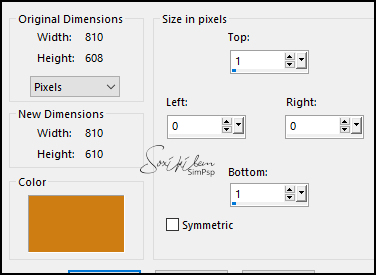
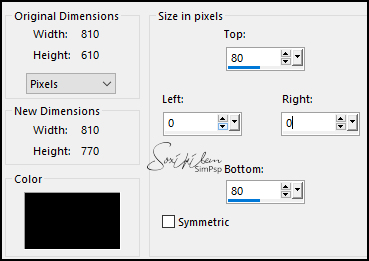
10 - Image > Resize: 90%, all layers checked. 2 Times. 1px color #cd7d12
80px color "000000
Image > Add Borders 1 px "Symetric" marcado cor #cd7d12.
11 - Open the tube "coquelicot_li". Edit > Copy. Edit > paste a New Layer. Image > Resize: 60%, All Layers unchecked. Image > Flip > Flip Horizontal. Position according to model.
12 - Effects > 3D Effects > Drop Shadow: 0, 0, 100, 50, black color.
13 - Open the "deco_li". Edit > Copy. Edit > Paste a New Layer. Position the left. Layers > Duplicate. Image > Mirror > Mirror Horizontal. Layers > Merge > Merge Visibile.
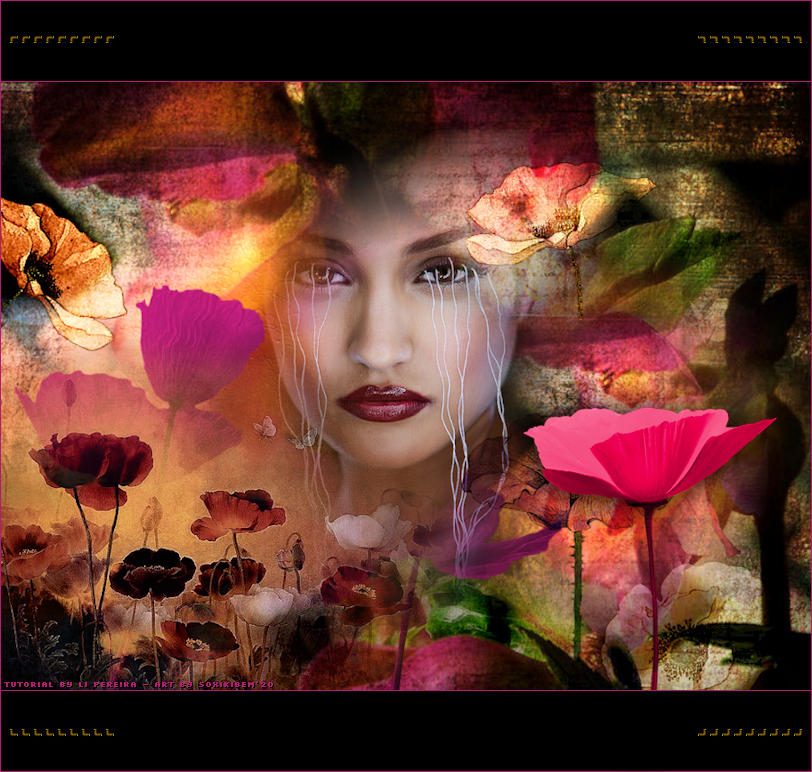
14 - Apply your watermark or signature. Apply the watermark of the tutorial author. File > Export > Jpeg Optimizer.
Credits Version 1: Misted by Mina - Version 2: Misted by Christin
Remaining material provided by Li Pereira Tutorial by Li Pereira
Feel free to send your versions. I will be happy to publish them on our website.
|