|
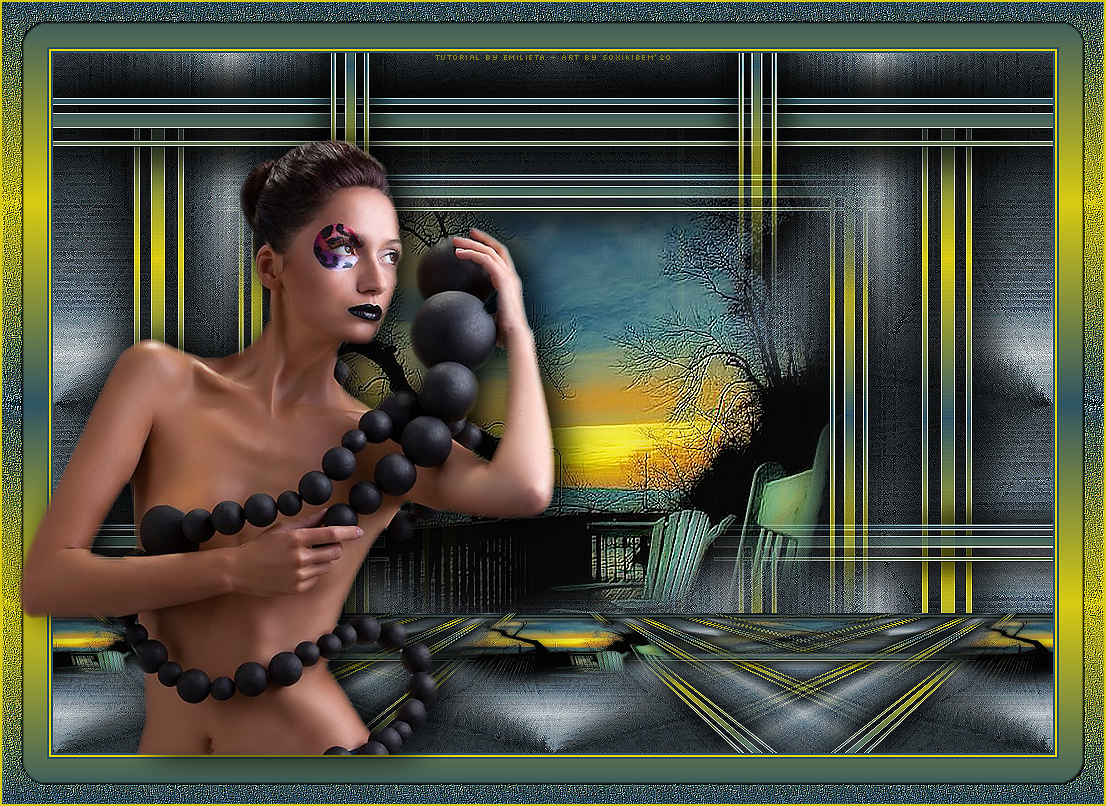
Tutorial By Emilieta English Translation by Soxikibem Original Tutorial
MATERIAL 1 Main Tube of your choice 1 Misted Landscape Canal-alfa-THREE masck-Fade-suave Gradient: SKTIGERSEYE.JGD
Pluguins Fantastic Machine FM Tile Tool Mura's Meister
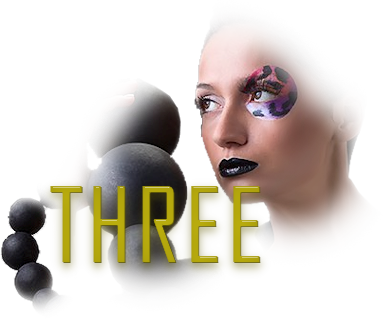
TUTORIAL 1 - Open the Canal-alfa-THREE.Duplicate (Shift + D) and close the original. Rename the Trama 1 Layer to Raster 1.
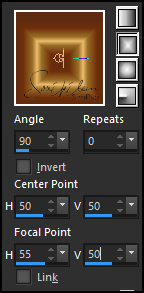
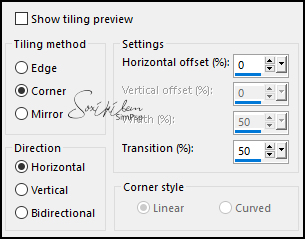
2 - Place the SKTIGERSEYE gradient on material configured as below.
Paint the transparency with this gradient. These are the colors of the original tutorial Colorize according to the colors you are using.
3 - Effects > Edge Effects > Enhance More.
4 - Effects > Image Effects > Seamless Tiling: Default.
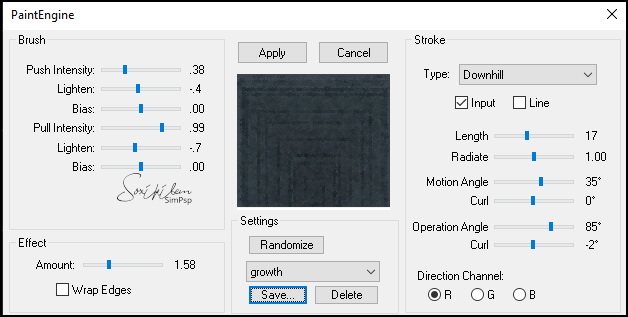
5 - Plugin Fantastic Machine > Paint Engine.
6 - Effects > Edge Effects > Enhance.
7 - Choose two colors to work with. Here I used: Foreground: #2f5465 Background: #d9cb11
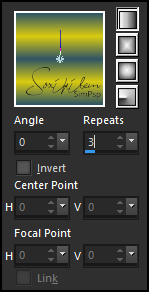
8 - Prepare a Linear Gradient as in the print below.
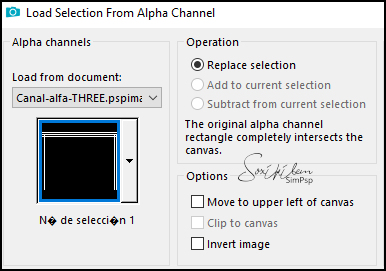
9 - Selections > Load/Save Selections > Load Selection From Alpha Channel: seleccion 1.
10 - Layers > New Raster Layer. Paint with the Gradient. Selections > Select None.
11 - Effects > Edge Effects > Enhance More.
12 - Effects > 3D Effects > Drop Shadow: 1, 1, 100, 2, back color. Effects > 3D Effects > Drop Shadow: -1, -1, 100, 2, back color.
13 - Effects > 3D Effects > Drop Shadow: 20, 20, 100, 50, back color. Effects > 3D Effects > Drop Shadow: -20, -20, 100, 50, back color.
14 - Layers > Duplicate. Image > Resize: 75%, all layers unchecked.
15 - Effects > Image Effects > Seamless Tiling: Default.
16 - Adjust > sharpness > Sharpen.
17 - Activate the raster layer 2. Layers > Duplicate.
18 - Effects > Image Effects > Seamless Tiling.
19 - Edit > Copy in the Landscape tube. Edit > paste a New Layer.
20 - Image > Resize: 75%, all layers unchecked. *Change the percentage according to your tube.
21 - Adjust > Sharpness > Sharpen. Edit > Repeat Sharpen.
22 - Plugin FM Tile Tools > Blend Emboss: Default.
23 - Layers > Arrange > Move Down. Layers > Merge > Merge Visible.
24 - Edit > Copy (Reserve).
25 - Layers > New <ask Layer > From Image: masck-Fade-suave. L ayers > Duplicate.Layers > merge > Merge Group.
26 - Edit> Paste to New Layer the image copied above.
27 - Plugin Mura's Meister > Perspective Tiling.
28 - Effects > Image Effects > Seamless Tiling.
29 - Image > Add Borders: 2px foreground color 2px background color 2px foreground color 45px background color
30 - With the magic wand tool select the 45px border. Paint with the Linear Gradient.
31 - Selections > Invert. Selections > Modify > Expand: 25. Selections > Invert.
32 - Plugin > Fantastic Machine > Paint Engine.
33 - Effects > Edge Effects > Enhance More.
34 - Plugin FM Tile Tools > Blend Emboss: Default.
35 - Effects > 3D Effects > Drop Shadow: 1, 1, 100, 2, black color. Effects > 3D Effects > Drop Shadow: -1, -1, 100, 2, black color. Selections > Select None. Adjust > Sharpnes > Sharpen.
36 - Edit > Copy on the Main Tube. Edit > Paste a New Layer.
37 - Image > Resize: 65%, all layers unchecked. *Decrease the percentage according to the size of your tube.
38 - Adjust > Sharpness > Sharpen Edit > Repeat Sharpen. Position to the left according to the model.
39 - Effects > 3D Effects > Drop Shadow: 0, 12, 100, 50.
40 - Image > Add Borders: 2px, background color.
41 - Sign or apply your watermark.
42 - Layers > Merge > Merge All.
43 - File > Export > Jpeg Optimizer.
CREDITS: Main Tube by Josy - Landscape by Nena Silva - Remainder of material provided by Emilieta
Tutorial by Emilieta
Feel free to submit your versions. I'll be happy to post them on our site.
|