|
Tutorial By Emilieta English Translation by Soxikibem Original Tutorial
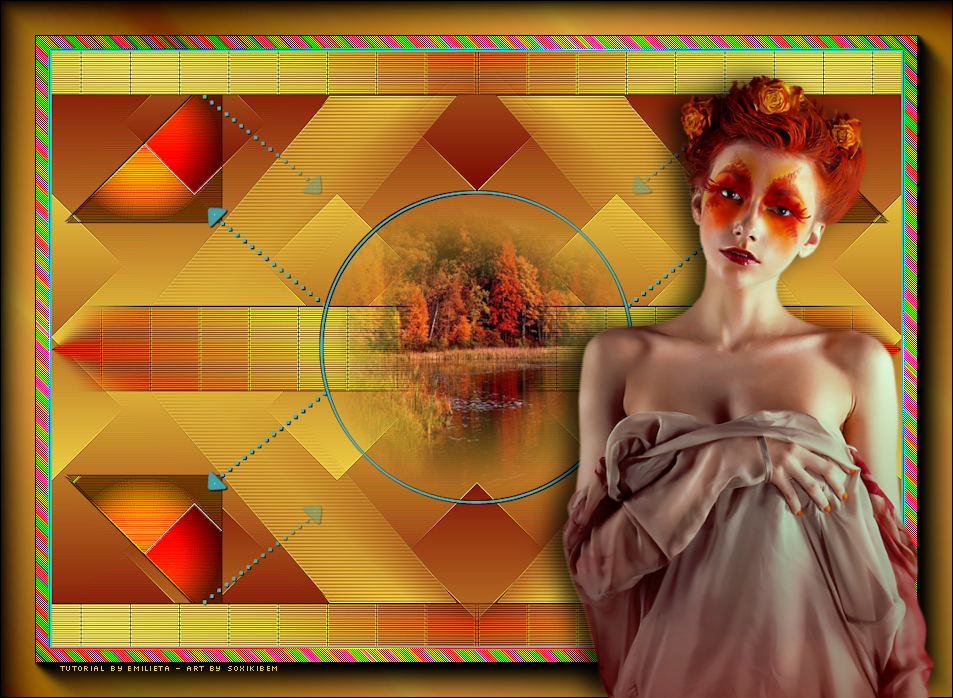
MATERIAL 1 Main Tube of your choice 1 Misted Landscape Canal-Alfa-For you Adorno puntos
Pluguins AAA Frame Carolaine and Sensibility FM Tile Tools Mehdi
EXECUTION -1- Open your material, duplicate and close the originals. Choose two colors to work with .Here I used: Foreground: #1e3a56 Background: #7798cf
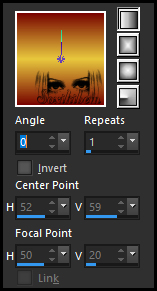
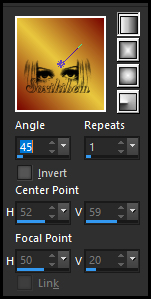
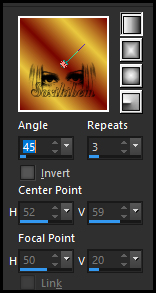
-2- Prepare a gradient formed by the colors you choose.
-3- Open Canal-Alfa-For you. Paint with the gradient.
-4- Effects > Edge Effects > Enhance.
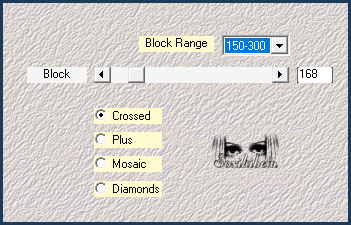
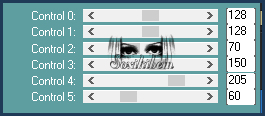
-5- Plugin Mehdi > Sorting Tiles.
-6- Effects > Edge Effects > Enhance.
-7- Selections > Load/Save Selections > Load Selection From Alpha Channel: For you-N de selection 1.
-8- Selections > Promote Selection to layer. Plugin Carolaine and Sensibility > CS-Reflection.
-9- Effects > Edge Effects > Enhance.
-10- Plugin FM Tile Tools > Saturation Emboss: Default.
-11- Effects > 3D Effects > Drop Shadow: 1, 1, 100, 0, black color. Effects > 3D Effects > Drop Shadow: -1, -1, 100, 0, black color.
-12- Layers > Duplicate. Selections > Select None. Image > Mirror > Mirror Vertical. Layers > Merge > Merge Down.
-13- Selections > Load/Save Selections > Load Selection From Alpha Channel: For you-N de selection 2. Selections > Promote Selection to Layer. Paint with gradient.
-14- Plugin Carolaine and Sensibility > CS BRectangles.
-15- Effect > Edge Effects > Enhance.
-16- Effects > 3D Effects > Drop Shadow: 1, 1, 100, 0, black color. Effects > 3D Effects > Drop Shadow: -1, -1, 100, 0, black color. Selections > Select None.
-17- Selections > Load/Save Selections > Load Selection From Alpha Channel: For you-N de selection 3. Selections > Promote Selection to Layer.
-18- Paint with the gradient of item 13.
-19- Plugin Carolaine and Seinsibility > CS-HLines: 2, 0, 10. Effects > Edge Effects > Enhance.
-20- Effects > 3D Effects > Drop Shadow: 1, 1, 100, 0, black color. Effects > 3D Effects > Drop Shadow: -1, -1, 100, 0, black color. Selections > Select None.
-21- Layers > Arrange > Move Down.
-22- Layers > Duplicate. Image > Mirror > Mirror Vertical. Layers > Merge > Merge Down.
-23- Activate the Promoted Selection 1 (rectangle). Layers > Merge > Merge Down.
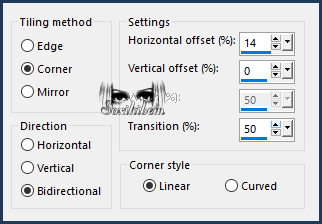
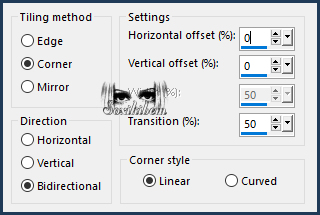
-24- Image > Effects > Seamless Tiling.
-25- Layers > Merge > Merge Visible.
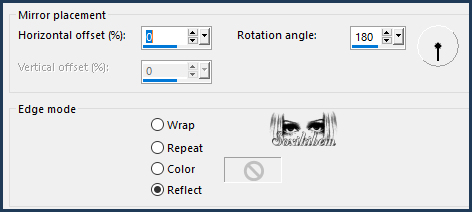
-26- Effects > Reflection Effects > Rotating Mirror.
-27- Selections > Load/Save Selections > Load Selection From Alpha Channel: For you-N de selection 4. Selections > Promote Selection to Layer. Edit > Copy in the Misted Landscape. Edit > Paste Into Selection. Keep Selection.
-28- Layers > Duplicate. Edit > Repeat Duplicate Layer. You will have 3 layers of the landscape.
-29- Enable Layer Copy of Promoted Selection. Layers > Properties: Blend Mode Multiply. Adjust > Sharpness > Sharpen. Edit > Repeat Sharpen.
-30- Layers > New Raster Layer. Layers > Arrange > Bring to Top.
-31- Paint with the color #56b1bd. Selections > Modify > Contract: 3. Press the delete key on the keyboard. Selections > Select None.
-32- Edit > Copy on Adorno puntos. Edit > Paste a New Layer.
-33- Effects > 3D Effects > Drop Shadow: 1, 1, 100, 0, black color. Layers > Duplicate.
-34- Effects > Image Effects > Seamless Tiling.
Layers > Merge > Merge Down.
-35- Layers > Arrange > Move Down. Activate the circle layer, Raster1. Effects > 3D Effects > Drop Shadow: 1, 1, 100, 0. Effects > 3D Effects > Drop Shadow: -1, -1, 100, 0.
-36- Image > Add Borders: 2px, color #56b1bd Image > Resize: 85% Selections > Select All. Image > Add Borders : 50px, foreground color. Selections > Invert. Paint with the gradient as below.
-37- Effects > Edge Effects > Enhance, (3 Times).
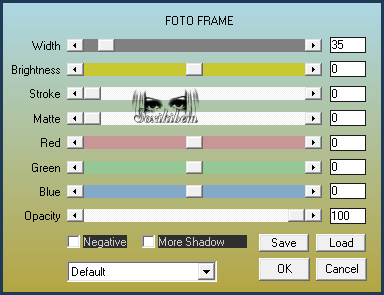
-38- Plugin AAA Frames > Foto Frame.
Edit > Repeat Foto Frame. Selections > Select None.
-39- Edit > Copy in the Main Tube. Edit > Paste a New Layer. Resize if necessary. Place on the right of the work. Effects > 3D Effects > Drop Shadow: 0, -15, 80, 35.
-40- Apply your watermark or signature. File > Export > JPEG Optimizer...
CREDITS: Tube & Misted by Lily - Remainder of material provided by Emilieta
Tutorial by Emilieta
Feel free to submit your versions. I'll be happy to post them on our site.
|
