|
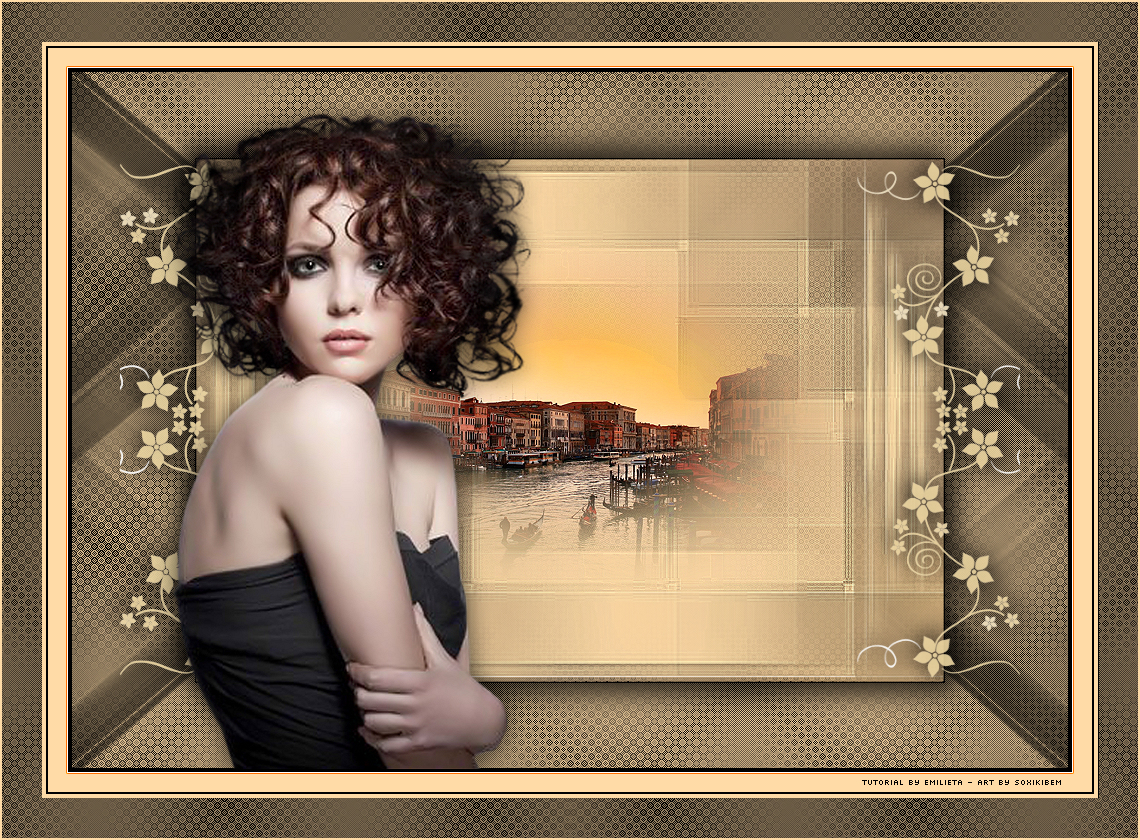
Tutorial By Emilieta English Translation by Soxikibem Original Tutorial
MATERIAL 1 Main Tube of your choice 1 Landscape Tube of your choice deco1 Haruko.png- en verde Masks: 073f08fa and cas_Mask_0115_05
Pluguins L en K's
EXECUTION -1- Open your material, duplicate and close the originals. Choose two colors to work with .Here I used: Foreground: black color Background: #ffdba7
-2- Open a 1000x700px Transparency. Selections > Select All. Edit > Copy in the LandscapeTube. Edit > Paste Into Selection. Selections > Select None.
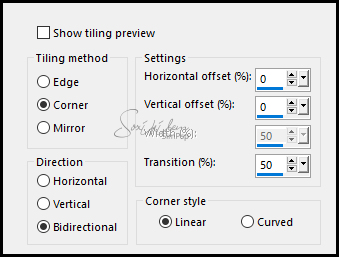
-3- Effects > Image Effects > Seamless Tiling.
-4- Layers > Duplicate. Image > Mirror > Mirror Horizontal. Layers > Properties: Opacity 50%. Layers > Merge > Merge Down.
-5- Effects > Image Effects > Seamless Tiling.
-6- Adjust > Blur > Radial Blur.
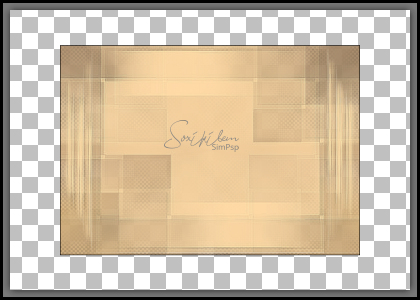
-7- Layers > New Raster Layer. Paint with the background color.
-8- Plugin L en K's > Palmyre: 255, 7. Layers > Properties: Opacity 60%.
-9- Layers > New Raster Layer. Paint with the background color. Layers > New Mask Layer > From Image: 073f08fa. Layers > Merge > Merge Group. Effects > Edge Effects > Enhance.
-10- Layers > Duplicate. Imagem > Mirror > Mirror Horizontal. Layers > Properties: Opacity 50%. Layers > Merge > Merge Visible.
-11- Layers > New Raster Layer. Paint with the black color. Selections > Select All. Selections > Modify > Contract: 2px. Hit keyboard delete key. Selections > Select None. Effects > Edge Effects > Enhance. Layers > Merge > Merge Visibile.
-12- Image > Resize: 75%, all layers unchecked.
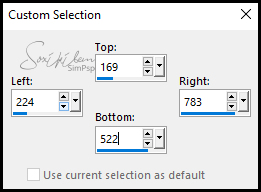
-13- Selection Tool > Custom Selection.
-14- Layers > New Raster Layer. Edit > Copy in the Landscape Tube. Edit > Paste Into Selection.
-15- Adjust > Sharpness > Sharpen Edit > Repeat Sharpen. Selections > Select None.
-16- Layers > New Raster Layer. Paint with the black color. Selections > Select All. Selections > Modify > Contract: 2px. Hit keyboard delete key. Selections > Select None. Effects > Edge Effects > Enhance. Layers > Merge > Merge Visibile.
-17- Layers > New Raster Layer. Paint with the black color. Layers > New Mask Layer > From Image: cas_Mask_0115_05. Layers > Merge > Merge Group.
-18- Layers > Duplicate. Image > Mirror > Mirror Horizontal. Layers > Merge > Merge Down. Layers > Properties: Opacity 60%.
-19- Layers > New Raster Layer. Paint with the background color. Plugin L en K's > Palmyre: 255, 7. Layers > Arrange > Move Down.
-20- Enable layer Group-Raster1. Layers > Merge > Merge Down. Layers > Arrange > Move Down.
-21- Enable Layer Merged. Effects > 3D Effects > Drop Shadow: 10, 10, 70, 35, black color. Effects > 3D Effects > Drop Shadow: -10, -10, 70, 35, black color.
-22- Image > Add Borders: * 2px black color Selections > Select All. * 20px background color Selections > Invert Effects > Edge Effects > Enhance More. 2 Times. Selections > Select None. * 2px black color * 4px background color Selections > Select All. * 40px black color Selections > Invert
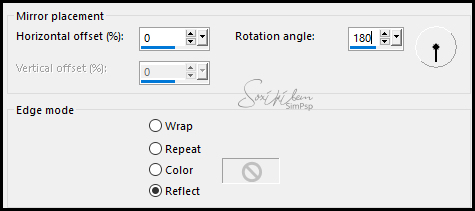
-23- Layers > New Raster Layer. Paint with the background color. Plugin L en K's > Palmyre: 255, 7. Effects > Reflections Effects > Rotating Mirror.
-24- Selections > Select None. Layers > Properties: Opacity 60%.
-25- Image > Add Borders: 2px background color.
-26- Edit > Copy in the deco1 Haruko.png- en verde. Edit > Paste a New Layer. Colorize to match the colors you are using. Layers > Duplicate. Layers > Merge > Merge Down.
-27- Effects > 3D Effects > Drop Shadow: 6, 6, 60, 30. Effects > 3D Effects > Drop Shadow: -6, -6, 60, 30.
-28- Edit > Copy in the Main Tube. Edit > Paste a New Layer. Effects > 3D Effects > Drop Shadow: 0, 0, 70, 35, black color. Erase the shadow in the bright part.
-29- Apply your watermark or signature. File > Export > JPEG Optimizer...
CREDITS: Main Tube by L&B Tubes - Landscape here - Remainder of material provided by Emilieta
Tutorial by Emilieta
Feel free to submit your versions. I'll be happy to post them on our site.
|