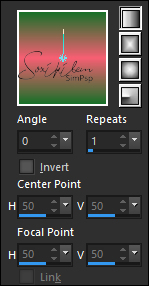
|
Tutorial By Elaine English Translation by Soxikibem Original Tutorial
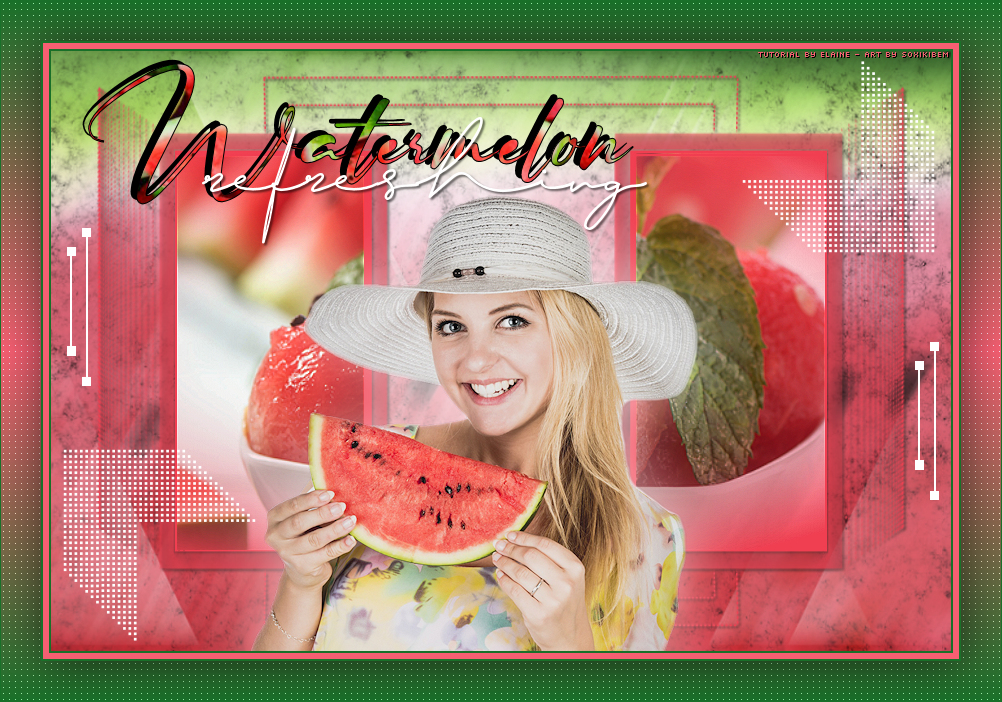
MATERIAL
- Choose a Watermelon themed image or background - A watermelon misted, if you can't find it, take a picture of watermelon and create a misted one. 1 tube of your choice Brush Watermelon - by Elaine Narah_Mask_1326 NarahsMasks_1529 titulo watermelon - by Elaine-
PLUGINS Carolaine and Sensibility Filter Unlimited 2.0 > Photo Aging Kit
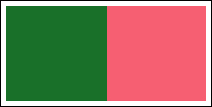
TUTORIAL 1 - Open the material on the PSP, duplicate and close the original. Choose two colors to work with:
Foreground: #197029 Background: #f65f72
2 - Open a 900 X 600px transparent image. Selections > Select All. Edit > Copy on the watermelon background. Edit > Paste Into Selection. Adjust > Blur > Motion Blur: 30, Strength 100.
3 - Filters Unlimited > Photo Aging Kit > Dirt&Dust: 128, 128.
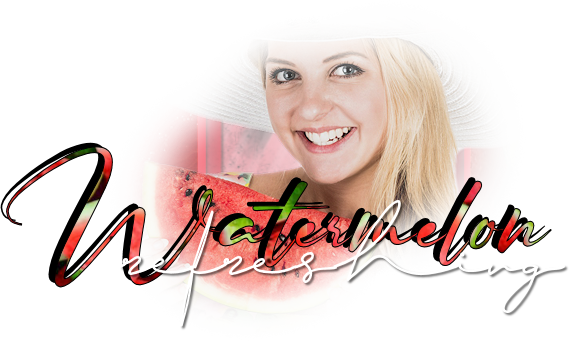
4 - Layers > New Raster Layer. Paint this layer with white color. Layers > New Mask Layer > From Image: NarahsMasks_1529. Layers > Merge > Merge Group. Layers > Properties: Opacity 70.
5 - Layers > New Raster Layer. Paint with the lightest color. Layers > New Mask Layer > From Image: Narah_Mask_1326. Layers > Merge > Merge Group. Effects > 3D Effects > Drop Shadow: 2, 2, 60, 3, black color.
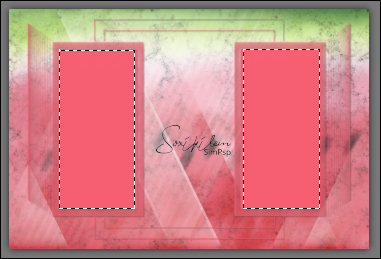
6 - With the Selection Tool mark the 2 squares as in the example.
7 - Layers > New Raster Layer. Edit > copy on the Watermelon Misted. Edit > Paste Into Selection. Selections > Select None.
8 - Edit > Copy on the Main Tube. Edit > Paste a New Layer. Effects > 3D Effects > Drop Shadow: 2, 2, 60, 100, white color.
9 - Edit > Copy on the titulo watermelon - by Elaine-. Edit > Paste a New Layer. Deform Tool: X -36, Y -6.
10 - Edit > Copy on the Brush Watermelon - by Elaine. Edit > Paste a New Layer.
11 - Layers > Merge > Merge All.
12 - Image > Add Borders: 2px dark color 6px lighter color 2px dark color
13 - Selections > Select All. Image > Add Borders: 40px with any color. Selections > Invert. paint with a gradient formed with the two chosen colors.
14 - Plugin Carolaine and Sensibility > CS-LDots.
15 - Selections > Invert. Effects > 3D Effects > Drop Shadow: 2, 2, 60, 70, black color. Selections > Select None.
16 - Image > Add Borders: 1px, dark color.
35 - Apply your Watermark or signature. File > Export > JPEG Optimizer
Credits
Main Tube:
by Elaine - Misted Watermelon by
Soxikibem
Watermelon Background
Here - Masks by Narah - Brush & Title by Elaine
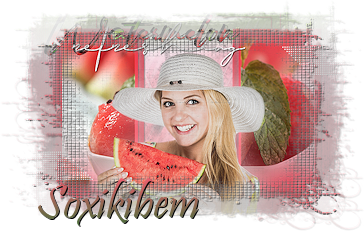 Tutorial by Elaine'20
Feel free to send your versions. I will be happy to publish them on our website.
|