|
Tutorial By CidaBen English Translation by Soxikibem Original Tutorial
MATERIAL 1 Main Tube of your choice 1 Misted Landscape of your chooice Mask_Narah_mask_1237 Decor_perle_mell
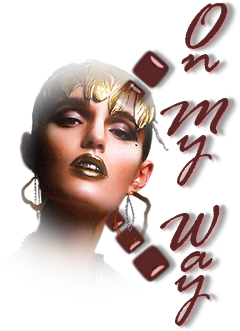
titulo_on_my_way_bycidaben
PLUGINS I.C.NET Software > Filters Unlimited 2.0... Graphics Plus AAA Frames
TUTORIAL 1 - Open the material on the PSP, duplicate and close the original. Choose two colors to work with: Foreground #6c3728 Background #f6b306
2 - Open a transparent 900 X 500 px image.
3 - Paint with a Radial gradient.
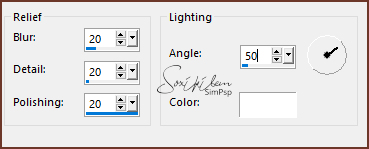
4 - Effects > Texture Effects > Polished Stone.
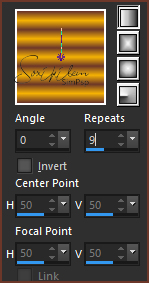
5 - Plugin I.C.Net Software > Filters Unlimited 2.0...> &<BKg Designer sf10 II > Diamonds.
6 - Layers > New Raster Layer.
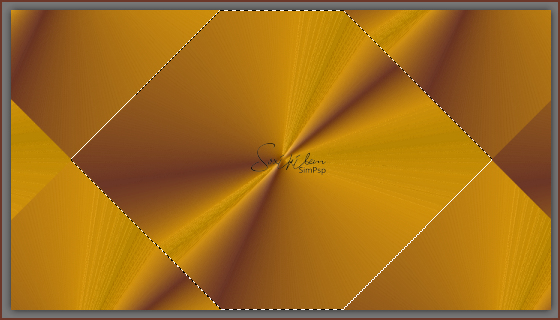
7 - With Freehand Selection, mark the central triangle as in the print.
8 - Effects > 3D Effects > Drop Shadow: 2, 2, 100, 30, Background color. Effects > 3D Effects > Drop Shadow: -2, -2, 100, 30, Background color.
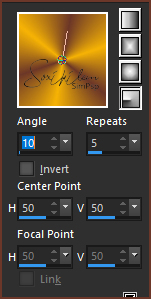
9 - Keep selection.
10 - Edit> Copy> in the Misted landscape.
11 - Edit > Paste > Into Selection Adjust Sharpness > Sharpen Selections > Select None
12 -Activate Layer Raster 1.
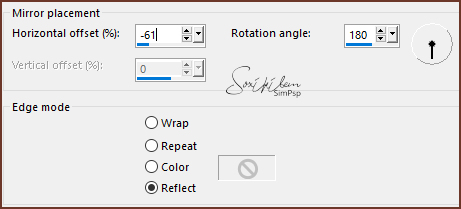
13 - Effects > Reflection Effects > Rotating Mirror.
14 - Layers > New Raster Layer > Paint with white color (#ffffff).
15 - Layers > New Mask Layer > From Image > Narah_mask_1237. Layers > Merge > Merge Group.
16 - Layers > Merge > Merge Down.
17 - Layers Duplicate.
18 - Image > Mirror > Mirror Horizontal.
19 - Image > Mirror > Mirror Vertical.
20 - Layers > Properties: Blend Mode > Overlay.
21 - Activate Layer Raster 2. Edit > Copy on the Tube. Edit Paste as New Layer - place right.
22 - Adjust > Sharpness > Sharpen.
23 - Effects > Drop Shadow > As you prefer, I used: 3, 3, 100, 70.
24 - Edit > Copy in Decor_perle_mell. With the Pick Tool: Position X 90, Position Y 132.
25 - Edit > Copy in titulo_on_my_way_bycidaben. Edit > Paste As New Layer.
26 - With the Pick Tooll: Position X 30 > Position Y 78.
27 - Effects > 3D Effects > Drop Shadow: 2, 2, 60, 2, Background color.
28 - Image > Add Borders: 02px - Foreground color 10px - Background color 02px - Foreground color
29 - Selections > Select All.
30 - Image > Add Borders: 50px, with any color.
31 - Selections > Invert.
32 - Paint with a Gradient > Linear.
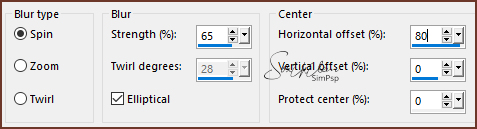
33 - Adjust > Blur > Radial Blur.
34 - Effects > Plugins > Graphics Plus > Cross Shadow > Default.
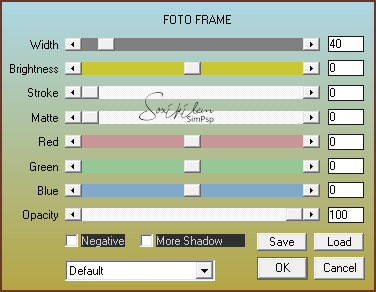
35 - Effects > Plugins > AAA Frames > Foto Frame.
Selecttions > Select None.
36 - Image > Add Borders > 1px, Foreground color.
37 - Apply your watermark or signature.
File > Export > JPEG Optimizer.
Credits
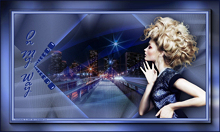
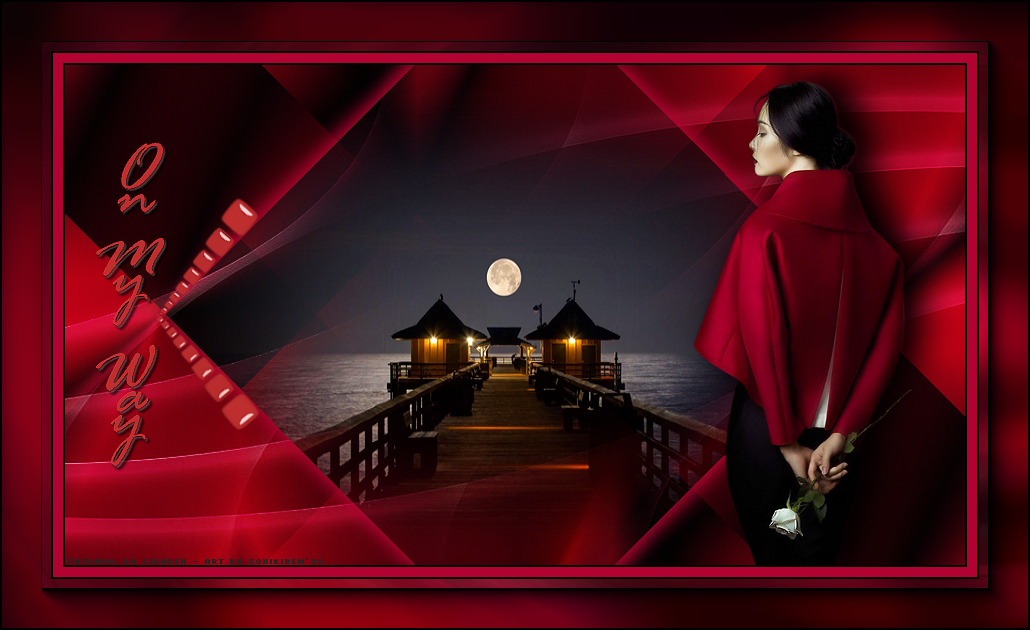
Version 1: Tube:
by Gabry - Misted Landscape: by LB
Tubes
Mask: by
Narah - Decor: perle_mell - title: by CidaBen
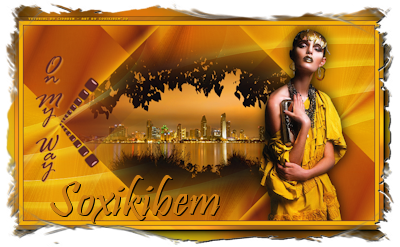 
Version 2: Tube
& Misted by LB Tubes
Mask: by
Narah - Decor: perle_mell - title: by CidaBen
Tutorial by CidaBen'20
Feel free to send your versions. I will be happy to publish them on our website.
|