|
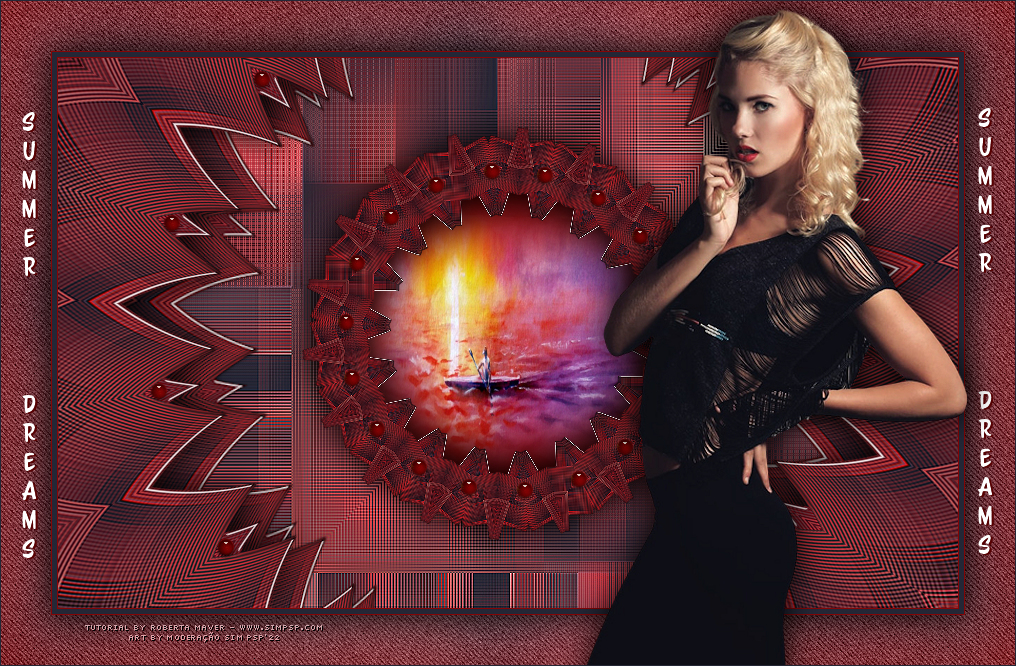
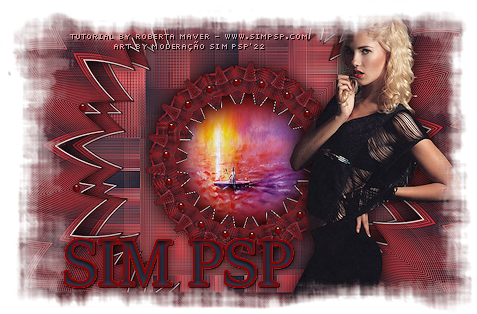
Tutorial by Roberta Maver English Translation by Moderation SIM-PSP Original Tutorial
MATERIAL Deco01_SummerDreams_byRoberta Deco02_SummerDreams_byRoberta Titulo_SummerDreams_ByRobertaMaver
Toadies > Weaver Adjust > Variations Mehdi > Sorting Tiles Mehdi > Wavy Lab 1.1 Alien Skin Eye Candy 5:
Impact > Glass Color 3: #fc535a Color 4: #fc9898 In the sequence of colors 2 - 1 - 3 - 4
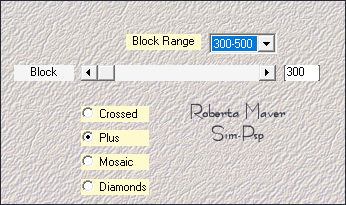
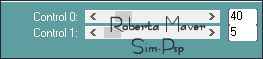
Block Range: 150-300 -
Block: 300 Effects > Plugins > Mehdi > Sorting Tiles: Block Range: 150-300 - Block: 230
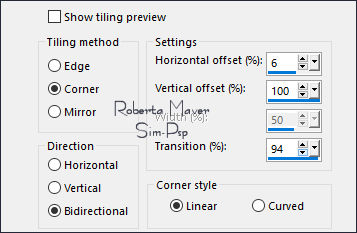
4 - Effects > Image Effects > Seamless Tiling:
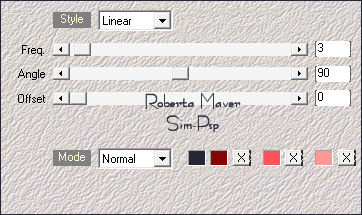
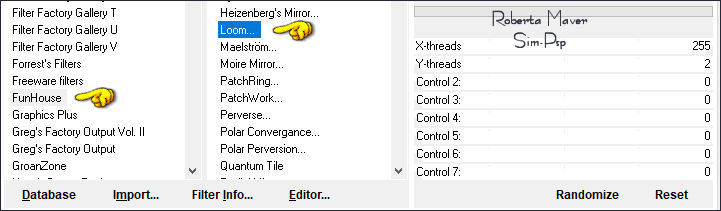
5 - Effects > Plugins > Filters Unlimited 2.0 > FunHouse > Loom:
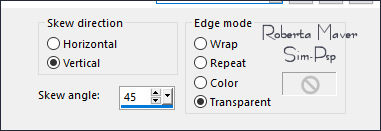
6 - Layers > Duplicate. Effects > Geometric Effects > Skew:
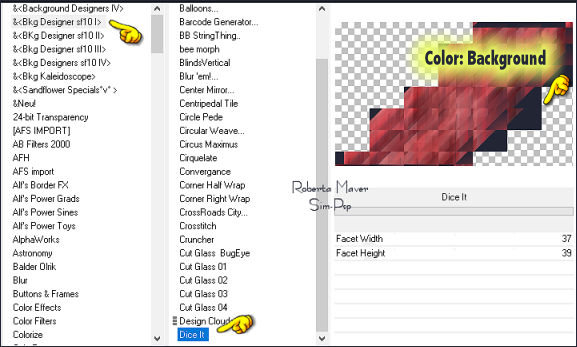
7 - Effects > Plugins > Filters Unlimited 2.0 > Bkg Designer sf10 I > Dice It: Default
Note: Remembering
that the order of the Foreground and Background colors must be
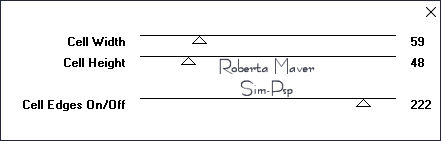
8 - Effects > Plugins > Toadies > Weaver: Default
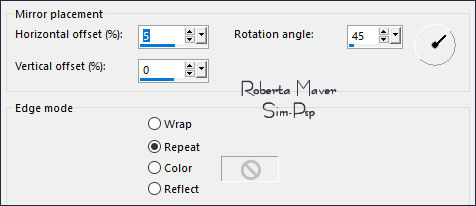
9 - Effects > Edge Effects > Enhance. Effects > Reflection Effects > Rotating Mirror:
10 -
Selections > Load/Save Selection > Load Selection From Alpha Channel:
Selection #1
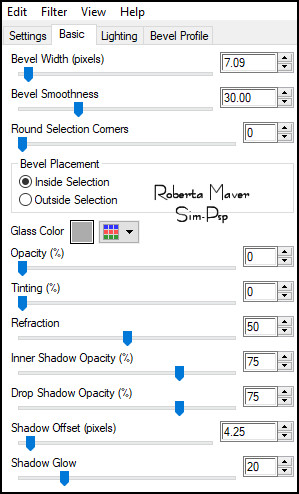
11 - Effects > Plugins > Eyes Candy 5 Impact > Glass: Settings: Clear - Basic: in the following settings:
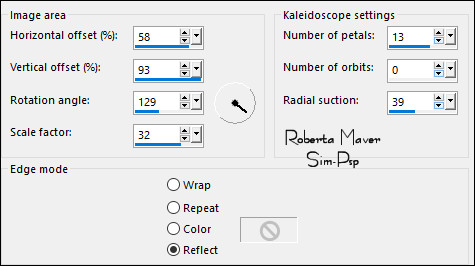
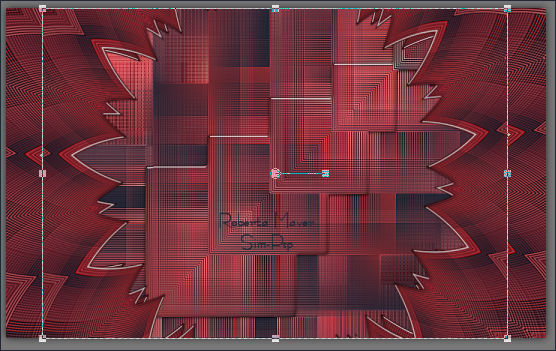
12 - Layers > Duplicate. Effects > Reflections Effects > Kaleidoscope:
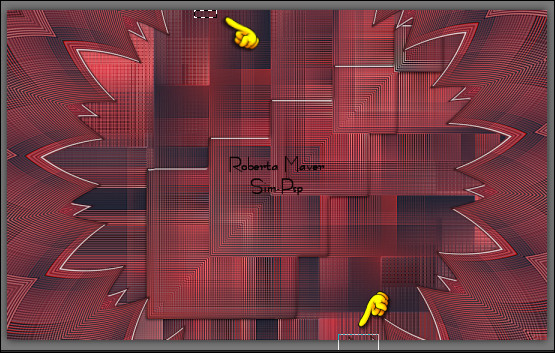
With the Selection Tool, select as in the example and
Selections > Select None.
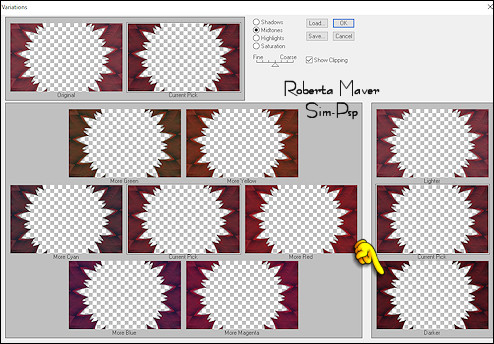
13 - Effects > Plugins > Adjust > Variations: Original > Darker
Layers > Duplicate. Image > Resize: 80%, all layers unchecked. With the Pick Tool, drag a little up, down and to the sides as in the example:
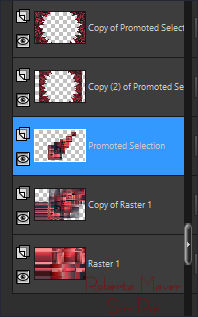
Adjust > Sharpness > Sharpen. Layers > Arrange > Move Down. Check the layer order:
Activate the top layer (Copy of Promoted Selection)
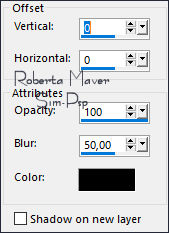
14 - Effects > 3D Effects > Drop Shadow: Color: #000000
Activate the Layer Copy (2) of Promoted Selection Effects > 3D Effects > Drop Shadow: Color: #000000
Image > Resize: 60%, all layers unchecked. Effects > Reflections Effects > Kaleidoscope.
Effects > Plugins > Adjust > Variations: Original > Darker With the Magic Wand: Tolerance and Feather: 0 tool, click the center of the circle to select. Selections > Modify > Expand: 6
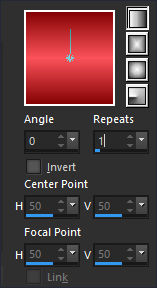
16 - Layers > New Raster Layer.
Paint the selection with Linear gradient, formed by the colors:
17 - Edit > Copy the Misted Landscape. Selections > Select None. Layers > Arrange > Move Down. Activate the layer Promoted Selecion
18 - Adjust > Sharpness > Sharpen. Effects > 3D Effects > Drop Shadow: Color: #000000
Effects > Plugins > Carolaine and Sensibility > CS-DLines:
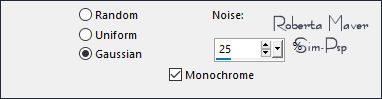
21 - Adjust > Add/Remove Noise > Add Noise
Selections > Invert. Effects > 3D Effects > Drop Shadow: 0 / 0/ 100 /50, Color: #00000 Selections > Select None.
23 - Edit >
Copy the Deco02_SummerDreams_byRoberta. With the Pick Tool, position: Position X: 145 Position Y: 67
Effects > 3D Effects > Drop Shadow: your choice.
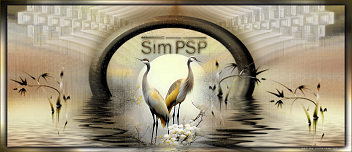
Misted Landscape: by Le Monde de Bambou (Nicole)
Feel free to send your versions. I will be happy to publish them on our website.
|