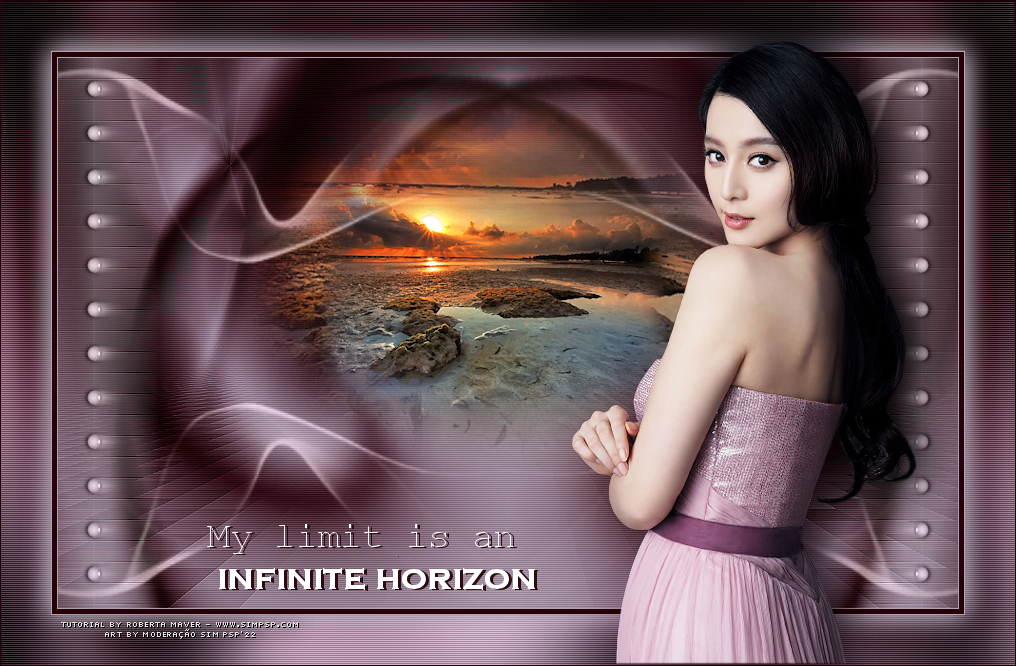
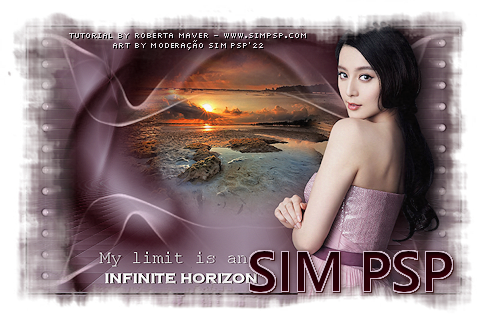
Tutorial by Roberta Maver

English Translation by Moderation SIM-PSP

Original Tutorial


MATERIAL:

1 Main Tube of your choice
1 Misted Landscape of your choice

Deco_infintehorizon_byRobertaMaver

Deco1_infintehorizon_byRobertaMaver

Deco2_infintehorizon_byRobertaMaver

Titulo_infinte_horizon_byRoberta


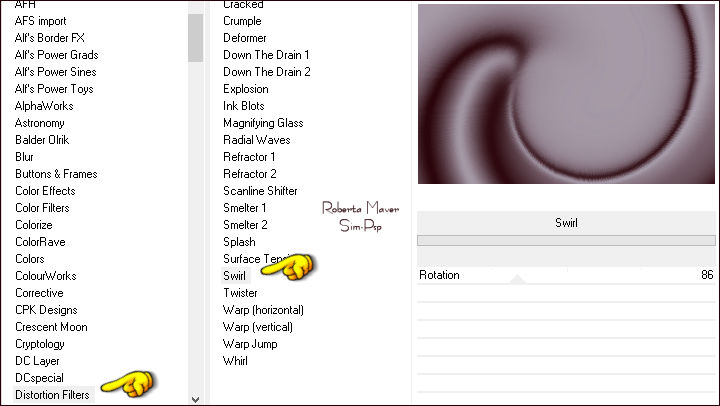
PLUGINS:

Filters Unlimited 2.0 > Distortion Filters > Swil

Flaming Pear > Flexifly 2

Frischluft > Mosaic Plane V1.1

VanDerLee > Unplugged-X > Interlace

Graphics Plus > Cross Shadow


Note: Feel free to change the Blends according to the material
and colors chosen for your work.


TUTORIAL


1 - Open the material on the PSP, duplicate and close the original. 
Choose two colors to work with:
Foreground #260006
Background #aea4b2


2 - Open a 900 x 550px transparent image.
Paint transparency with gradient Radial: Angle 45, Repeats 5, Invert: Checked,
formed by the colors in use.

 Adjust > Blur > Gaussian Blur: 25.


3 - Effects > Distortion Effects > Warp:


4 - Effects > Plugins > Filters Unlimited 2.0 > Distortion Filters > Swil: Default


5 - Layers > Duplicate.
Image > Mirror > Mirror Horizontal.

Layers > Properties > General > Blend Mode: Darken - Opacity: 100%

Layers > Merge > Merge Down.

Image > Mirror > Mirror Vertical.


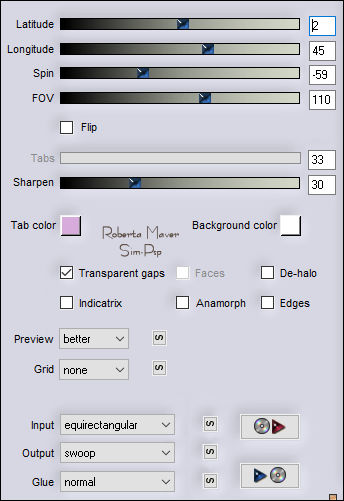
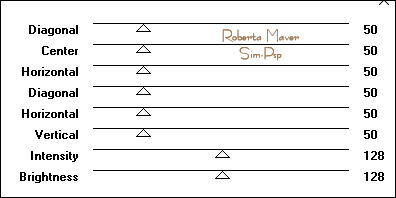
6 - Layers > Duplicate.

Effects > Plugins > Flaming Pear > Flexifly 2:


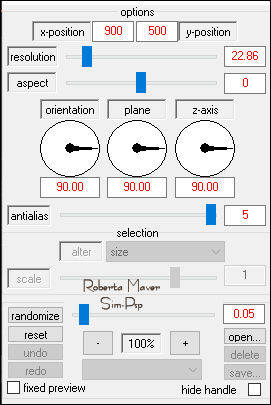
7 - Image > Mirror > Mirror Vertical.

Effects > Plugins > Frischluft > Mosaic Plane V1.1:

Effects > Edge effects > Enhance.

Layers > Properties > General > Blend Mode: Soft light


8 - Effects > Plugins > VanDerLee > Unplugged-X > Interlace:


9 - Edit > Copy the Misted Landscape.
Edit > Paste as New Layer.
Image > Resize if necessary.

In the misted material the Resize was 60%.

Position in the center.

Adjust > Sharpness > Sharpen.


10 - Edit > Copy no Deco_infintehorizon_byRobertaMaver. 
Edit > Paste as New Layer.


11 -   Image > Add Borders > Symmetric: 
1px - Color: Background #aea4b2
5px - Color: Foreground #260006
1px - Color:  Background #aea4b2

Edit > Copy.
Selections > Select All.
Image > Add Borders > Symmetric: 50px with any color.
Selections > Invert.
Edit > Paste Into Selection.
Adjust > Blur > Gaussian Blur: 25.


12 - Effects > Plugins > Graphics Plus > Cross Shadow: Default


13 -  Effects > Plugins > VanDerLee > Unplugged-X > Interlace

Selections > Invert.


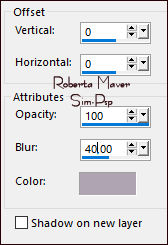
14 - Effects > 3D Effects > Drop Shadow:

Edit > Repeat Drop Shadow
Selections > Select None.

15 - Edit > Copy the Decor1_infintehorizon_byRobertaMaver. 
Edit > Paste as New Layer.
Layers > Properties > General > Blend Mode: Normal - Opacity: 60%


16 - Edit > Copy the Deco2_infintehorizon_byRobertaMaver.
Edit > Paste as New Layer.
Layers > Properties > General > Blend Mode: (Luminance L) - Opacity: 100%


17 - Edit > Copy the Main Tube.
Edit > Paste as New Layer.
Image > Resize if necessary.

Position of your choice.

Effects > 3D Effects > Drop Shadow: your choice.
 

18 - Edit > Copy no Titulo_infinte_horizon_byRoberta.
Edit > Paste as New Layer.
Position of your choice.

Effects > 3D Effects > Drop Shadow: your choice.
 

19 - Image > Add Borders > simmetric: 1px - Color: Foreground #260006
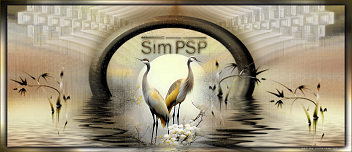
20 - If you wish, resize your work.
Apply your watermark or signature.
File > Export > JPEG Optimizer.


CREDITS:
Tutorial by
Roberta Maver
English Translation by Moderation
SIM-PSP
Main Tube: Tubed by
Pqna&Alice

Misted Landscape: Tubed by Animabelle


Feel free to send your versions.

I will be happy to publish them on our website.


Tutorial created by Roberta Maver, in November/2021, for SIM PSP. Translated into English in February/2022, by the Moderation of SIM-PSP. It cannot be copied, removed from its place, translated or used in learning lists or groups without the author's prior consent.