|
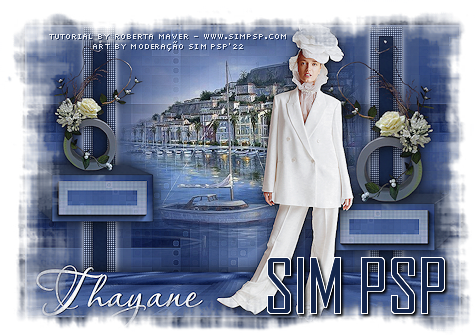
Tutorial by Roberta Maver English Translation by Moderation SIM-PSP Original Tutorial
MATERIAL Titulo_ThayanebyRobertaMaver
Eyes Candy 5: Impact > Extrude Eyes Candy 5: Impact >
Perspective Shadow Layers > Properties >
General > Blend Mode: Soft Light - Opacity: 100 Effects > Edge Effects > Enhance.
6 - Effects > Edge Effects > Enhance. select as in the example:
Selections > Promote Selection to Layer. Selections > Select None. Close the Layer Promoted
Selection visibility.
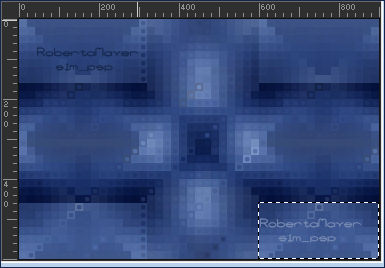
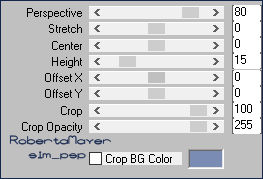
7 - Layers > Duplicate. Effects > Plugin > Mura's Meister > Perspective Tiling:
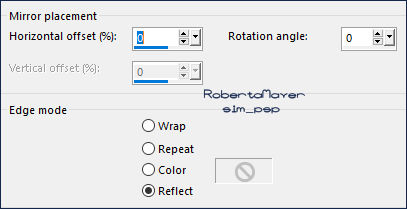
8 - Effects > Reflection Effects > Rotating Mirror: Default
Activate Layer Raster 1
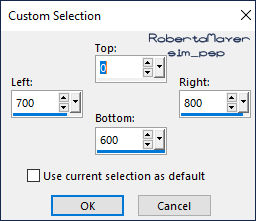
10 - Layers > New Raster Layer. Selections Tool > Custom Selection:
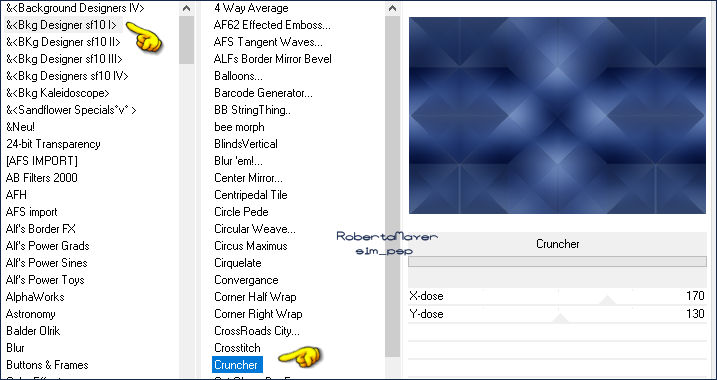
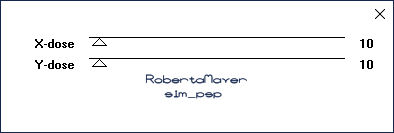
Paint with Foreground color #14264c Effects > Plugins > Toadies > What Are You?
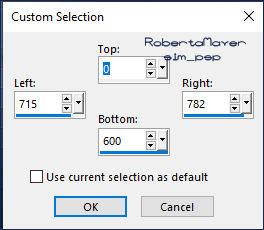
11 - Selections Toll > Custom Selection:
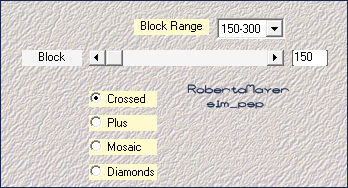
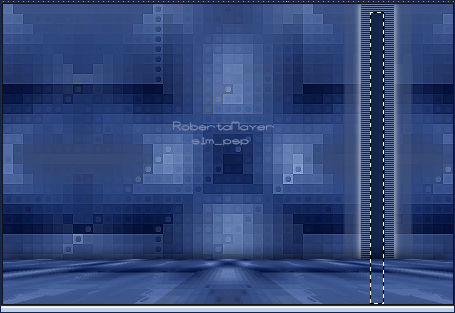
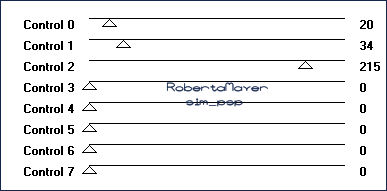
Effects > Plugins > AFS Import > sqborder: Default
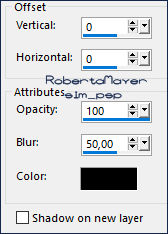
12 - Effects > 3D Effects > Drop Shadow:
Selections > Select None.
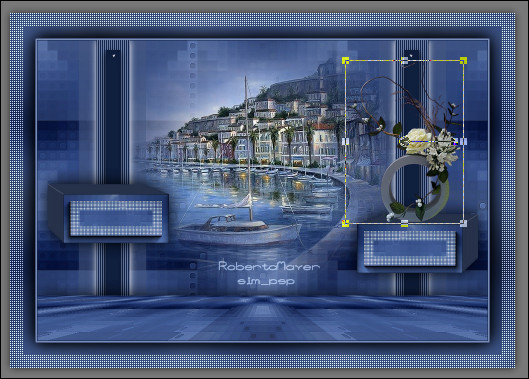
13 - With the Select Tool: Selection Type: Rectangle - Feather: 0, select as in the example:
Selections > Promote Selection to Layer. Selections > Select None.
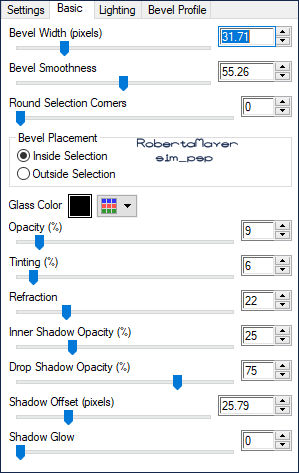
14 -Effects > Plugins > Eyes Candy 5: Impact > Glass:
Layers > Merge > Merge Down. Layers > Duplicate. Image > Mirror > Mirror Horizontal. Layers > Merge > Merge Down. Activate and open Layer Promoted Selection visibility
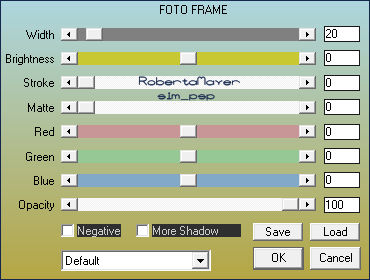
15 - Objects > Align > Center in Canvas. Selections >
Select All. Effects > Plugins > AAA Frames > Foto Frame:
16 - Selections > Modify > Contract: 20 Effects > Plugins > AFS Import > sqborder: Default Selections >
Select All.
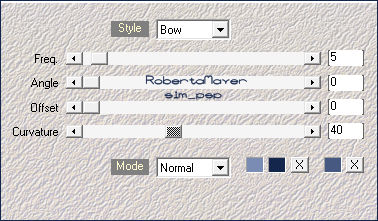
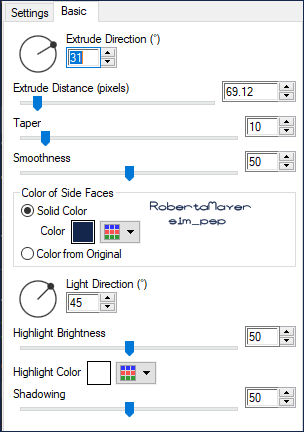
17 - Effects > Plugins > Eyes Candy 5: Impact > Extrude: Color of Side Faces: Color > Foreground #14264c Note: feel free to choose other color:
Selections > Select None. Image> Resize: 70% - all layers unchecked With the Pick Tool, position: Position X: 639 Position Y: 347
18 - Layers > Duplicate. Image > Mirror > Mirror Horizontal. With the Pick Tool, position: Position X: 21 Position Y: 287 Layers > Merge > Merge Down.
19 - Effects > 3D Effects > Drop Shadow:
Activate Layer Raster 1
20 - Edit > Copy
the Misted Landscape.
21 - Image > Add Borders > Symmetric: 1 px - color: Foreground
#14264c Effects > Plugins > AFS Import > sqborder:
Selections > Invert.
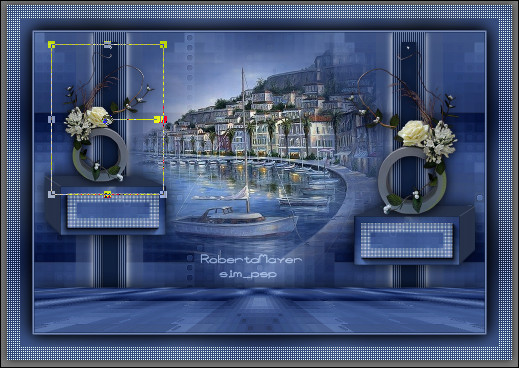
23 - Edit > Copy
the vases_fleur_7.
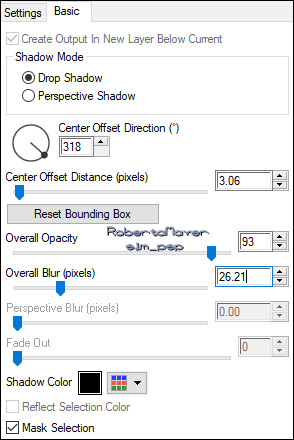
Effects > 3D Effects > Drop Shadow: your choice or Effects > Plugins > Eyes Candy 5: Impact > Perspective Shadow:
Layers > Duplicate. Image > Mirror > Mirror Horizontal. Image > Resize: 80% - all layers unchecked. Adjust > Sharpness > Sharpen.
In the material's Tube the Resize was 80%. Adjust > Sharpness > Sharpen.
Effects > 3D Effects > Drop Shadow: your choice.
Effects > 3D Effects > Drop Shadow: your choice. 26 -
Image > Add Borders: 1px cor Foreground #021b2a.
CREDITS: Misted Landscape: Tubed by Isa Decorative Tube: Tubed by Cloclo
Feel free to send your versions. I will be happy to publish them on our website.
|