 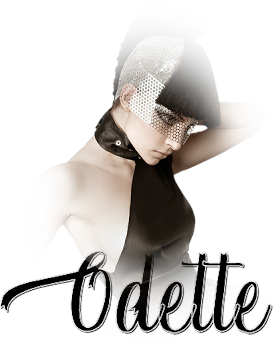
MATERIAL 1 Main Tube of your choice 1 Misted Landscape of your choice Decor_by Roberta Decor1_by Roberta Titulo__by Roberta
PLUGINS AAA Frames Flaming Pear FM Tile Tools Greg's Factory Output Mehdi Simple
Tutorial:
1 - Open the material on the PSP, duplicate and close the original. Choose two colors to work with. Foreground #026471 Background #a3d7d5
2 - Open a 900 x 600 px transparent image. Paint with a linear gradient formed by the chosen colors. Angle: 0 - Repeats: 1 Selections > Select All.
3 - Edit > Copy on the main tube. Edit > Paste Into Selection. Selections > Select None.
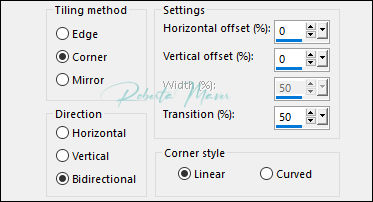
4 - Effects > Image Effects > Seamless Tiling: Default
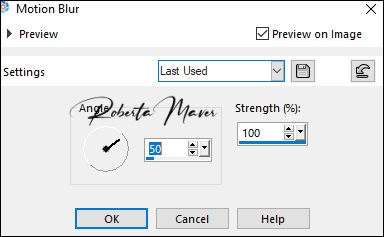
5 - Adjust > Blur > Motion Blur.
Edit > Repeat > Montion Blur
6 - Effects
> Edges efects > Enhance
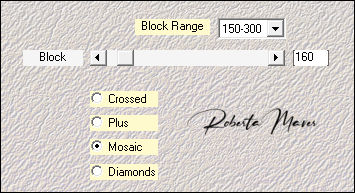
7 - Effects > Plugin > Simple >
Diamonds
8 - Effects
> Edges efects > Enhance 9- Effects > Plugin > Simple >
Blintz
Edit > Repeat >
Blintz
10 -
Adjust > Sharpness > Sharpen
More
11 - Layers >
Duplicate.
12 - Effects > Plugin Mehdi > Sorting Tiles
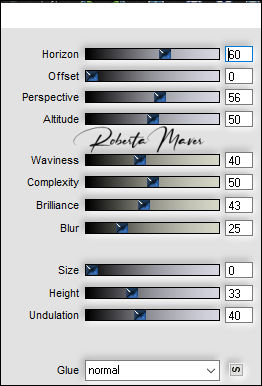
13 - Effects > Plugins > Flaming Pear > Food
Adjust > Sharpness > Sharpen More
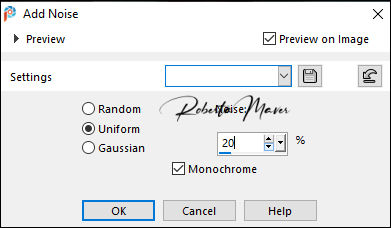
14 - Adjust > Add/Remove Noise> Add Noise.
Layers > Properties > General > Opacity: 60% Activate the raster Raste 1
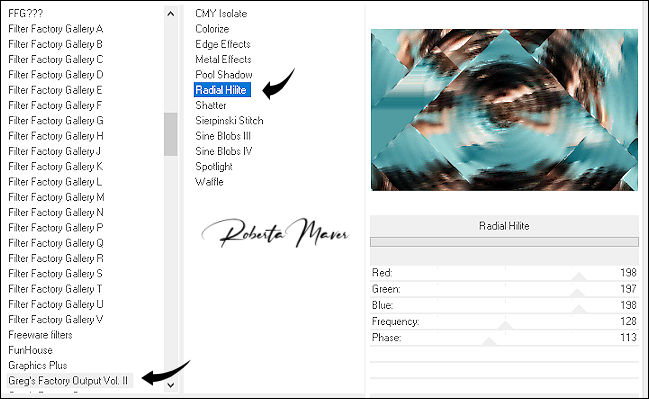
15- Effects > Filters Unlimited 2.0 > Greg's Factory Output > Radial Hilte
Adjust > Sharpness > Sharpen More Activate the raster Copy Raste 1
16 - Edit > Copy on the Misted Landscape Edit > Paste as new layer. Adjust > Sharpness > Sharpen
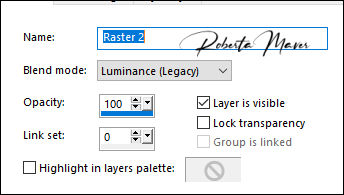
17- Layers > Properties >
General > Blend Mode: Luminance L .
 18 - Edit > Copy on the decor_ByRoberta.
Edit > Paste a New Layer.
Layers > Duplicate.
Layers > Merge > Merge Down. Adjust > Sharpness > Sharpen.
19 - Effects > Plugins > FM Tile Tools > Blend Emboss >
Default
20 - Effects > 3D Effects > Drop Shadow. 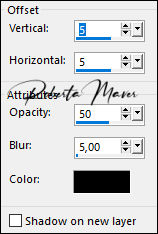
21 - Edit
> Copy
on the decor 1_ByRoberta.
Edit > Paste a New Layer. With the Pick Tool, position: Position X 58, Position Y
21.
22 - Image > Add Borders:
1 px color: Foreground #026471 2 px color: White #FFFFFF 1 px color: Foreground > #026471 Selections > Select All. Edit > Copy Image > Add Broders: 40 px with any color. Selections > invert. Edit > paste into selection.
23 - Adjust > Blur > Motion Blur.
Edit > Repeat > Montion Blur
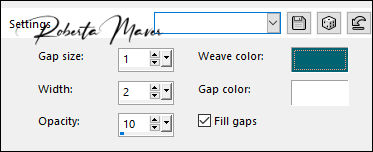
24 - Effects > Texture Effects > Weave. Weave color: #026471 (Foreground) - Gap color: #FFFFFF
25 - Selections > Invert. Effects > 3D Effects > Drop Shadow: 0, 0, 100, 40, color: #000000 Selections > Select None.
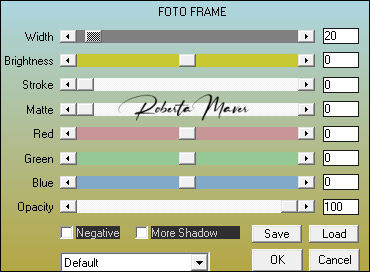
26- Plugin AAA Frames > Foto Frame.
27 - Edit > Copy on the main tube. Edit > Paste a new Layer. Position to your choice .Effects > 3D Effects > Drop Shadow: as you prefer.
28 - Edit > Copy on the Titulo_Odette_Roberta. Edit > Paste a New Layer. Position to your choice .
29 - Image > Add Borders: 1 px color: Foreground #026471
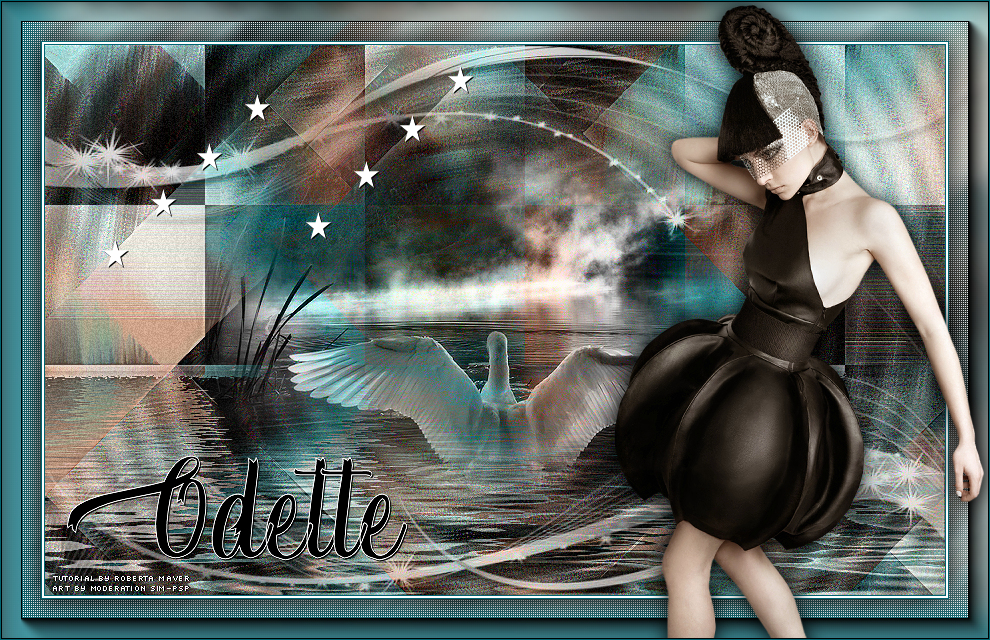
30- If desired, resize your work. Apply your watermark or signature. File > Export > JPEG Optimizer .
Credits:
Main Tube:
Tubedy by CibiBijoux - Misted Landscape: Tubedy by Sônia Tubes
Feel free to send your versions. I will be happy to publish them on our website.
|