TRADUÇÕES Obrigada aos nossos tradutores!
Material:
1 Misted Paisagem
ou Floral.
Decor_leni_zoely.
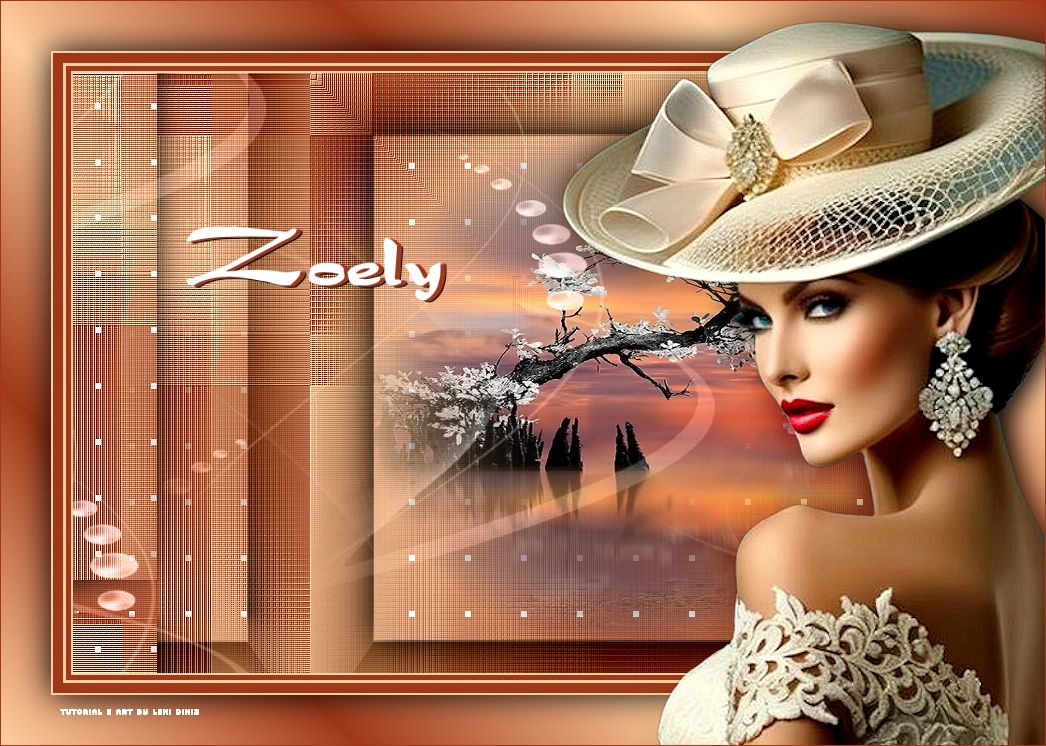
Título_leni_zoely
Alpha
Channel_leni_zoely
Plugins:
Mehdi > Sorting Tilles
Filters Unlimited >
FunHouse > Loom
FM Tiles Tools >
Blend Emboss
Alf's Border FX >
Borde Fade I
Cores:
#9f3819 (Foreground - cor escura)
#ffcf9f (Background
-
cor clara)
*
Abra o material no PSP , duplique
e fecha os originais.
TUTORIAL
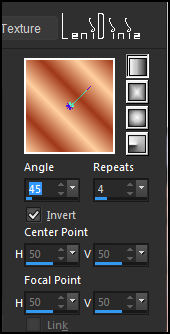
01- Escolha duas cores para trabalhar. Ative a cópia da Alpha_Channel_zoely. Pintar com um gradiente Radial, formado pelas cores em uso:
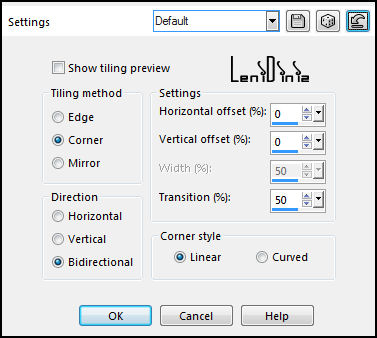
02- Effects > Image Effects > Seamless Tiling: Default.
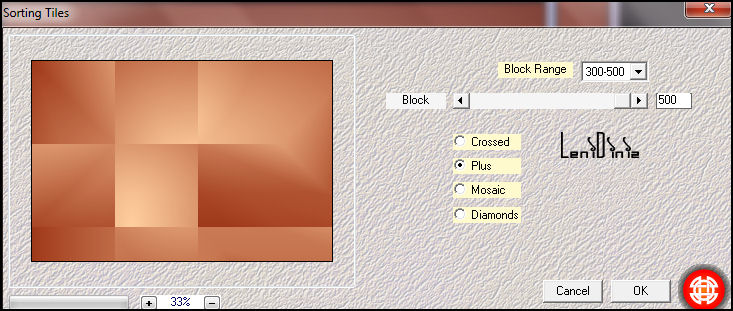
03- Effects > Plugin > Mehdi > Sorting Tilles:
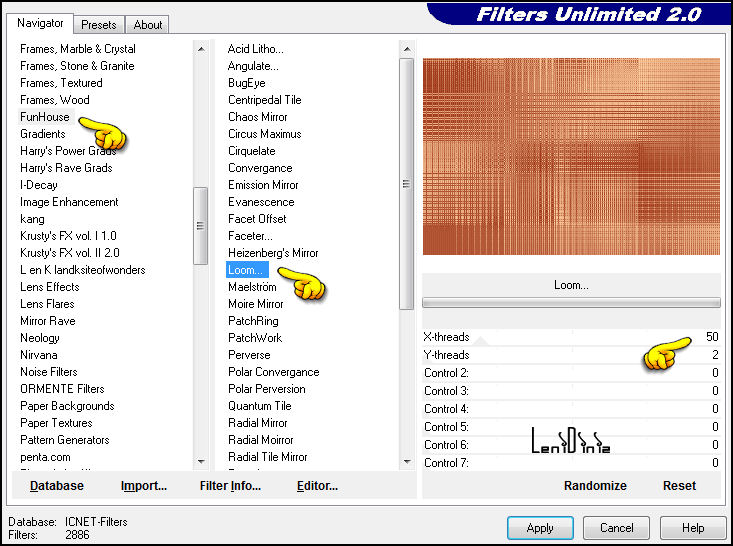
04- Effects > Plugin > Filters Unlimited > FunHouse > Loom:
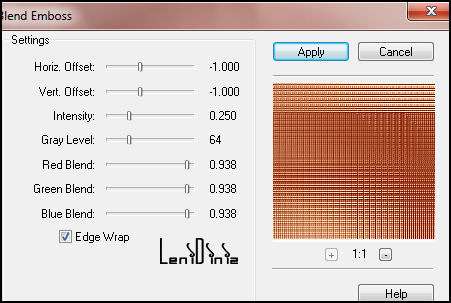
05- Effects > Plugin > FM Tiles Tools > Blend Emboss:
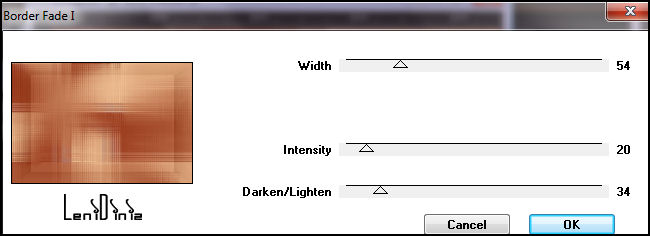
06- Effects > Plugin > Alf's Border FX > Borde Fade I:
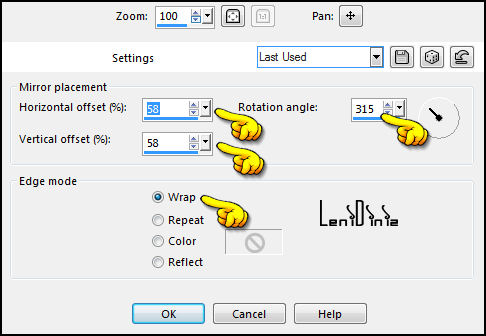
07- Effects > Reflection Effects > Rotating Mirror:
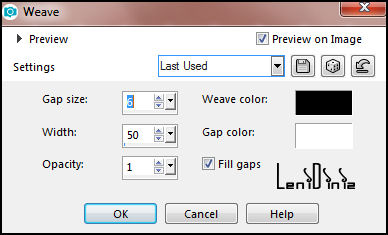
08- Selections > Load/Save Selections > Load Selection from Alpha Channel leni #1 Selections > Promote Selection to layer. 09- Effects > Texture Effects > Weave: nas cores #000000 #ffffff
10- Edit > Copy no no misted paisagem ou floral. No trabalho... Layers > New Raster Layer. Edit > Paste into Selection. Adjust > Sharpness > Sharpen. Layers > Merge > Merge Down. 11- Effects > 3D Effects > Drop Shadow: 0 > 0 > 100 > 50 color #000000. Selections > Select None. 12- Ativar a Raster 1. Selections > Load/Save Selections > Load Selection from Alpha Channel leni #2 Selections > Promote Selection to layer. 13- Effects > Texture Effects > Weave nas cores nas cores #000000 #ffffff
Selections > Select None.
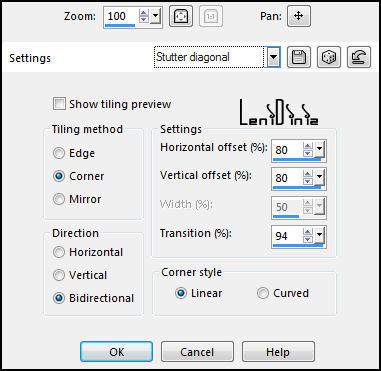
14- Effects > Image Effects > Seamless Tiling (Preset Stutter Diagonal) ou nas configurações abaixo:
15- Ativar a layer do topo (Promoted Selection) Edit > Copy no decor_leni_zoely
No trabalho... 16- Image > Add Borders: 2px - symmetric - color: #ffcf9f (Background cor clara) 5px - symmetric - color: #9f3819 (Foreground cor escura) 2px - symmetric - color: #ffcf9f (Background cor clara) 10px - symmetric - color: #9f3819 (Foreground cor escura) 17- Selections > Select All. Image > Add Borders > 50px - symmetric - qualquer cor Selections > Invert. 18- Pintar com um gradiente Linear, formado pelas cores em uso:
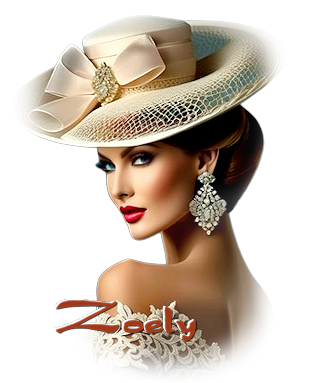
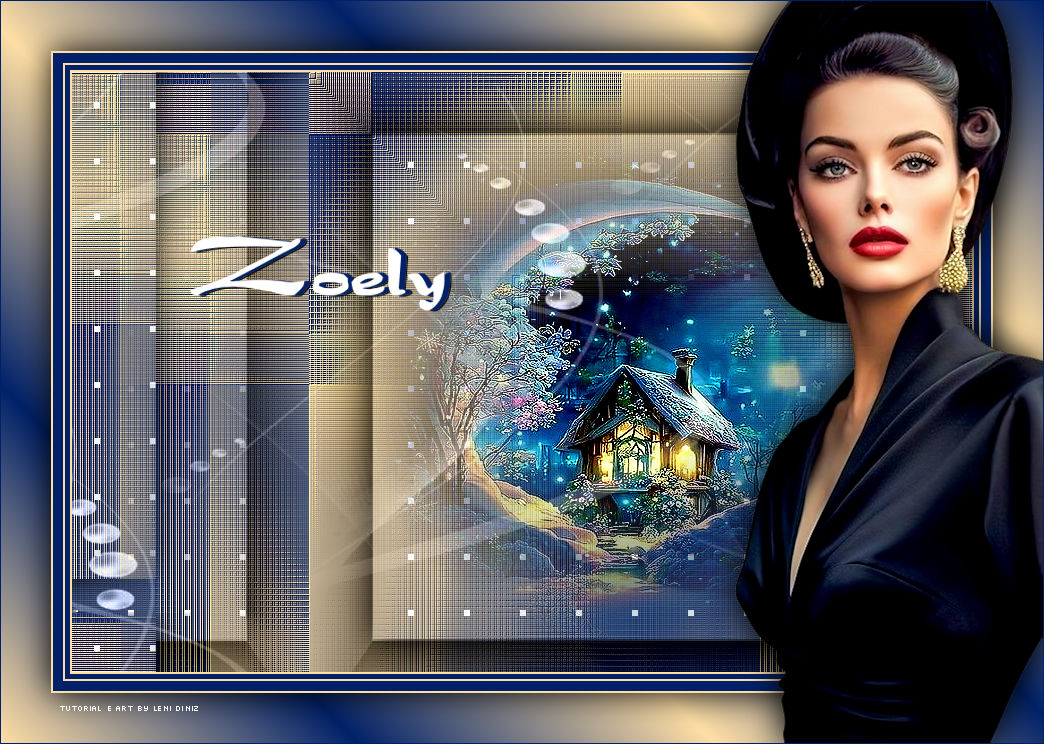
19- Selections > Invert. Effects > 3D Effects > Drop Shadow: 0 > 0 > 100 > 50 color #000000. Selections > Select None 20- Edit > Copy no tube principal. No trabalho... Edit > Paste as New Layer. Resize se for necessário, no tube do material foi de 109% Posicione à direita. Adjust > Sharpness > Sharpen. Effects > 3D Effects > Drop Shadow à gosto. 21- Edit > Copy no título No trabalho... Edit > Paste as New Layer. Posicione onde preferir. 22- Image > Add Borders > 1px - symmetric - color: #9f3819 (Foreground cor escura) 23- Aplicar sua marca d'água ou assinatura.
Leni Diniz, Dezembro/2023
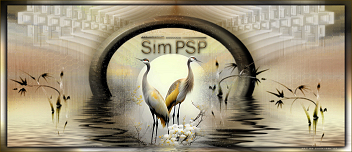
VERSÃO:
Créditos: Formatação, Arte Final e Tutorial by LeniDiniz Tube Principal e Misted: Tubed by LeniDiniz
Sinta-se à vontade para enviar suas versões. Terei todo o prazer em publicá-las em nosso site.
|