|
TRADUÇÕES
Obrigada aos nossos tradutores!
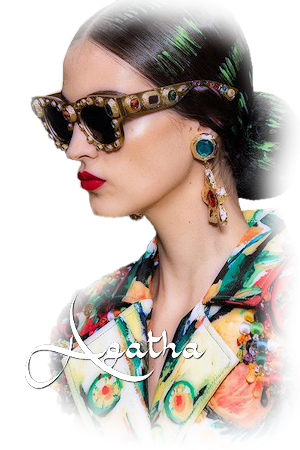
Material: 1 Tube principal à sua escolha 1 Misted Floral à sua escolha alpha_agatha_leni decor_leni_1 decor_leni_2 titulo_agatha_leni
Plugins: penta.com > Dot and Cross dsb flux > Linear Transmission Transparency > Elininate Black FM Tile Tools > Blend Emboss Graphic Plus > Cross Shadow L en K landksiteofwonders > L en K's Zitah Filters Unlimited > &<BKG Designer sf 10 I> bee morph
Cores: #245d3c (Foreground cor escura) #c8ead1 (Background cor clara)
TUTORIAL
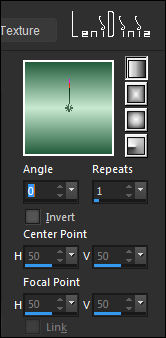
01- Abrir o material no PSP, copiar e fechar o original. Ativar a cópia do arquivo alpha_agatha_leni. 02- Pintar com um gradiente Linear, formado pelas cores escolhidas:
03- Layers > Duplicate 2 vezes. Fechar a visibilidade das layers Copy of Raster 1 e Copy (2) of Raster 1. Ativar a layer Raster 1. 04- Effects > Artistic Effects > Halftone: 05- Abrir e ativar a layer Copy of Raster 1. Effects > Plugins > dsb flux > Linear Transmission:
06 - Layers > Properties > General > Blend Mode: Soft Light
Effects
> Edge Effects > Enhance More.
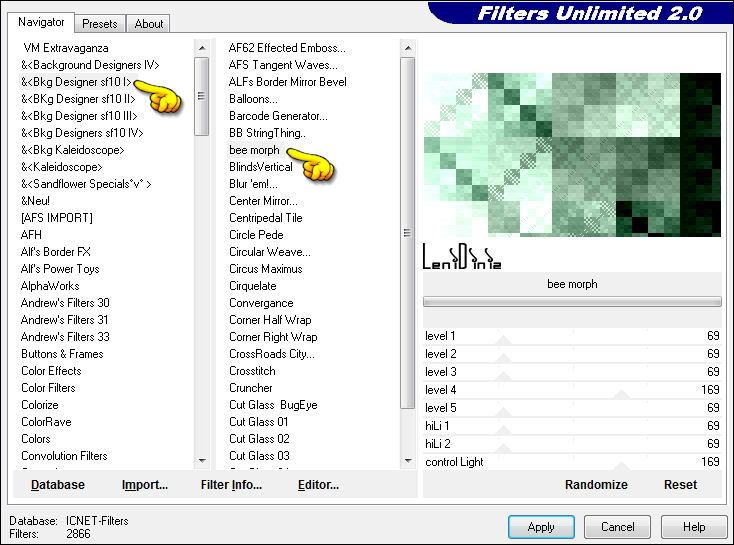
07- Abrir e ativar a layer Copy (2) of Raster 1. Effects > Plugins > Filters Unlimited > &<BKG Designer sf 10 I> bee morph:
08- Effects > Plugins > Transparency > Elininate Black.
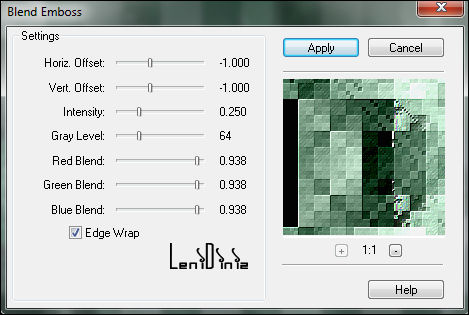
09- Effects > Plugins > FM Tile Tools > Blend Emboss:
10- Layers > Properties > General > Blend Mode: Multiply ou outro blend que melhor combine com as cores que estiver usando.
11- Layers > Duplicate. Imagem > Mirror > Mirror Horizontal.
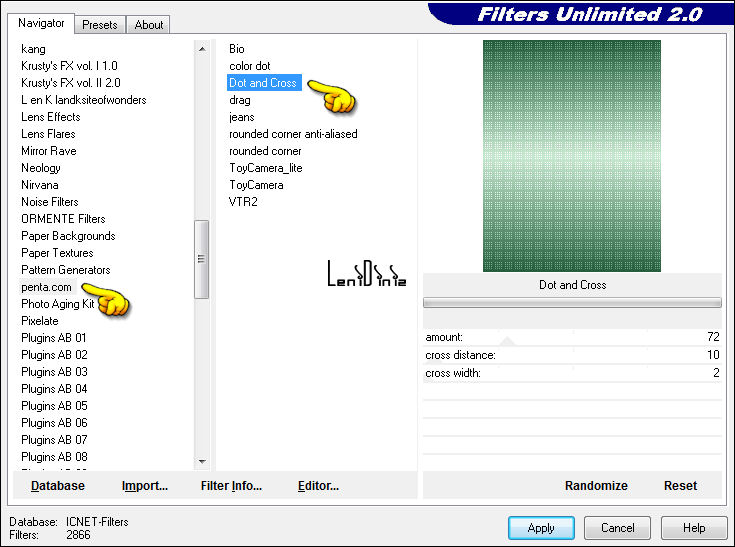
12- Layers > New Raster Layer. Selections > Load/Save Selections > Load Selection from Alpha Channel: leni #5 Pintar com o gradiente em uso. Effects > Plugins > Filters Unlimited > Penta.com > Dot and Cross:
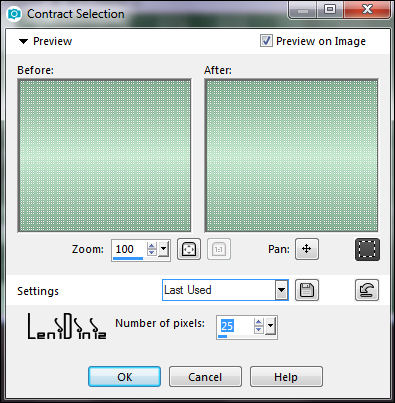
13- Adjust > Sharpness > Sharpen. Selections > Modify > Contract: 25
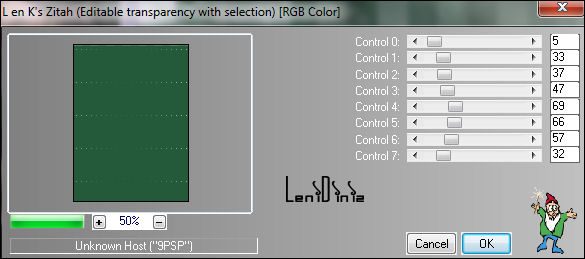
14- Layers > New Raster Layer. Pinta com a cor do Foreground (cor escura) Effects > Plugins > L en K landksiteofwonders > L en K's Zitah:
15- Adjust > Sharpness > Sharpen. Layers > New Raster Layer. 16- Edit > Copy no misted floral. Edit > Paste Into Selection. Adjust > Sharpness > Sharpen. Layers > Merge > Merge Down. 17- Effects > 3D Effects > Drop Shadow: 0, 0, 100, 30, Color: #000000 Selections > Select None.
18- Layers > Merge > Merge Down. Effects > 3D Effects > Drop Shadow: 0, 0, 100, 30, Color: #000000 Layers > New Raster Layer.
19- Selections > Load/Save Selections > Load Selection from Alpha Channel: leni #1 Pintar com a cor do Foreground (cor escura) Effects > Plugins > L en K landksiteofwonders > L en K's Zitah:
20- Adjust > Sharpness > Sharpen. Effects > 3D Effects > Drop Shadow: 0, 0, 100, 30, Color: #000000 Selections > Select None. 21- Layers > New Raster Layer. Selections > Load/Save Selections > Load Selection from Alpha Channel: leni #2 Pintar com o gradiente em uso. Effects > Plugins > Effects > Filters Unlimited > Penta.com > Dot and Cross:
22- Adjust > Sharpness > Sharpen. Effects > 3D Effects > Drop Shadow: 0, 0, 100, 30, Color: #000000 Selections > Select None. 23- Layers > New Raster Layer. Selections > Load/Save Selections > Load Selection from Alpha Channel: leni #3 Pintar com a cor do Foreground (cor escura) Effects > Plugins > L en K landksiteofwonders > L en K's Zitah:
24- Adjust > Sharpness > Sharpen. Effects > 3D Effects > Drop Shadow: 0, 0, 100, 30, Color: #000000 Selections > Select None. 25- Layers > New Raster Layer. Selections > Load/Save Selections > Load Selection from Alpha Channel: leni #4 Pintar com o gradiente em uso. Effects > Plugin > Effects > Filters Unlimited > Penta.com > Dot and Cross:
26- Adjust > Sharpness > Sharpen. Effects > 3D Effects > Drop Shadow: 0, 0, 100, 30, Color: #000000 Selections > Select None. 27- Edit > Copy no decor_leni_1 Layers > New Raster Layer. Selections > Select All. Edit > Paste into Selection. Selections > Select None. Layers > Properties > General > Blend Mode: Overlay Edit > Copy Special > Copy Merged.
28- Image > Add Borders: 1px - symmetric - color: #245d3c (cor do Foreground cor escura). 3px - symmetric - color: #c8ead1 (cor do Background cor clara). 1px - symmetric - color: #245d3c (cor do Foreground cor escura). Selections > Select All. Image > Add Borders > 50px - symmetric - qualquer cor. Selections > Invert.
29- Edit >
Paste into Selection. Effects > Plugin > L en K landksiteofwonders > L en K's Zitah:
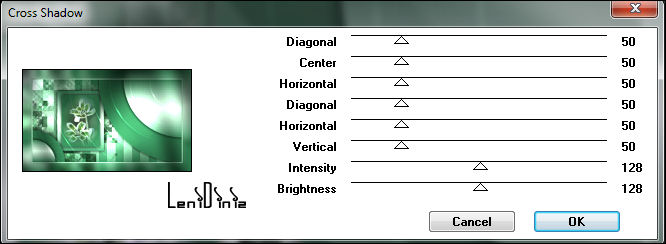
30- Adjust > Sharpness > Sharpen. Effects > Plugin > Graphic Plus > Cross Shadow:
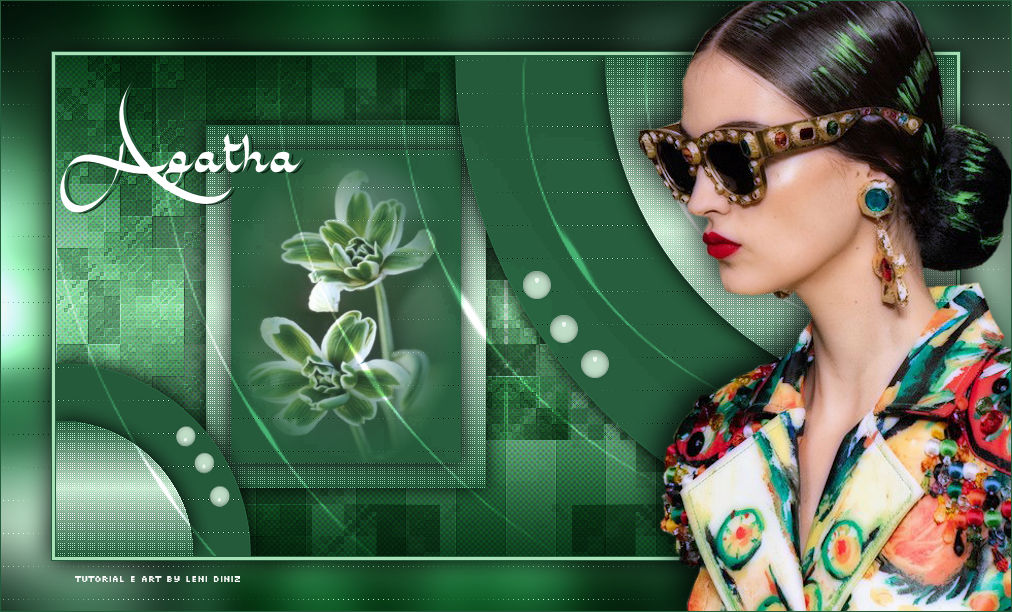
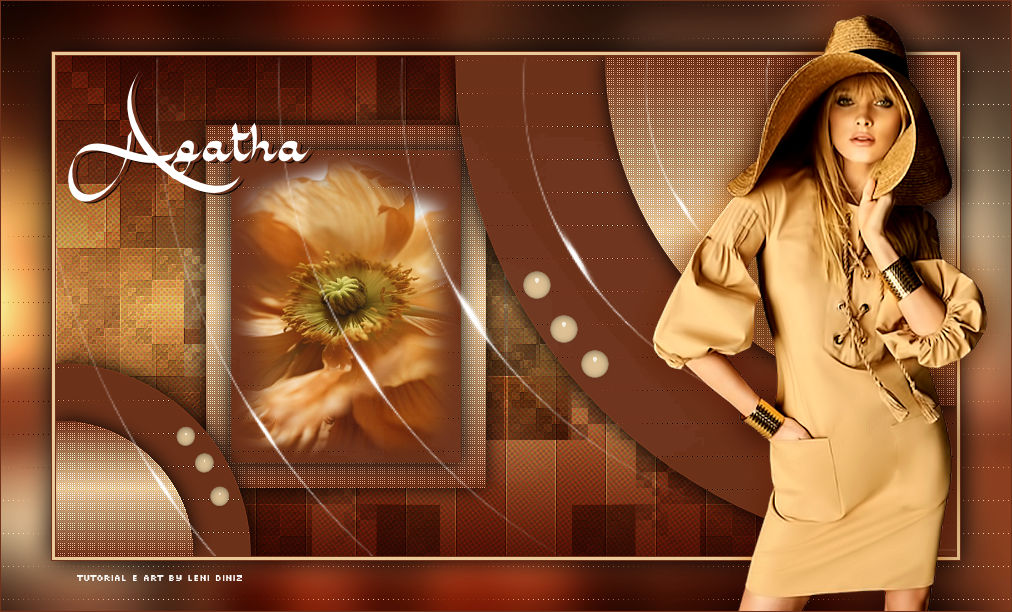
31- Selections > Invert. Effects > 3D Effects > Drop Shadow: 0, 0, 100, 40, Color: #000000 Selections > Select None. 32- Edit > Copy no decor_leni_2 Ferramenta Pick Tool: Position X 174 - Position Y 269 33- Edit > Copy no tube principal. Edit > Paste as New Layer. Posicionar à direita. Image > Resize se necessário. Effects > 3D Effects > Drop Shadow à sua escolha. 34- Edit > Copy no título_agatha_leni. Edit > Paste as New Layer. Posicionar à sua escolha. Effects > 3D Effects > Drop Shadow à sua escolha. 35- Image > Add Borders > 1px - symmetric - color: #245d3c (cor do Foreground cor escura). 36- Assine ou deixa a sua marca d'água. File > Export > JPG Optimizer. VERSÃO:
Créditos: Tutorial by LeniDiniz Tubes Principais: Tubed by Calitubes Misteds Florais: by LeniDiniz Maio, 2022
Sinta-se à vontade para
enviar suas versões.
|