Tutorial By
LeniDiniz
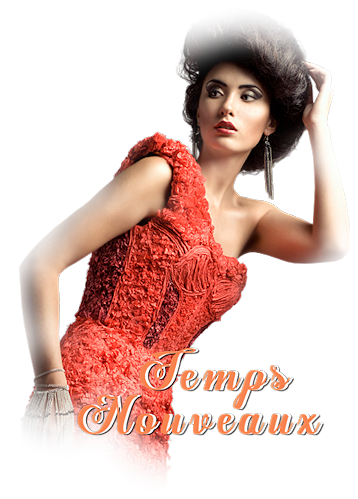
MATERIAL 1 Main Tube of your choice alpha_channel_previw-2 Decor leni_1_temps_nouveaux. Decor leni_2_temps_nouveaux. titulo_leni_temps_nouveaux Mask Narah_Mask_1091 Mask NarahsMasks_1671  PLUGINS Mehdi Mura's Meister Xero
COLORS Color 1: #36cae8 Color 2: #78ead3 Color 3: #f88451 Color 4: #00805d Extra Color: #ffffff
TUTORIAL
1- Open the material on the psp, copy and close the original.
Choose four colors to work with.
2- Activate the file alpha_channel_previw-2 3- Effects > Plugins > Mehdi > Wavy Lab 1.1 In order of colors: 1 > 2 > 4 > 3
4- Adjust > Blur > Gaussian Blur: 30
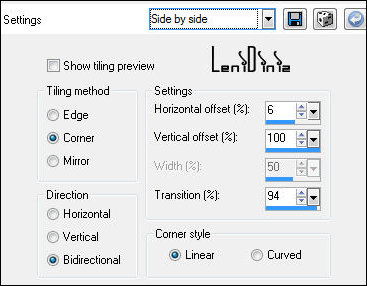
5- Effects > Image Effects > Seamless Tiling: Side by side
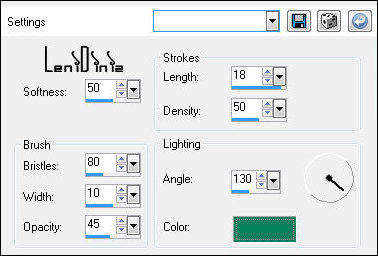
6- Effects > Art Media Effects > Brush Strokes: Color: #00805d
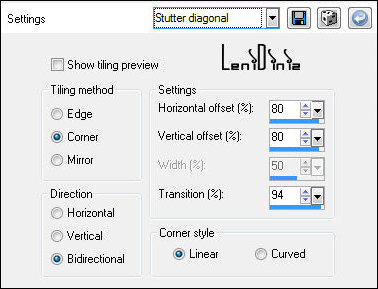
7- Selections > Load/Save Selections > Load Selection from Alpha Channel: leni_1 Selections > Promote Selection to layer. Selections > Select None. 8- Effects > 3D Effects > Drop Shadow: 0 > 0 > 100 > 30, Color: #000000 Effects > Image Effects > Seamless Tiling: Stutter Diagonal:
9- Layer > New raster layer Paint with the color #ffffff (white) Effects > Plugins > AP Lines > Lines Silverlining > Vertical (Get the Red, Green and Blue color references of the color you are using in the Foreground) Foreground Color: #36cae8 - Reference: RED 54 --- GREEN 202 --- BLUE 232
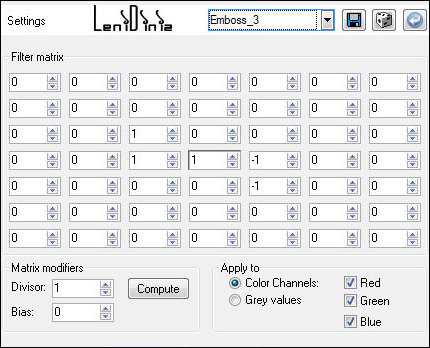
10- Layers > New Mask Layer > From image: NarahsMasks_1671 Layers > Merge > Merge Group. Effects > User Defined Filter: Emboss 3
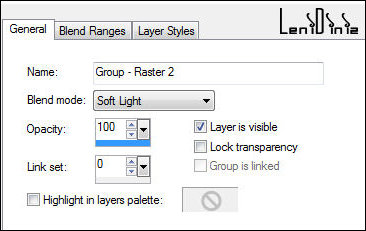
11- Layer > New raster layer Paint with the color #ffffff (white) Layers > New Mask Layer > From image: mask NarahsMasks_1091 Layers > Merge > Merge Group. Layers > Properties > General > Blend Mode: Soft Light.
12- Activate the layer Raster 1 Selections > Load/Save Selections > Load Selection from Alpha Channel: leni_2 Selections > Promote Selection to layer. Selections > Select None. Layers > Arrange > Bring to Top. 13- Effects > 3D Effects > Drop Shadow: 0 > 0 > 100 > 30, Color: #000000. Effects > Image Effects > Seamless Tiling: Stutter Vertical
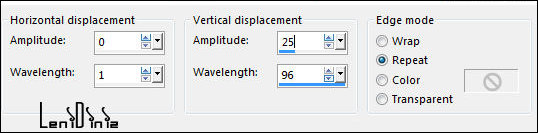
14- Effects > Distortion Effects > Wave:
15- Activate the layer Raster 1 Layers > Duplicate. Layers > Arrange > Bring to Top. Effects > Plugins > Mura's Meister > Perspectiva Tiling:
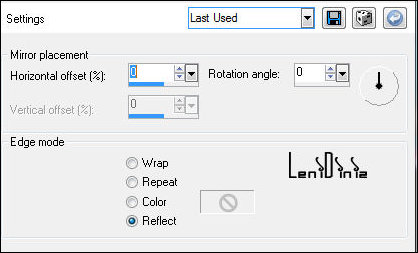
16- Effects > Reflection Effects > Rotating Mirror:
17- Effects > 3D Effects > Drop Shadow: 0 > 0 >60 > 30, Color: #000000 18- Activate the Layer Promoterd Selection. Layers > Duplicate. Layers > Arrange > Bring to Top. 19- Effects > Reflection Effects > Rotating Mirror:
20- Effects > Plugins > Mura's Meister > Perspectiva Tiling:
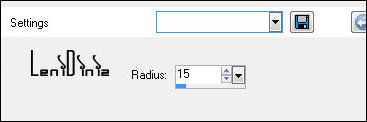
21- Edit > Copy Special > Copy Merged. 22- Image > Add Bordes > Symmetric: 1px > Color 3: #f88452 3 px Color 1: #36cae8 1px > Color 3: #f88452 23- Selections > Select All. Image > Add Bordes > Symmetric: 50 px with any color. Selections > invert. Edit > Paste as Into selection. 24- Adjust > Blur > Gaussian Blur: 15
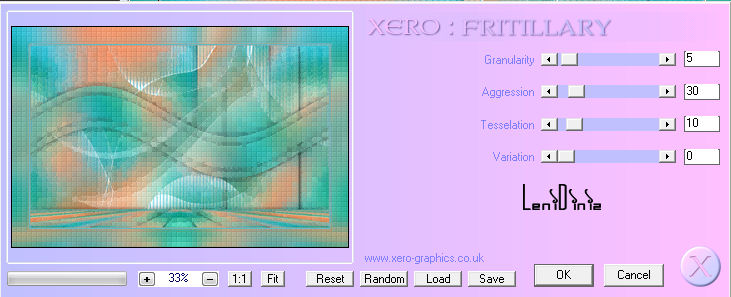
25- Effects > Plugins > Xero > Fritillary:
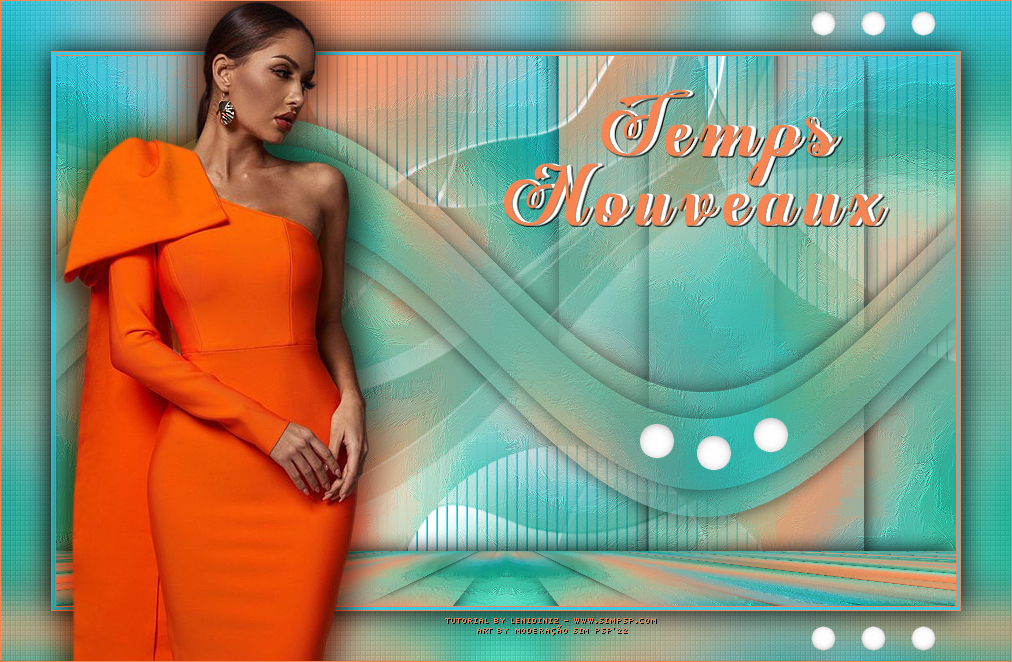
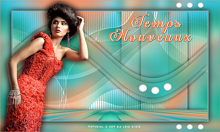
26- Selections Invert. Effects > 3D Effects > Drop Shadow: 0 > 0 > 100 > 40, Color: #000000 Selections > Select None. 27- Edit > Copy the Main Tube. Edit > Paste as New Layer. Image > Resize: if necessary. Position left. Adjust > Sharpness > Sharpen Effects > 3D Effects > Drop Shadow: your choice. 28- Edit > Copy in decor leni_1_temps_nouveaux. With the Pick Tool Tool, position: Position X: 638 Position Y: 416. 29- Edit> Copy in decor leni_2_temps_nouveaux. With the Pick Tool Tool, position: Position X: 810 Position Y: 10 30- Edit > Copy in titulo_leni_temps_nouveaux. Position of your choice. Effects > 3D Effects > Drop Shadow: your choice. 31- Image > Add Border Symmetric: 1px > Color 3: #78ead3
32- Apply your watermark or signature. 
CREDITS: Main Tube: Tubed by LB Tubes & Mists Masks: by Narah Mask Feel free to send your versions.
|