|
TRADUÇÕES
Obrigada aos nossos tradutores! Material 1 tube principal à sua escolha 1 misted floral à sua escolha alpha_chanel Decor_leni_mydreams. Título_leni_mydreams.
Plugins Ap Lines. Flaming Pear. Mura's Meister. Cores #355751 (Foreground) #b8dccb (Background)
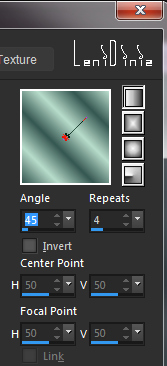
01- Abra o material no psp, copie e feche o original. Prepare um gradiente Linear com as cores escolhidas: 45 > 4 com invert desmarcado
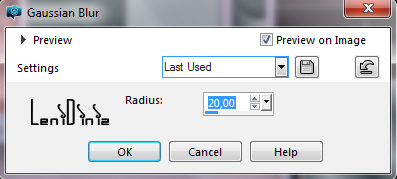
02- Ativar a alpha_chanel. Pintar com esse gradiente Linear: Adjust > Blur > Gaussian Blur: 20
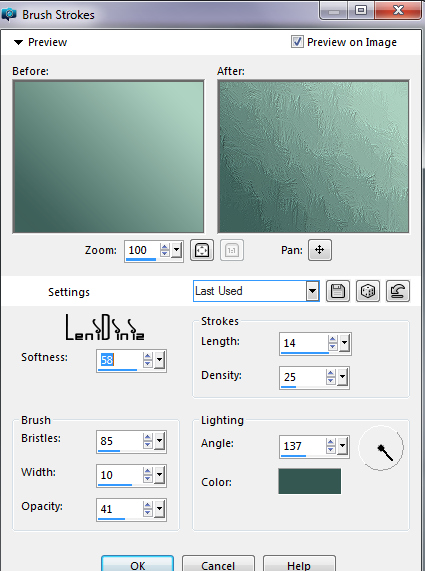
03- Effects > Art Media Effects > Brush Strokes: Color: #355751 (foreground)
04- Layers > New Raster Layer. Selections > Load/Save Selections > Load Selection from Alpha Channel: verde_1 05- Pintar essa seleção com o gradiente Linear: 0 > 4 linear com invert desmarcado.
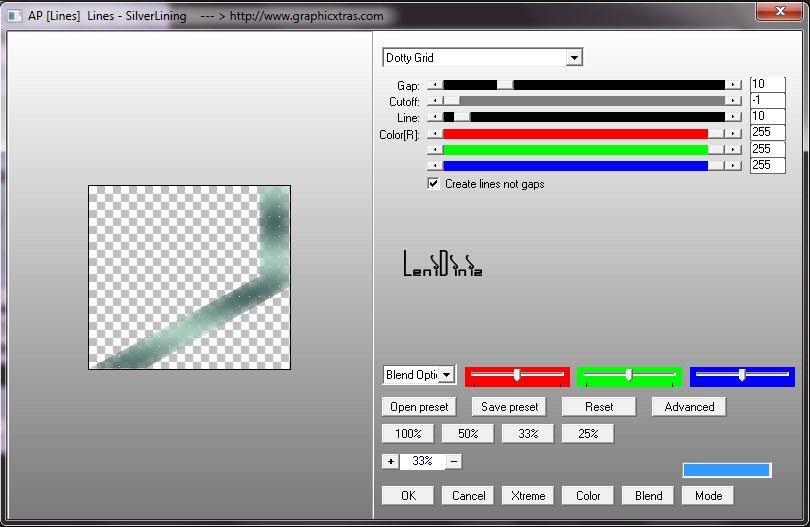
06- Effects > Plugins > AP Lines > Lines Silverlining: Dotty Grid
07- Effects > User Defined Filter: Emboss_3
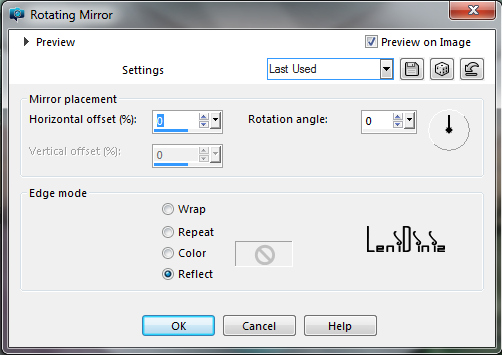
08- Effects > 3D Effects > Drop Shadow: 0, 0, 100, 40, Color: #000000 (preto) Selections > Select None. 09- Effects > Reflection Effects > Rotating Mirror: Default
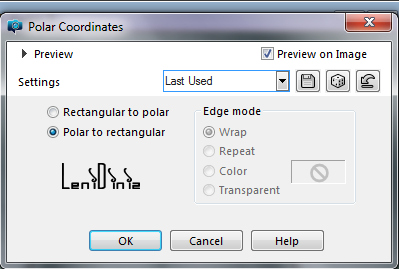
10- Effects > Distortion Effects > Polar Coordinates: Polar to Retangular.
11- Image > Mirror > Mirror Vertical. Image > Resize: 70% - all layers desmarcado. 12- Com a Ferramenta Pick Tool, posicionar: Position X: -13 Position Y: 0. 13- Layers > Duplicate. Image > Mirror > Mirror Horizontal. 14- Layers > Duplicate. Image > Free Rotate: Right, 90, all layers desmarcado. Com a Ferramenta Pick Tool, posicionar: Position X: 672 Position Y: 0 15- Layers > Arrange > Move Down. Edit > Repeat Move Layer Down. 16- Layers > Duplicate. Image > Mirror > Mirror Horizontal. 17- Ativar a Layer Raster 1. Layers > New Raster Layer. Selections > Load/Save Selections > Load Selection from Alpha Channel: verde_2 18- Pintar essa seleção com o gradiente Linear: 0 > 4 com invert desmarcado
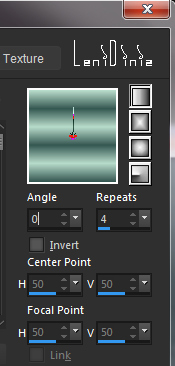
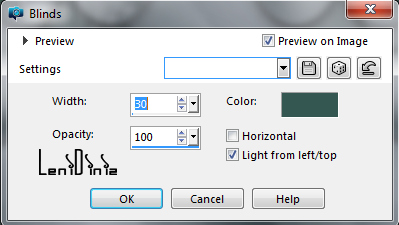
19- Effects > Texture Effects > Blinds: Color: #355751 (foreground)
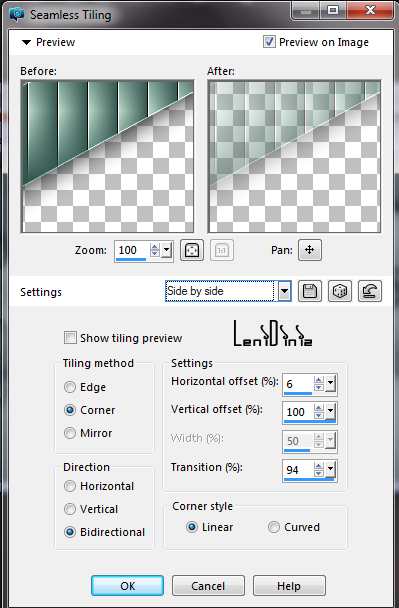
20- Effects > Edge Effects > Enhance. Effects > 3D Effects > Drop Shadow: 0, 0, 100, 40, Color: #000000 (preto) Selections > Select None. 21- Effects > Image Effects > Seamless Tiling: Side by Side.
22- Effects > Reflection Effects > Rotating Mirror: Default
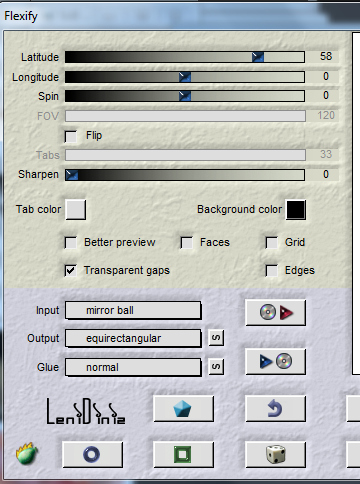
23- Image > Mirror > Mirror Vertical. Effects > Plugin Flaming Perar > Flexify:
24- Edit > Copy no misted floral. Layers > New Raster Layer. Selections > Select All. Edit > Paste into Selection. Selections > Select None. 25- Image > Resize: 65% - all layers desmarcado. Adjust > Sharpness > Sharpen. 26- Layers > New Raster Layer. Layers > Arrange > Bring to Top. Pinte com o gradiente Linear: 45 > 4 com invert desmarcado.
27- Effects > Texture Effects > Blinds: Color: #355751 (foreground)
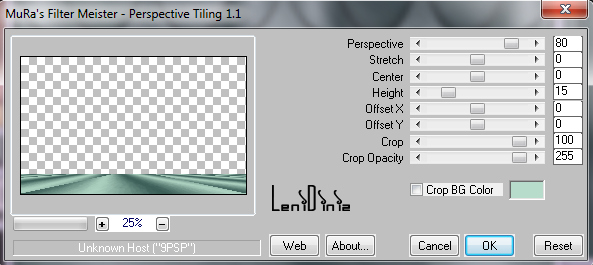
28- Effects > Edge effects > Enhance. 29- Effects > Plugin Mura's Meister > Perspective Tiling:
30- Effects > Reflection Effects > Rotating Mirror: Default
31- Effects > 3D Effects > Drop Shadow: 0, 0, 100, 40, Color: #000000 (preto) 32- Edit > Copy Special > Copy Merged. 33- Image > Add Border > Symmetric: 1 px - color: #355751 (Foreground) 3 px - color: #b8dccb (Background) 1 px - color: #355751 (Foreground) 34- Selections > Select All. Image > Add Border > Symmetric: 50 px qualquer cor. 35- Selections > Invert. Edit > Paste into Selection. Adjust > Blur > Gaussian Blur: 20
36- Effects > Texture Effects > Blinds: Color: #355751 (foreground)
37- Effects > Edge effects > Enhance. Effects > Reflection Effects > Rotating Mirror: Default
38- Selections > Invert. Effects > 3D Effects > Drop Shadow: 0, 0, 100, 40, Color: #000000 (preto) Selections > Select None. 39- Edit > Copy no decor_leni_mydreams. Edit > Paste as New Layer. Com a Ferramenta Pick Tool, posicionar: Position X: 102 Position Y: 105 40- Edit > Copy no tube principal. Edit > Paste as New Layer. Image > Resize se for necessário. Posicionar onde preferir. Adjust > Sharpness > Sharpen. Effects > 3D Effects > Drop Shadow como preferir. 41- Edit > Copy no título_leni_mydreams Edit > Paste as New Layer. Posicionar onde preferir. Effects > 3D Effects > Drop Shadow como preferir. 42- Image > Add Borders > Symmetric: 1 px - color: #355751 (Foreground) 43- Assine ou coloque a sua marca d'água. 44- File > Export > JPG Optimizer.
Leni Diniz, Outubro de 2021.
Créditos Versão 1 e 2: Tutorial, Formatação e Art Final by Leni Diniz Tube Principal: Callitubes e Luz Cristina Misteds Florais: by LeniDiniz Sinta-se à vontade para
enviar suas versões.
|