|

Tutorial By
LeniDiniz
English Translation by SIM-PSP moderation
Original Tutorial

Material
1 Main Tube of your choice
1 Floral image in jpg.
Masks:
Mask 2020 - LeniDinizMask_LDM063
Decor_romantique_leni
título_romantique_leni.

Plugins
Xero
DSB Flux
Todies
Colors
#ead3c5 foreground
#c07669 background.

TUTORIAL
1-
Open the
material in PSP, duplicate and close the original.
Choose two colors from
your floral image to work with,
one lighter in the foreground and the other darker in the
background.
2- Edit > Copy Floral image.
3- Open a new transparent image of 900x550.
4- Selections > Selection All.
Edit > Paste Into Selection.
Selections > Select None
Effects > Image Effects > Seamless Tiling: Default.
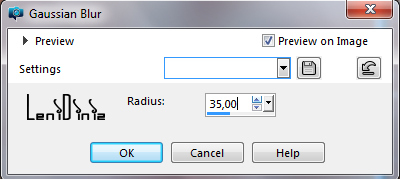
5- Adjust > Blur > Gaussian Blur: 35
6-
Layers > Duplicate.
Close the visibility of the Copy of Raster 1 layer.
Activate the Raster 1 layer.
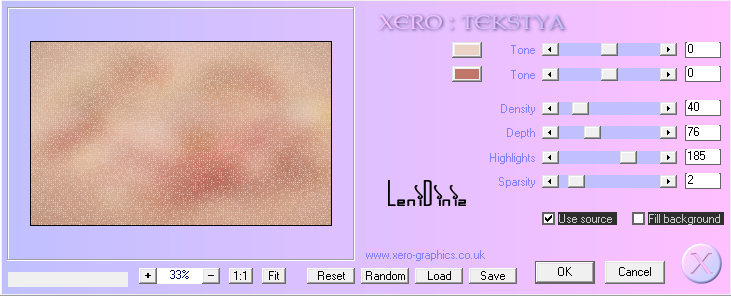
Effects > Plugins > Xero > Tekstya:
Adjust > Sharpness > Sharpen.
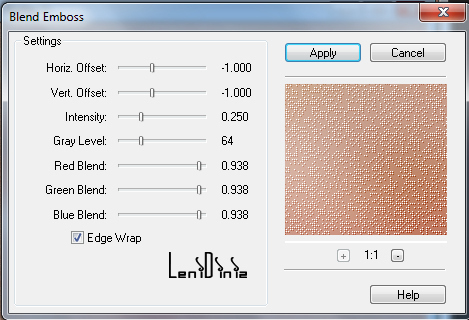
Effects > Plugins > FM Tiles Tools > Blend Emboss:
Default
7- Activate and Open the visibility of the Copy of Raster 1
layer.
Effects > Plugins > DSBFlux > Linear Transmission:
2 > 4 > 50 horizontal

8- Effects > Plugins > FM Tiles Tools > Blend Emboss:
Default
9- Layers > Propertier > General > Mode Blend: Soft Light
10- Activate the Selection Tool > Custom Selection:
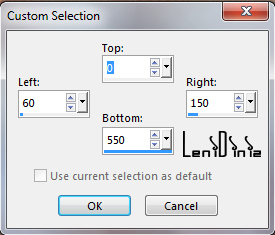
11- Selections > Promote Selection to Layer.
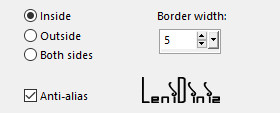
Selections > Modify > Select Selection Border: 5
12- Layers > New Raster Layer.
Paint with the lightest color (foreground).
Selections > Select None.
13- Layers > Merge > Merge Down.
Adjust > Sharpness > Sharpen.
Effects > 3D Effects > Drop Shadow:
0 > 0 > 100 > 30 color: background.
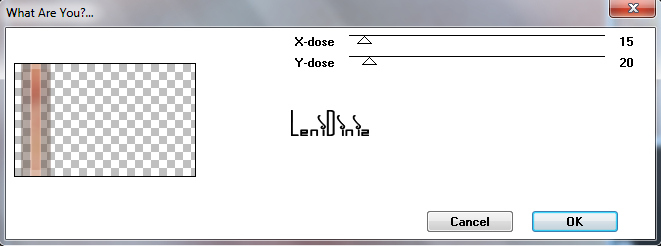
14- Effects > Plugins > Todies > What are you? : 15 /
20
15- Layers > Duplicate.
Image > Mirror > Mirror Horizontal.
Layers > Merge > Merge Down.
16- Layers > New Raster Layer.
Paint with the lightest color (foreground).
Layers > New Mask Layer > From: Mark LeniDinizMask_LDM063
Layers > Merge > Merge Group.
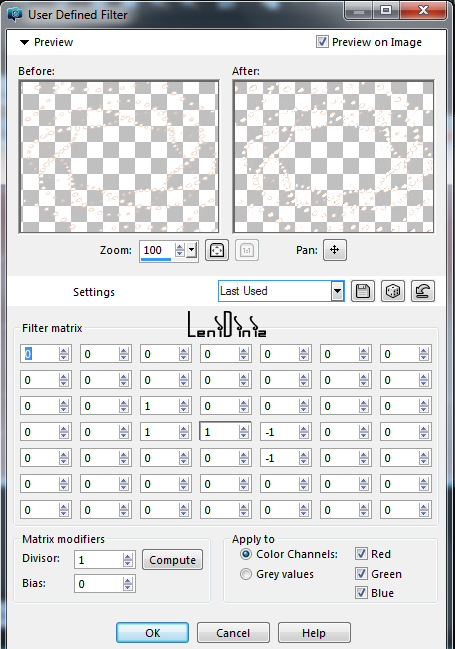
17- Effects > User Defined Filter > Emboss 3
18- Layers > New Raster Layer.
Selections > Select All.
19- Edit > Copy Copy Floral image.
Edit > Paste Into Selection.
Selections > Select None.
20-
Layers > New Mask Layer > From: mask_2020.
Layers > Merge > Merge Group.
21- Image > Resize 70%, Resize all layers unchecked.
Adjust > Sharpness > Sharpen.
Leave the image centered.
22- Edit > Copy decor_romantique_leni.
Edit > Paste As New Layer.
With the Pick Tool tool, position: Position X 43 Position Y 25
Adjust > Sharpness > Sharpen.
Layers > Duplicate.
Image > Mirror > Mirror Horizontal.
Layers > Merge > Merge Down.
23- Image > Add Borders > Symmetric:
2 px - color: dark color
background.
3 px - color: light color foreground.
2 px - color: dark color background.
24- Edit > Copy.
25- Selections > Select All.
Image > Add Borders > Symmetric:
45 px with any color.
Selections > Invert
26- Edit > Paste Into Selection.
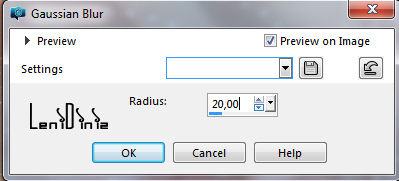
Adjust > Blur > Gaussian Blur: 20
27- Effects > Plugins > DSBFlux > Linear Transmission:
2 > 4 > 50 horizontal
28- Effects > Plugins > FM Tiles Tools > Blend Emboss:
Default
29-
Adjust > Sharpness > Sharpen.
Selections > Invert.
Effects > 3D Effects > Drop Shadow:
0 > 0 > 100 > 40, color: #000000
Selection > Select None.
30- Edit > Copy the Main Tube.
Edit > Paste As New Layer.
Image > Resize: if necessary.
Position of your choice.
Adjust > Sharpness > Sharpen Effects > 3D Effects > Drop Shadow: your choice.
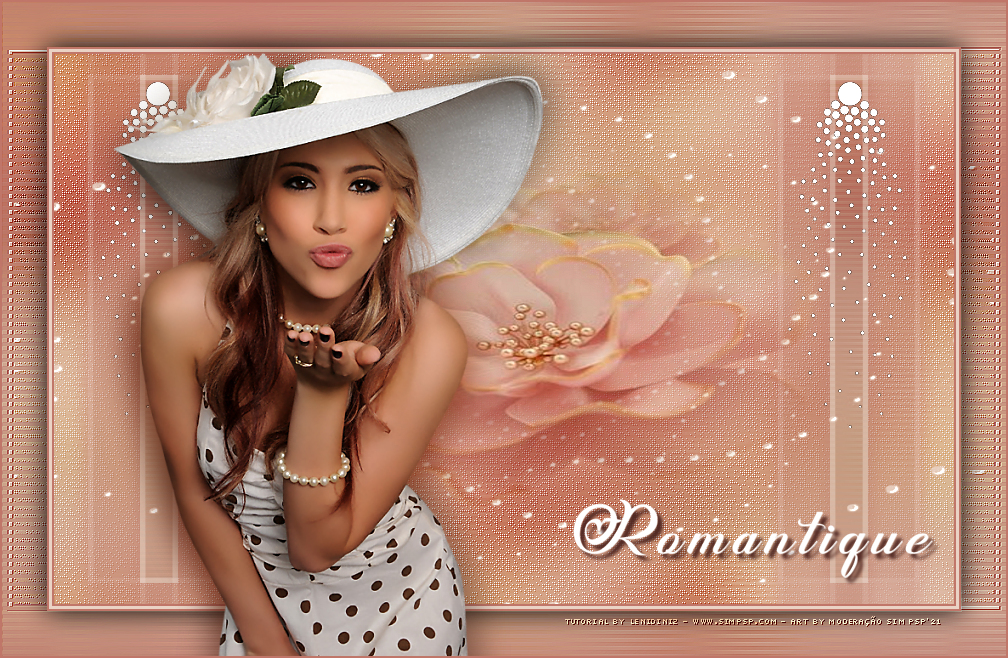
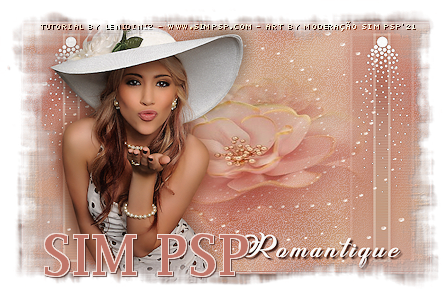
31- Edit > Copy título_romantique_leni.
Edit > Paste As New Layer.
Position of your choice. Effects > 3D Effects > Drop Shadow:
5 > 5 > 100 > 5, color: #000000
32- Image > Add Borders > Symmetric:
2 px - color: dark color background.
33-
Apply your watermark or signature.
File > Export > JPEG Optimizer.
CREDITS:
Tutorial by
LeniDiniz
English Translation by
Moderation SIM-PSP
Main Tube: tubed by
Syl
Image: Google images without mention of authorship
Feel free to send your versions.
I will be happy to publish them on our website.
Tutorial created by Leni Diniz,
in August/2021 for SIM-PSP. Translated into English in August /
21, by the Moderation of SIM-PSP. It cannot
be copied, removed from its place,
translated or used in learning lists or
groups without the author's prior consent.
|
|