|

Tutorial By
LeniDiniz
English Translation by SIM-PSP moderation
Original Tutorial
Material:
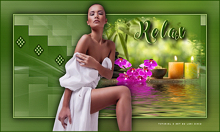
1 Main Tube of your choice
Misted Landscape of your choice.
decor_relax_leni
titulo_relax_leni
Narah_Mask_1412
PLUGINS
Len K landksiteofwonders
Filter Factory Gallery V
MuRa's Miester
Flaming Pear
MuRa's Seamless
Toadies
Mehdi
COLORS
Color 1: #254e02 Color 2: #8aab20
Color 3: #e9f5b1 Color 4: #a8d254

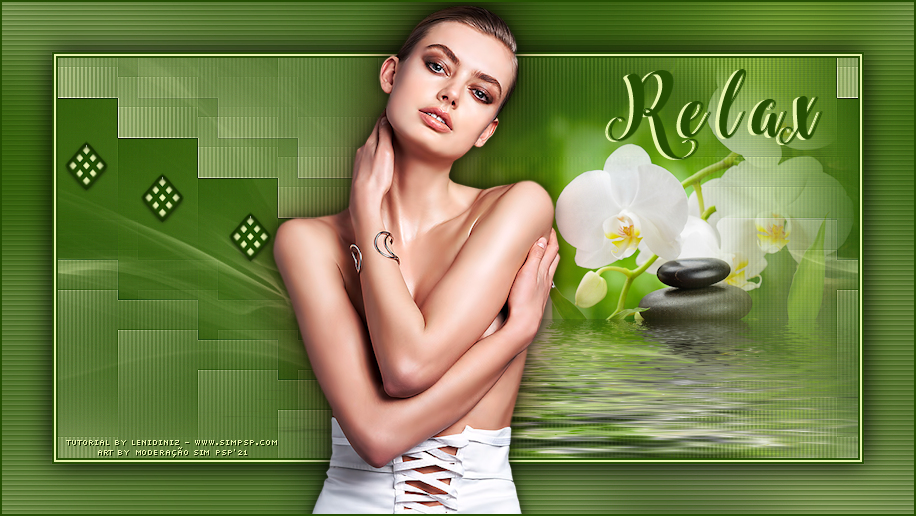
TUTORIAL
1- Open a new transparent image of 800x400px.
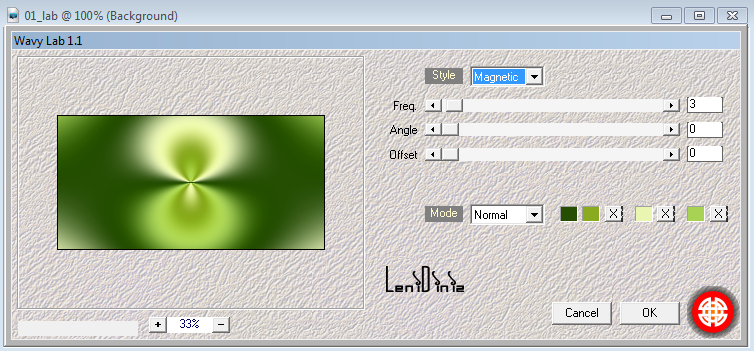
Effects > Plugin > Mehdi > Wave Lab1.1:
Following the order of colors: 1 - 2 - 3 - 4
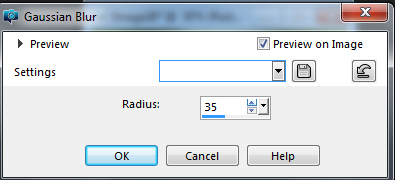
2- Adjust > Blur > Gaussian Blur: 35
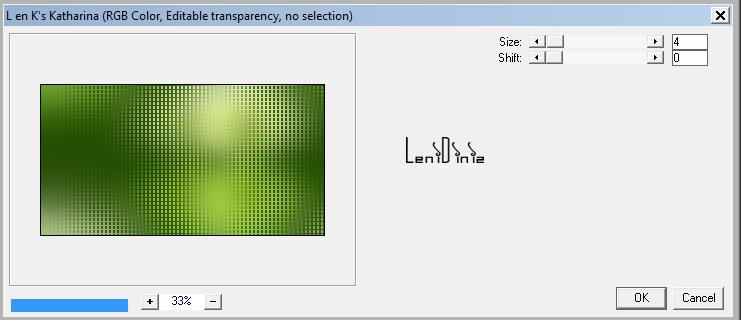
3- Effects > Plugins > Len K landksiteofwonders > L en
K's Katharina:
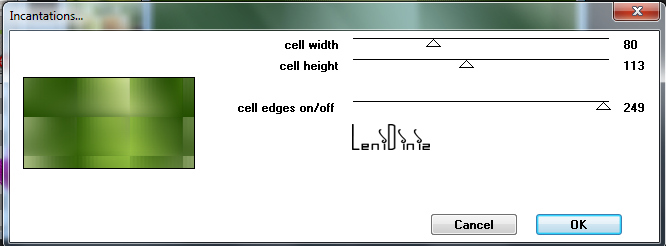
4- Effects > Plugins > Filter Factory Gallery V > Incantations:
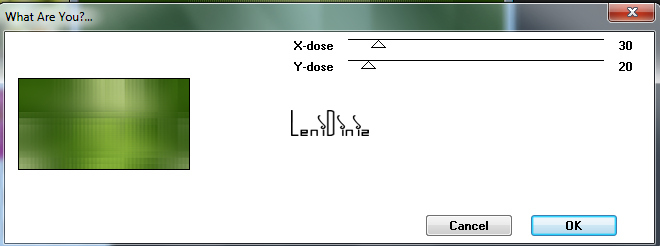
5- Effects > Plugins > Toadies > What are you:
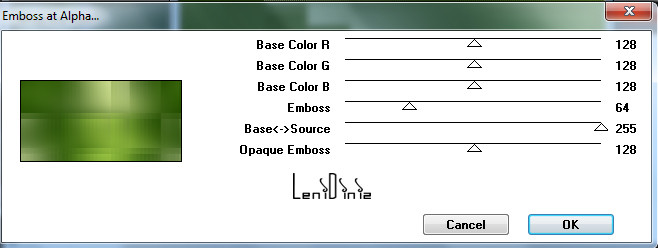
6- Effects > Plugins > MuRa1s Seamless > Emboss at Alpha:
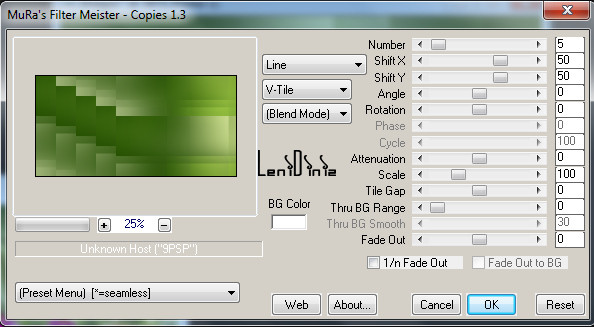
7- Effects > Plugins > MuRa's Miester > Copies:
8- Effects > Edge
Effects > Enhance.
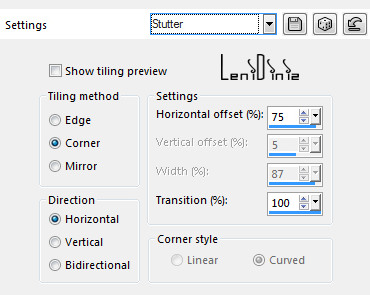
Effects > Image Effects > Seamless Tiling > Stutter:
9- Edit > Copy the Misted Landscape.
Edit > Paste as New Layer.
Image > Resize: if necessary.
Position to the right.
Adjust > Sharpness > Sharpen.
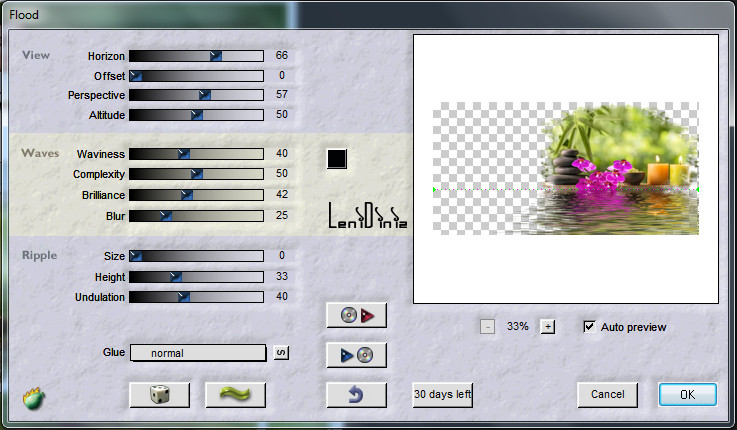
10- Effects > Plugin Flaming Pear > Flood:
In the first setting in HORIZONTAL, the value can be
according to the base of the misted you are using, in mine it was
66:
11- Layer > New Raster Layer,
Paint with #FFFFFFF or a very light color.
12- Layers New Mask Layer > From Image: Narah_Mask_1412.
Layers > Merge > Merge Group.
Image > Mirror > Mirror Horizontal.
Effects > Image Effects > Selamless Tiling > Stutter:
13- Edit > Copy Special > Copy Merged.
14- Image > Add Border > Symmetric:
2 px - color 1: #254e02
2 px - color 3: #e9f5b1
2 px - color 1: #254e02
15- Selections > Select All.
Image > Add Border > Symmetric: 50 px with any color.
Selections > Invert.
Edit > Paste Into Selection.
Adjust > Blur > Gaussian Blur 35:
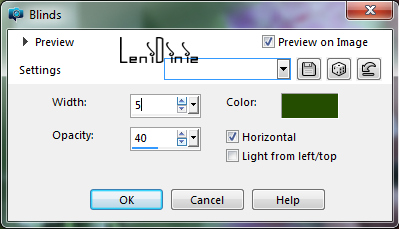
16- Effects > Texture Effects > Blinds:
Color: color 1: #254e02
Adjust > Sharpness > Sharpen.
Selecions > Invert.
Effects > 3D Effects > Drop Shadow:
0 > 0 > 100 > 40, color: #000000
Selections > Select None.
17- Edit > Copy the decor_relax_leni.
Edit > Paste as New Layer
With the Pick Tool Tool, position: Position X 60 Position Y 138.
18- Edit > Copy the Main Tube.
Edit > Paste As New Layer
Image > Resize: if necessary.
Adjust > Sharpness > Sharpen.
Position to the right or your choice.
Effects > 3D Effects > Drop Shadow: your choice.
19- Edit > Copy no titulo_relax_leni
Position your choice.
20- Image > Add Border > Symmetric:
2 px - color 1: #254e02
21-
Apply your watermark or signature.
File > Export > JPEG Optimizer.
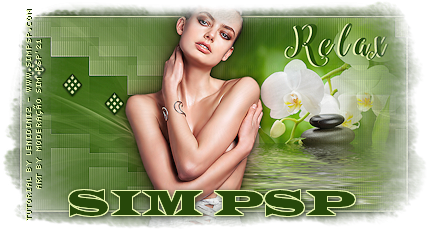
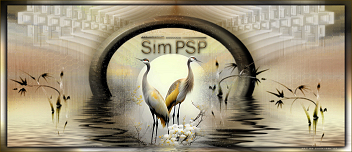
Feel free to send your versions.
I will be happy to publish them on our website.

|
Tutorial created by LeniDiniz, in May /
2021. Translated into English in August /
21, by the Moderation of SIM-PSP. It cannot
be copied, removed from its place,
translated or used in learning lists or
groups without the author's prior consent. |
|