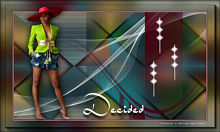
  Material 1 Main Tube of your choice layer_alpha_chanel_decide_leni decor_decided_leni titulo_decided_leni Mask 1noemask Mask Astrid masker 62a
Plugin Unlimited > Bck Designes IV Plugin AAA Feame
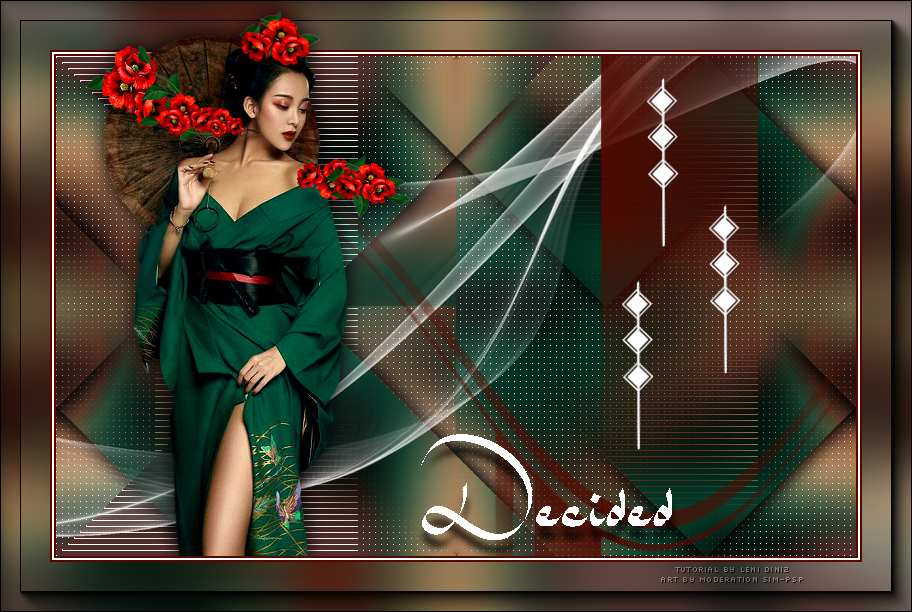
TUTORIAL 01- Open the material on the PSP, duplicate and close the original. Choose 2 colors to work with. Foreground: #4a000f Background: #00e4ff
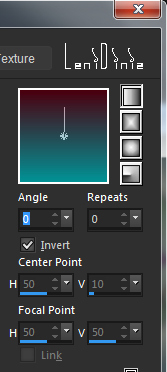
02- Open the layer_alpha_chanel_decide_leni. Paint with a Linear Gradient, formed by the chosen colors: 03- Selections > Select All. Edit > Copy the Main Tube Edit > paste into selection. Selections > Select None. Effects > image Effects > Seamless Tiling: Default:
04- Adjust > Blur > Gaussian Blur: 25
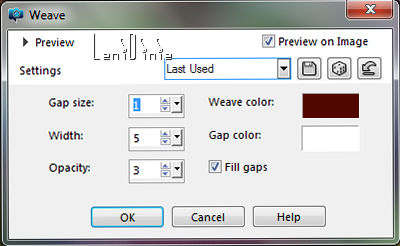
05- Effects > Texture Effects > Weave:
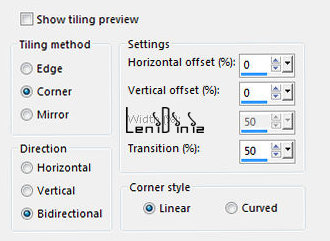
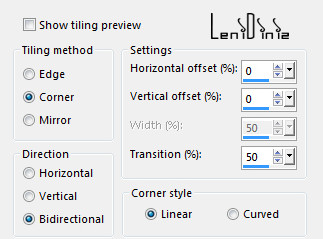
06- Effects > Plugin > Filters Unlimited 2.0 > &<Bkg Designers sf10 IV> > @BlueBerry Pie: 07- Selections > Load/Save Selections > Load Selection from Alpha Channel > Sel.decided #1 Selections > Promote Selection to layer. Selections > None. Effects > 3D Effects > Drop Shadow: 0 > 0 > 100 > 30 , color: #000000 08- Layers > Duplicate. Repeat > Layers > Duplicate. Activate the Copy of Promoted Selection layer. Image > Mirror > Mirror Vertical. 09- Layers > Merge > Merge Down. Effects > Image Effects > Selamless Tiling > Default:
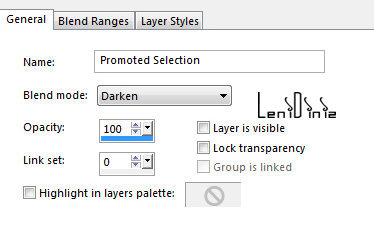
Layers > Properties > General > Blend Mode: Darken
10- Activate the Copy (2) layer of Promoted Selection. Image > Mirror > Mirror Horizontal. Effects > Image Effects > Selamless Tiling: Default Layers > Properties > General > Blend Mode: Darken 11- Layers > New Raster Layer, Paint with white color > #ffffff Layers > New Mask Layer > From image: 2017-2-1noemask Layers > Merge > Merge Group. 12- Layers > New Raster Layer, Paint with Foreground color: #4a000f Layers > New Mask Layer > From image: Astrid masker 62a Layers > Invert Mask/Adjustment. Layers > Merge > Merge Group. 13- Edit > Copy Special > Copy Merged. 14- Image > Add Borders: 2 px - symmetric - color: Foreground #4a000f 2 px - simmetric - color: #ffffff 2 px - symmetric - color: Foreground #4a000f 15- Selections > Select All. Image > Add Borders > 50px - symmetric - any color. Selections > Invert 16- Edit > Paste into selection. Image > Mirror > Mirror Horizontal. Adjust > Blur > Gaussian Blur > 25.
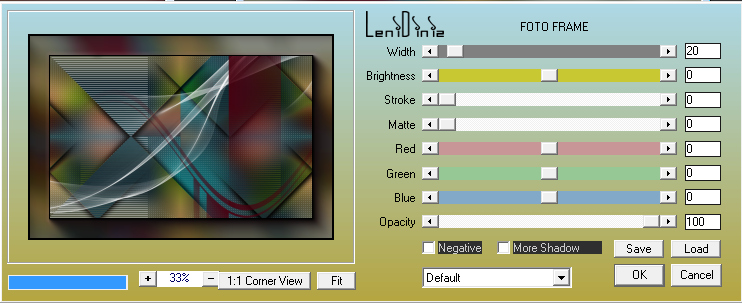
17- Selections > Select None. Effects > Plugin AAA Frame > Foto Frame:
18- Edit > Copy the Main Tube Edit > Paste as new layer. Position to the left. Adjust > Sharpness > Sharpen. Effects > 3D Effects > Drop Shadow: as you prefer.
19- Edit > Copy the decor_decided_leni. Edit > Paste as new layer. With the Pick Tool Tool, position: Position X 621 Position Y 77 20- Edit > Copy the titulo_decided_leni. Edit > Paste as new layer. Position of your choice. 21- Apply your watermark or signature. File > Export > JPEG Optimizer .
 Créditos:
Tutorial by LeniDiniz
English Translation by
Moderation SIM-PSP
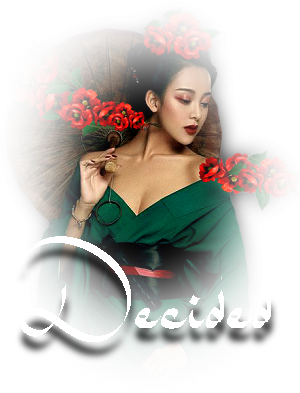
Tubes: Tubed by
SuizaBella
Feel free to send your versions. I will be happy to publish them on our website.
|