|
TRADUÇÕES:
Obrigada aos nossos
tradutores!
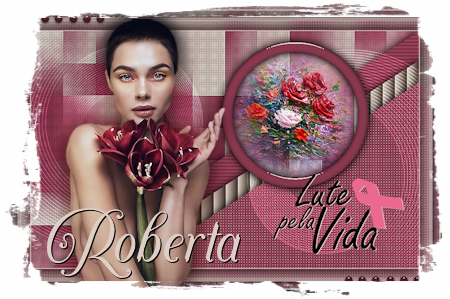
MATERIAL: AlphaChannel_LutepelaVidaByRobertaMaver
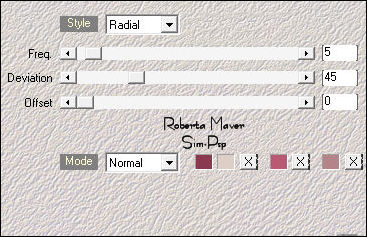
Carolaine and Sensibility > CS-HLines Carolaine and Sensibility > CS-LDots Filters Unlimited 2.0 > Bkg Designer sf10I > BlindsVertical
4 - Effects > Plugins > Mehdi > Sorting Tiles:
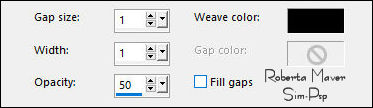
5 - Adjust > Sharpness > Sharpen More. Effects > Texture Effects > Weave:
6 - Layers > New Raster Layer. Selections > Load/Save
Selections > Load Selection from Alpha Channel #1.
7 - Effects > Plugins > Carolaine and Sensibility > CS-HLines:
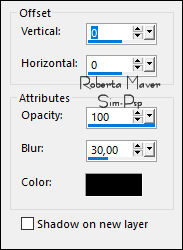
Effects > 3D Effects > Drop Shadow: 0 / 0 /100 /30, Color: #00000
8 - Selections > Select None. Layers > New Raster Layer. Selections > Load/Save
Selections > Load Selection from Alpha Channel #2.
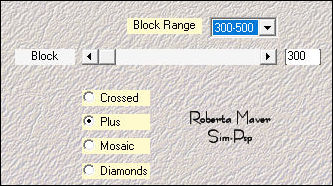
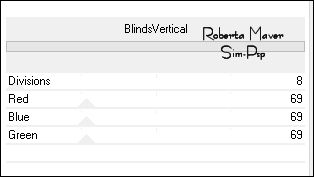
9 - Filters Unlimited 2.0 > Bkg Designer sf10I > BlindsVertical:
Effects > 3D Effects > Drop Shadow: 0 / 0 /100 /30, Color: #00000 Selections > Select None.
10 - Layers > New Raster Layer. Selections > Load/Save
Selections > Load Selection from Alpha Channel #3.
11 - Effects > Plugins > Carolaine and Sensibility > CS-LDots:
Effects > 3D Effects > Drop Shadow: 0 / 0 /100 /30, Color: #00000 Selections > Select None.
12 - Edit > Copy
no Decor_LutepelaVidabyRoberta Layers > Properties > General > Blend Mode: Overlay - Opacity: 100
13 - Ativar a Layer Raster 1. Selections > Load/Save Selections > Load Selection from Alpha Channel #4. Selections > Promote Selection to layer. Layers > Arrange > Bring to Top.
14 - Layers > New Raster Layer.
Selections > Modify > Contract: 25 Pressionar uma vez a tecla Delete no teclado. Selections > Select None. Com a ferramenta Magic Wand Tool: Tolerance e Feather em 0, selecionar a borda do circulo:
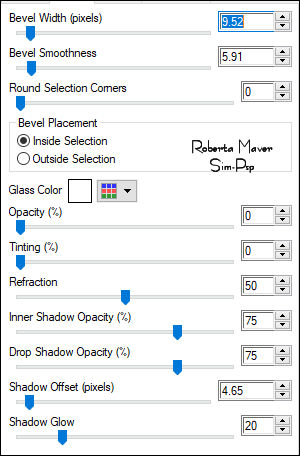
15 - Effects > Plugins > Alien Skin Eye Candy 5: Impact > Glass:
16 - Selections > Select None. Ativar a Layer Promoted Selection. Selections > Load/Save Selections > Load Selection from Alpha Channel #4.
18 - Ativar a Layer Topo Effects > 3D Effects > Drop Shadow: 0 / 0 /100 /30, Color: #00000
20 -
Selections > Select All Selections > Invert.
21 - Effects > Plugins > Carolaine and Sensibility > CS-LDots:
Selections > Invert.
22 - Effects > 3D Effects > Drop Shadow: 0, 0, 100, 50, Color:
#000000 (preto)
1 px - color: Foreground #ddcfc5 24 -
Selections > Select All. Effects > 3D Effects > Drop Shadow: 0, 0, 100, 50, Color:
#000000 (preto)
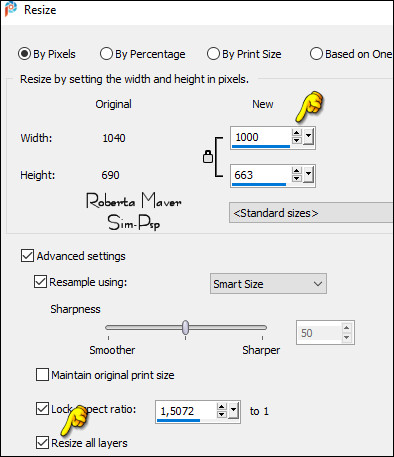
25 - Image > Resize > By Pixels: 1000 width
Adjust > Sharpness > Sharpen.
26 - Edit > Copy no Deco01_LutepelaVidaByRobertaMaver
27 - Edit > Copy no Tube Principal. Colorizar à sua escolha.
VERSÃO:
Créditos
Sinta-se à vontade para enviar suas versões. Terei todo o prazer em publicá-las em nosso site.
|