1- Abra todo material necessário no PSP.
Duplique-os e feche os originais.
Não esqueça de salvar com freqüência seu trabalho.
2 - Escolha duas cores para trabalhar:
Foreground: #da6a7c
Background: #f7e3e1
3- Abra uma imagem transparente de 1000x600px.
Selections > Select All.
4- Edit > Copy na imagem escolhida.
Edit > Paste Into Selection.
Selections > Select None.
5- Adjust > Blur > Gaussian Blur: 40

6- Window > Duplicate > Reserve.
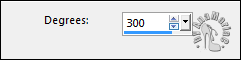
7- Effects > Distortion Effects > Twirl:
Adjust > Sharpness > Sharpen.
Layers > Duplicate.
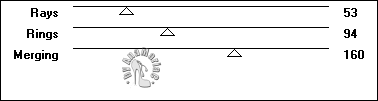
8- Effects > Plugins > VM Istant Art > Spider Web:
Layers > Properties > General > Blend Mode: Hard Light>
Opacity 50%.
Layers > Merge> Merge Down.
9- Layers > New Raster Layer.
Prencher com a cor: #FFFFFF (Branco)
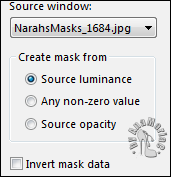
10- Layers > New Mask Layer > From Image:
NarahsMasks_1684
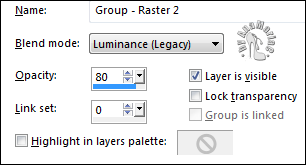
Layers > Merge > Merge Group.
11- Layers > Properties > General > Blend Mode:
Luminance (Legacy) - Opacity: 80%
12- Layers > New Raster Layer.
Prencher com a cor: #FFFFFF
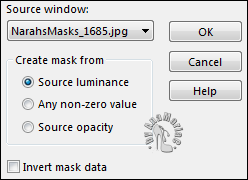
13- Layers > New Mask Layer > From image:
NarahsMasks_1685
Layers > Merge > Merge Group.
14- Effects > User Defined Filter: Emboss_3
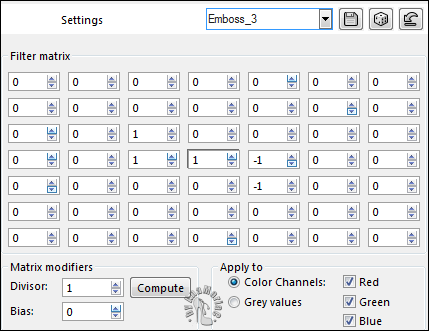
Edit > Repeat User Defined Filter.
Layers > Merge > Merge Down.
Edit > Repeat Merge Down.
15- Layers > New Raster Layer.
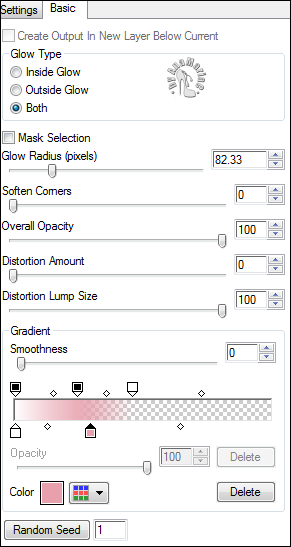
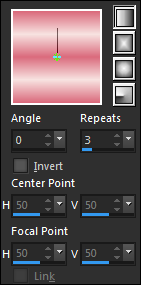
16- Effects > Plugin > Alien Skin Eye Candy: 5 Impact
> Gradient Glow:
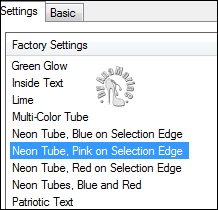
Mude as cores para branco e a cor do Foreground como mostra
no print abaixo.
17- Layers > Merge > Merge Down.
19- Layers > New Raster Layer.
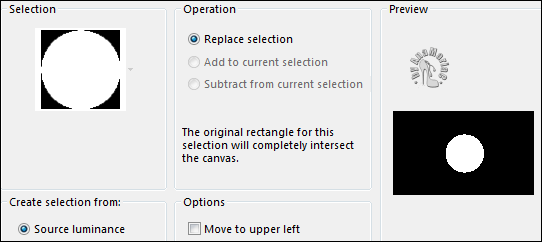
20- Selections > Load/Save Selections > Load
Selection From Disk: pascoa_AnaMariaC
.PNG)
22- Ative a imagem reservada.
Edit > Copy.
Edit > Paste Into Selection.
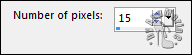
25- Selections > Modify > Contract >15.
Edit > Clear.
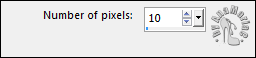
26- Selections > Modify > Contract: 10
Edit > Paste Into Selection.
27- Selections > Modify > Contract: 12.
Edit > Cut.
Selections > Select None.
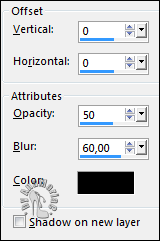
28- Effects > 3D Effects > Drop Shadow: Color:
#000000
29- Layers > New Raster Layer.
Selections > Load/Save Selections > Load
Selection From Disk: pascoa_2_AnaMariaC
Selections > Modify > Contract: 13.
30- Edit > Paste Into Selection.
Edit > Copy no Misted.
Edit > Paste Into Selection.
Adjust > Sharpness > Sharpen.
Selections > Select None.
31- Layers > Arrange > Move Down.
32- Layers > Merge > Merge Visibile.
Layers > Duplicate.
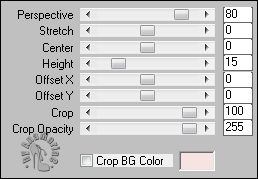
33- Effects > Plugins > MuRa's Meister > Perspective
Tiling:
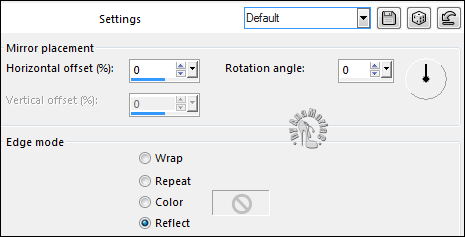
34- Effects > Reflection Effects > Rotating Mirror.
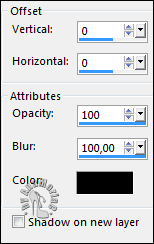
35- Effects > 3D Effects > Drop Shadow.
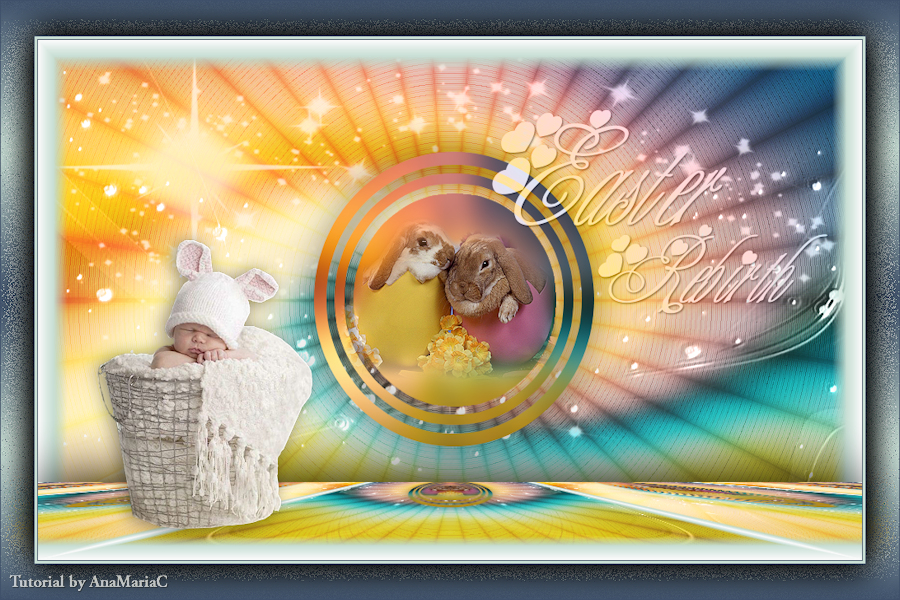
36- Edit > Copy no tube.
Edit > Past As New Layer.
Image > Resize se
necessário.
Adjust > Sharpness > Sharpen.
Posicionar à sua escolha.
Effects > 3D Effects > Drop Shadow: à sua escolha.
37- Edit > Copy no WordArt_byAnaMariaC.
Edit > Past As New Layer.
Posicionar à sua escolha.
Effects > 3D Effects > Drop Shadow: à sua escolha.
Layers > Properties > General > Blend Mode: Luminance (Legacy).
38- Image > Add Borders > Symmetric:
1px - Color: cor do Foreground.
3 px - Color: cor do Background.
1px - Color: cor do Foreground.
Selections > Select All.
39- Image > Add Borders > Symmetric: 40 px - Color: #FFFFFF
Selections > Invert.
40- Preencher a seleção com um gradiente Linear,
formado pelas cores do Foreground e Background:
41- Effects > Plugins > &<Bkg Designer sf10 I> Blur
’em...
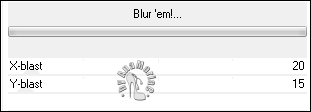
Adjust > Sharpness > Sharpen.
Selections > Invert.
42- Effects > 3D Effects > Drop Shadow: Color:
#000000
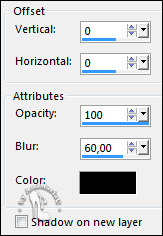
Edit > Repeat Drop Shadow.
Selections > Select None.
43- Image > Add Borders > Symmetric: 1 px - Color:
cor do Foreground.
Redimensione para 900px de largura.
44- Aplicar sua marca d'água ou assinatura.
File > Export > JPEG Optimizer.

Versão: