|
Tutorial by Soxikibem English Translation by Moderation SIM-PSP Original Tutorial:
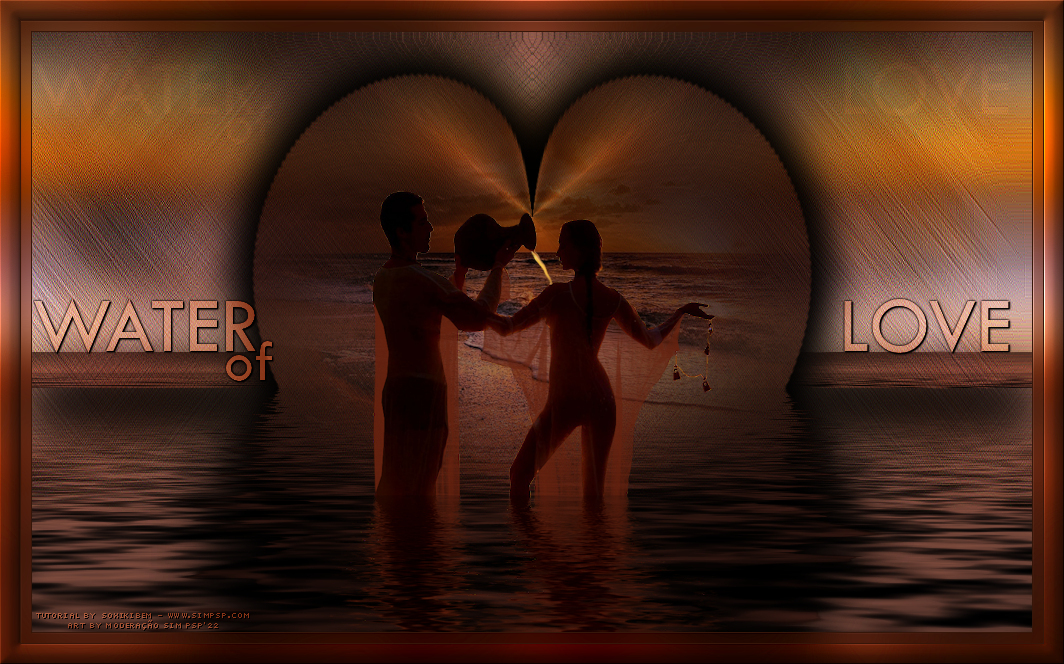
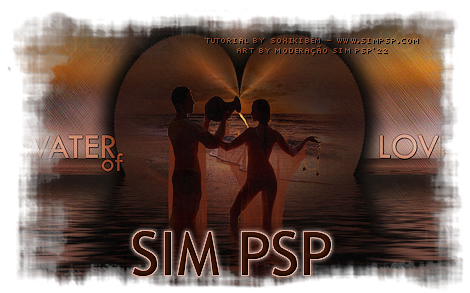
MATERIAL 1 Main Tube of your choice 1 Misted Landscape of your choice tituloWaterOfLoveXiki Selections: Selection6Xiki (Save selections in PSP's Selections folder)
Plugins Transparency > Eliminate Black Mura's Meiste > Pole Transform FM Tile Tools > Saturation Emboss Flaming Pear > Flood
NOTE:
- Feel free to change the Blends and Opacity according to
the material
TUTORIAL
1 - Open the material on the PSP, duplicate and close the original.Choose two colors to work with:Foreground #c09688 Background #361608
2 - Open a 1000x600px transparent image. Paint with a Linear Gradient formed by the chosen colors.
3 - Adjust > Blur > Gaussian Blur: 20. Effects > Texture Effects > Sandstone:
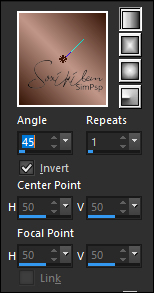
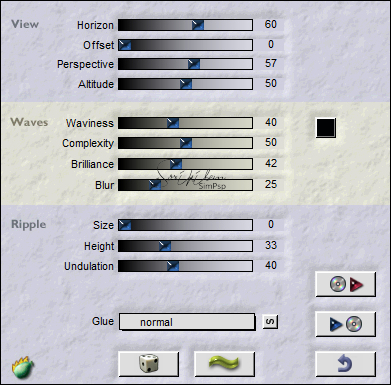
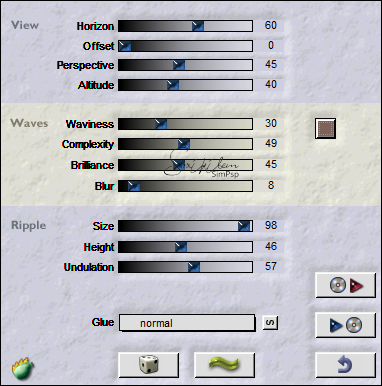
4 - Effects > Reflection Effects > Rotating Mirror:
Layers > Duplicate. Image > Mirror > Mirror Vertical. Layers > Properties > General > Blend Mode: Difference. Layers > Merge > Merge Down.
5 - Effects > Plugins > Transparency > Eliminate Black.
6 - Layers > New Raster Layer. Paint with the foreground color (light color). Layers > Arrange > Move Down.
7 - Activate the Layer Raster 1. Effects > 3D Effects > Drop Shadow: 0, 0, 100, 1, Color: #000000 (preto) Edit > Repeat Drop Shadow.
8 - Layers > Merge > Merge Down. Layers > Duplicate. Image > Resize: 80%, all layers unchecked. Effects > Geometric Effects > Perspective Horizontal:
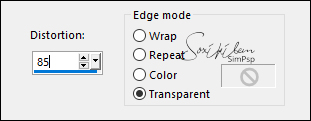
9 - Layers > Duplicate. Image > Mirror > Mirror Horizontal. Layers > Merge > Merge Down. Effects > Plugins > Mura's Meister > Pole Transform:
10 - Image > Resize: 80%, all layers unchecked. With the Pick Tool, position: Position X: 219, Position Y: 39.
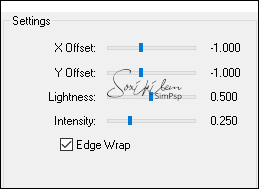
11 - Activate the Layer Raster 2. Effects > Plugins > Flaming Pear > Flood:
12 - Activate the Layer Copy of Raster 2. Effects > Plugins > Flaming Pear > Food. Click on the color square and choose a light color in your work.
13 - Layers > Properties > General > Blend Mode: Multiply. Effects > 3D Effects > Drop Shadow: 0, 0, 100, 80, Color: #000000 (black)
14 - Activate the Layer Raster 2. Edit > Copy in Misted Landscape. Edit > Paste a New Layer. Image > Resize if necessary. Adjust > Sharpness > Sharpen.
15 - Activate the bottom layer (Raster 2). Layers > New Raster Layer. Selections > Load/Save Selections > Load Selection From Disk: Selection6Xiki. Edit > Copy in Misted Landscape. Edit > Paste Into Selection. Selections > Select None.
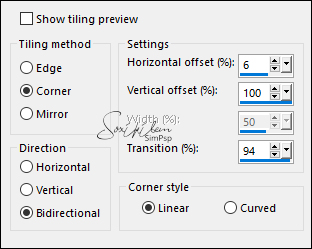
16 - Effects > Image Effects > Seamless Tiling: Side By Side.
17 - Adjust > Blur > Motion Blur: Angle 50, Strength 100. Edit > Repeat Motion Blur. Effects > Edge Effects > Enhance. Edit > Repeat Enhance Edges. Layers > Duplicate. Image > Mirror > Mirror Horizontal. Layers > Merge > Merge Down.
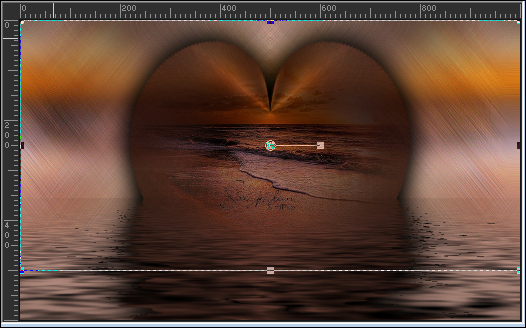
18 - With the Pick Tool, Mode Scale, pull down to measure 500 of the ruler.
Adjust > Sharpness > Sharpen.
19 - Activate the layer below (Raster 2). Layers > Duplicate. Layers > Properties > General > Blend Mode: Multiply.
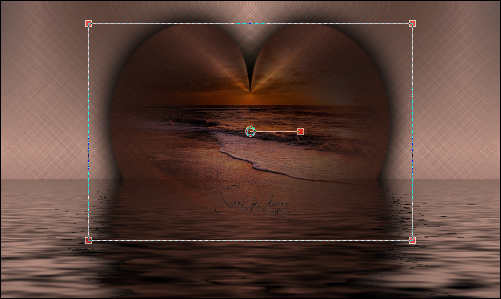
20 - Layers > Duplicate. Effects > Geometric Effects > Perspective Horizontal: 95, transparent. Effects > Geometric Effects > Perspective Horizontal: -95, transparent. With the Pick Tool, position: Position X: 0, Position Y: 318.
21 - Effects > 3D Effects > Drop Shadow: 30, 0, 100, 80, Color: #000000 (black) Layers > Arrange > Move Up. Layers > Properties > General > Blend Mode: Multiply. With the Eraser tool, erase the part of this rectangle that is inside the heart, remembering that you need to erase the shadow as well.
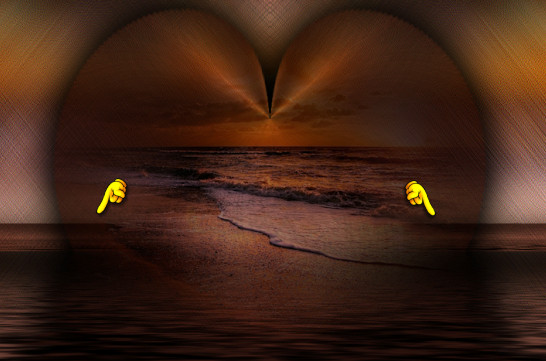
Look at my example:
22 - Activate the Top Layer. Edit > Copy the Main Tube. Edit > Paste as New Layer. Image > Resize if necessary. Position in the center. Note: If using the material tube, resize it to 60%, and with the Pick Tool, position: Position X: 298, Position Y: 158.
23 - Image > Add Borders > Symmetric: 1px - Color: Background color. Edit > Copy. Selections > Select All. Image > Add Borders > Symmetric: 10px with any color. Selections > Invert. Edit > Paste Into Selection. Adjust > Blur > Gaussian Blur: 20. Effects > Plugins > FM Tile Tools > Saturation Emboss: Default.
Selections > Select None.
24 - Image > Add Borders > Symmetric: 1px - Color: Background color. Selections > Select All. Image > Add Borders: 20px with any color. Selections > Invert. Edit > Paste Into Selection. Adjust > Blur > Gaussian Blur: 20. Effects > Plugins > FM Tile Tools > Saturation Emboss: Default.
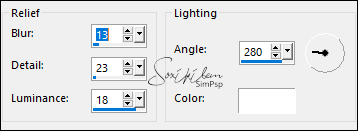
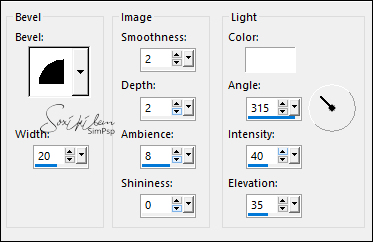
25 - Effects > 3D Effects > Inner Bevel:
Edit > Repeat Inner Bevel. Selections > Select None.
26 - Edit > Copy the tituloWaterOfLoveXiki. Edit > paste as New Layer. With the Pick Tool, position: Position X: 32, Position Y: 296. Layers > Properties > General > Blend Mode: Hard Light.
27 - Layers > Duplicate. With the Pick Tool, position: Position X: 32, Position Y: 59. Layers > Properties> General > Blend Mode: Dodge, Opacity: 10%.
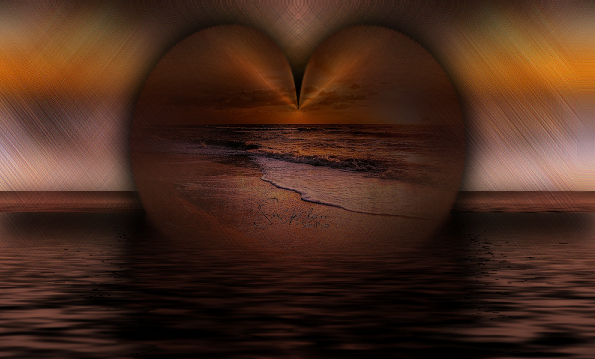
28 - Apply your watermark or signature.File > Export > JPEG Optimizer.
CREDITS: Tutorial by Soxikibem English Translation by Moderation SIM-PSP Main Tube: Tubed by L&B Tubes Misted Landscape by by Soxikibem
Feel free to send your versions. I will be happy to publish them on our website.
|