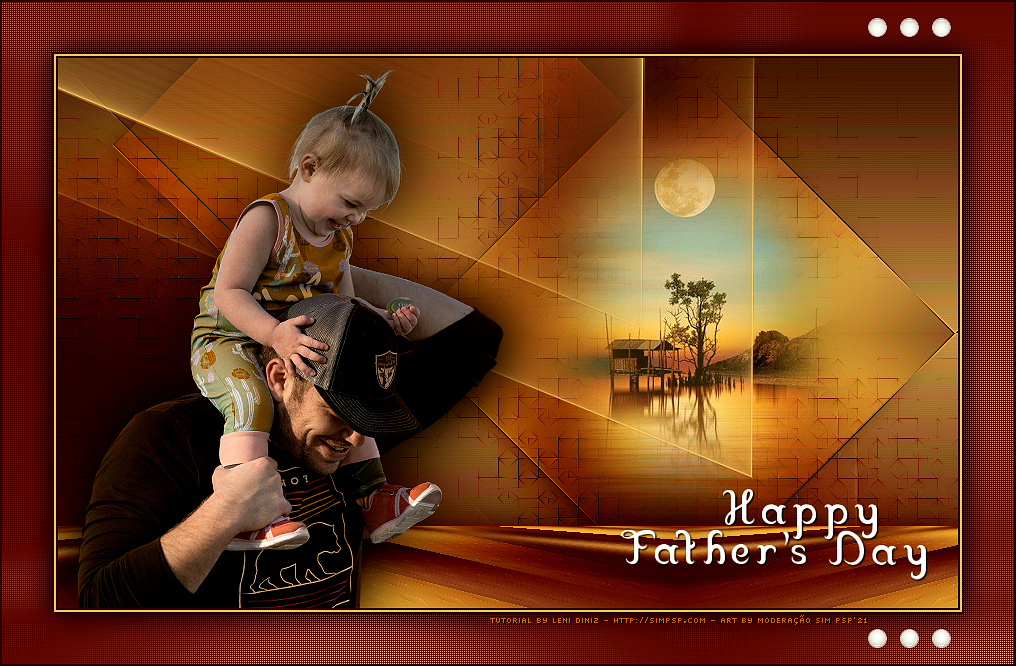

Tutorial by
Leni Diniz
English Translation by Moderation SIM-PSP
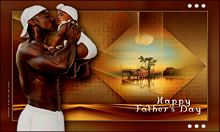
Original Tutorial
Material
1 Main Tube of your choice
1 Misted Landscape of your choice
alphachanel_diadospais_leni
Mask LeniDinizMask_LDM017
decor_diadospais_leni
titulo_diadospais_leni
Plugins
Mehdi
Simple
Muras Meister
AAA Filter
TUTORIAL
1-
Open the material on the PSP, duplicate and close the
original.
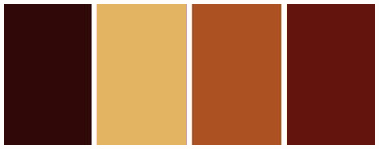
Choose
four
colors to work with:
Color 1: #300808 Foreground
Color 2: #e3b462 Background
Color 3: #ac5122
Color 4: #63140d
2- Open the
alphachanel_diadospais_leni file.
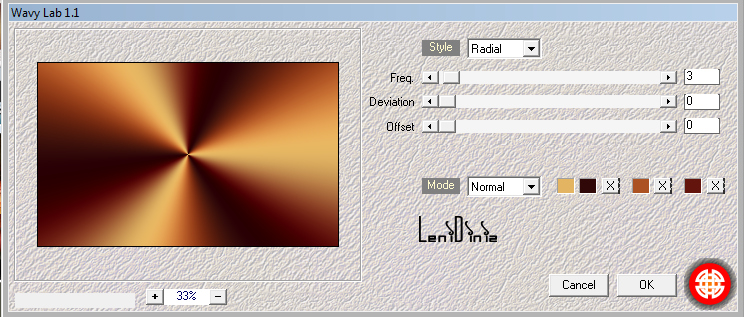
Effects > Plugins > Mehdi > Lab1.1:
With the colors in sequence: 2, 1, 3, 4.
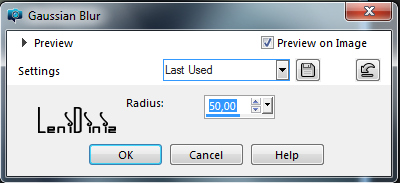
3- Adjust > Blur > Gaussian Blur: 50
4-
Layers > Duplicate.
Close Visibility of Layer Copy of Raster 1.
Activate Layer Raster 1.
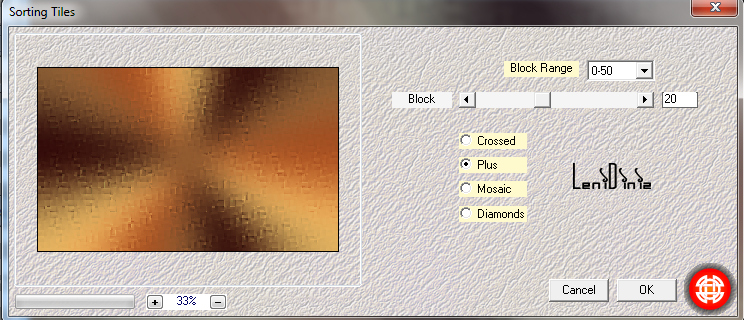
5- Effects > Plugin > Mehdi > Sorting Tiles:

6-
Effects > Edge > Enhance More.
7- Activate and open the visibility of Layer Copy of Raster 1.
Effects > Plugin > Mehdi > Sorting Tiles:
8- Effects > Edge > Enhance More.
Layers > Propertier > Modo Blend > Darken.
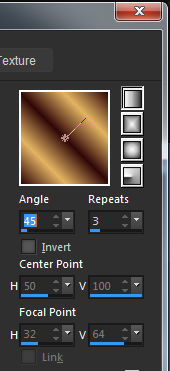
9- Form a Linear Gradient: Angle: 45 - Repeats: 3 - Invert:
unmarked
10- Layers > New Raster Layer.
Paint with the gradient.
Adjust > Blur > Gaussian Blur: 50
11- Effects > Plugin > Simple > Pizza Slice Mirror.
12- Effects > Refletions Effects > Rotating Mirror:
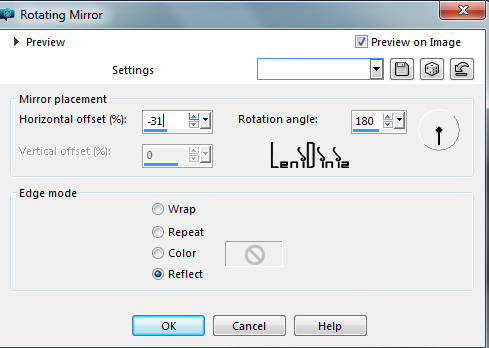
13-
Effects > Edge > Enhance More.
14- Layers > Propertier > Modo Blend: Darken.
15- Selections > Load/Save Selections > Load Selection from
Alpha Channel: leni_diadospais
Selections > Promoter to Layer.
Selections > None.
16- Layers > Propertier > General > Modo Blend: Soft
Light
17- Effects > 3D Effects > Drop Shadow:
0 > 0 > 100 > 30, cor: #000000
18- Effects > Image Effects > Seamless Tiling: Wings Back

19- Edit > Copy the misted landscape.
Edit > Paste As New Layer.
Image > Resize if necessary (in the misted I used apply 80%)
Center within the diamond.
Adjust > Sharpness > Sharpen.
20- Selections > Load/Save Selection > Load Selection from Alpha
Chanel: leni_diadospais
Selections > Invert.
Edit > Cut or press the delete key on your keyboard.
Selections > Select None.
21- Layers > New Raster Layer.
Paint with the background color (light color).
22- Layers > New Mask Layer > From image:
LeniDinizMask_LDM017
Layers > Merge > Merge Group.
Image > Mirror > Mirror Horizontal.
Adjust > Sharpness > Sharpen.
23- Activate Layer Raster 1.
Layers > Duplicate.
Layers > Arrange > Bring to top.
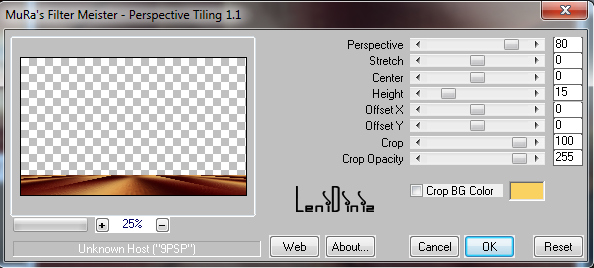
24- Effects > Plugins > Muras Meister > Perspective Tiling:
25- Effects > Refletions Effects > Rotating Mirror:
26- Effects > 3D Effects > Drop Shadow:
0 > 0 > 100 > 40, color: foreground.
27- Activate Layer Promoted Selection.
Layers > Duplicate.
Layers > Arrange > Bring to top.
28- Effects > Plugins > Muras Meister > Perspective Tiling:
29- Effects > Refletions Effects > Rotating Mirror:
30- Edit > Copy Special > Copy Merged.
31- Image > Add Borders > Symmetric:
2 px - color: foreground
2 px - color: background
2 px - color> foreground
32- Selections > Select All.
Image > Add Borde Symmetric:
50 px
with any color.
Selections > Invert.
Edit > Paste Into Selection.
Adjust > Blur > Gaussian Blur: 20
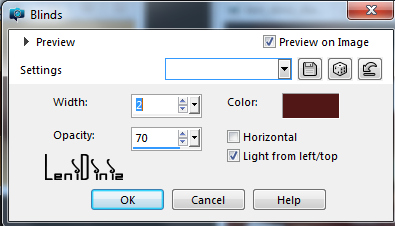
33- Effects > Texture Effects > Blinds:
Color:
Color 4: #63140d
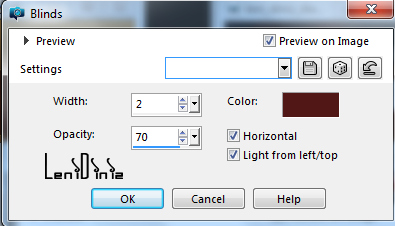
34- Effects > Texture Effects > Blinds:
Color:
Color: 4 #63140d
35- Adjust > Sharpness > Sharpen.
Selections > Invert.
Effects > 3D Effects > Drop Shadow:
0 > 0 > 100 > 40, cor: #000000
Selections > Select None.
36- Edit > Copy the Main Tube.
Edit > Paste As New Layer.
Image > resize se for necessário,
Position to the left.
Adjust > Sharpness > Sharpen
Effects > 3D Effects > Drop Shadow:
as you prefer.
37- Edit > Copy the titulo_diadospais_leni.
Edit > Paste As New Layer.
Position where you prefer.
Effects > 3D Effects > Drop Shadow:
1 > 1 > 100 > 2, cor: #000000
38- Edit > Copy the decor_diadospais_leni.
With the Pick Tool tool, position: Position X 866 Position Y 16.
39- Image > Add Borders > Symmetric:
2 px cor foreground.
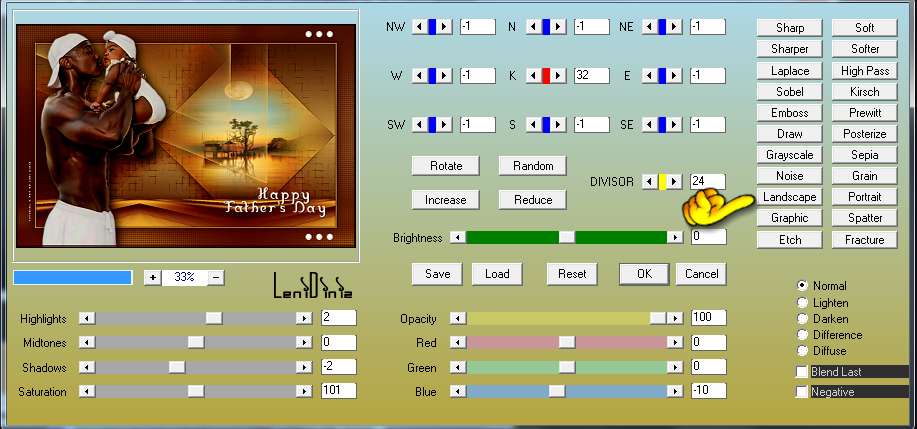
40- Effects > Plugins > AAA Filter > Custom > Landscope:
41-
Apply your watermark or signature.
File > Export > JPEG Optimizer.
Créditos:
Tutorial by Leni Diniz
Main Tube: Tubed by Marcinha
Misted Landscape: Tubed
byby Marcinha
Mask: LeniDinizMask
Feel free to send your versions.
I will be happy to publish them on our website.
|
Tutorial created by LeniDiniz, in July/ 2021. Translated into English in July / 21,
by the Moderation of SIM-PSP. It cannot be
copied, removed from its place, translated
or used in learning lists or groups without
the author's
prior consent. |
|