|
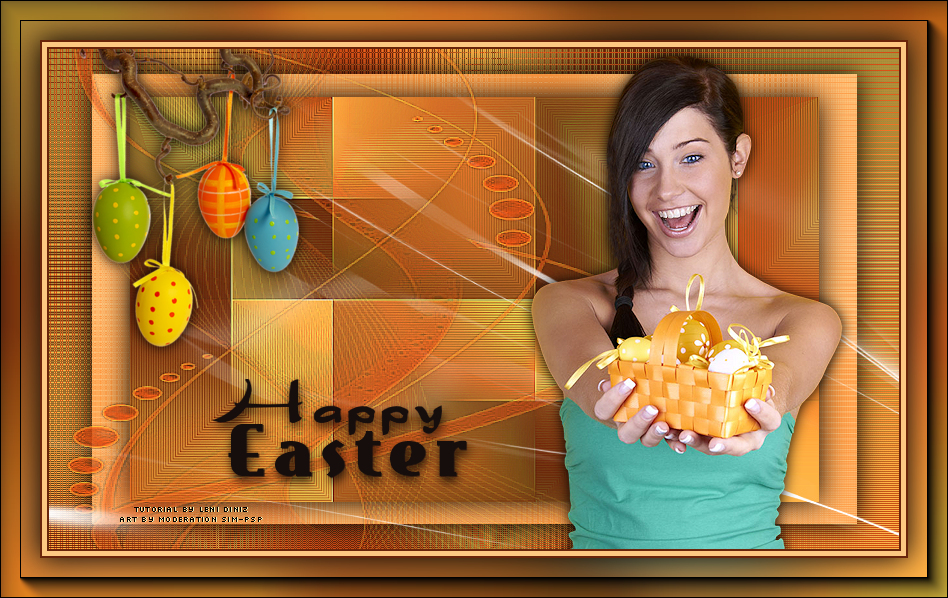
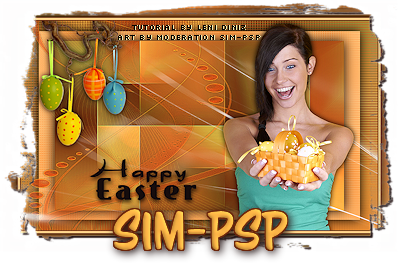
Tutorial by Leni Diniz English Translation by Moderation SIM-PSP Original Tutorial
Material Main Tube Easter of your choice Decorative tube Easter of your choice. Mask001 (no mention of authorship) Mask Narah_Mask_1286 Title: titulo_pascoa_leni
Colors - palette 1 #d34a13 #6a240a #ab8f3b #fdb547
Extra colors - palette 2 #ff9339 #ffffff #fdc882
Plugin Mehdi Factory Gallery M AAA Frame
TUTORIAL
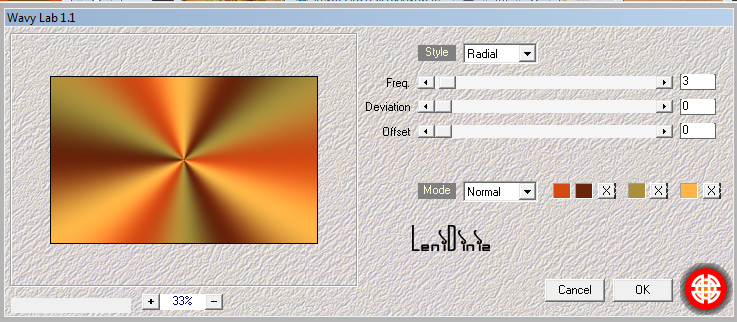
01- Open the material on the PSP, duplicate and close the original. Open a transparent image of 850x500 Effects > Plugin Mehdi > Wave Lab1.1: estyle: radial / 3 > 0 > 0 Colors - palette 1
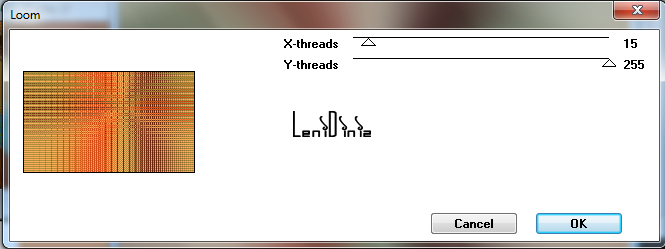
02- Effects > Plugin > Factory Gallery M > Loom : 15 > 255.
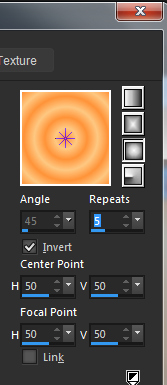
03- Create a gradient: Sunburst: repeats 5 - invert marked, in colors: Foregraund #ff9339 Background #fdc882
04- Layers > New Raster Layer Paint the layer with the gradient. Effects > Filter > Factory Gallery M > Loom: 15 > 255
05- Image> Resize: 90% - all layers unchecked. Effects > 3D Effects > Drop shadow: 0 > 0 > 100 > 40, color: #000000
06- Layers > New Raster Layer Effects > Plugin Mehdi > Wave Lab1.1 estyle: radial / 3 > 0 > 0 Colors - palette 1
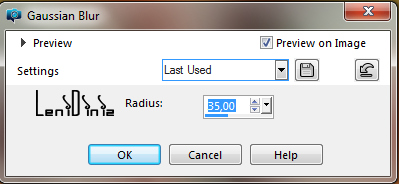
07- Adjust > Blur > Gaussian Blur: 35
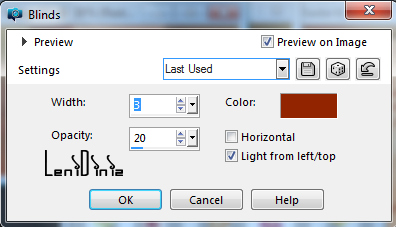
08- Effects > Texture Effects > Blinds:
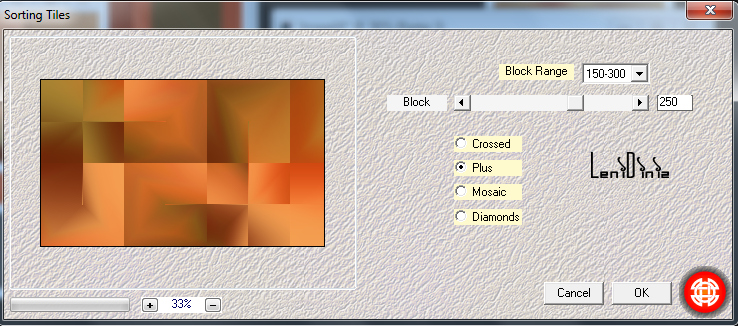
09- Effects > Plugin Mehdi > Sorting Tiles:
Effects > Edge Effects > Enhance More. Edit > Copy Edit > Paste As New Image, reserve.
10 - Back to work: Image> Resize: 90% - all layers unchecked. Edit > repeat Resize Effects > 3D Effects > Drop shadow: 0 > 0 > 100 > 40.
11- Layers New Raster Layer, paint with color #d34a13 Layers > New Mask Layer > From Image: Mask001 Layers > Merge > Merge Group. Effects > Edge Effects > Enhance More.
12- Layers New Raster Layer, paint with color #ffffff Layers > New Mask Layer > From Image: Narah_Mask_1286 Layers > Merge > Merge Group. Image > Mirror > Mirror Horizontal.
13- Edit > Copy the main tube Image> Resize if necessary, position to the right. Adjust > Shapness > Sharpen. Effects > 3D Effects > Drop Shadow of your choice.
14- Edit > Copy in the decorative tube. Image> Resize if necessary, position to the left. Adjust > Shapness > Sharpen. Effects > 3D Effects > Drop Shadow of your choice.
15- Image > Add Border: 2 px color: #6a240a 5 px color: #fdc882 2 px color: #6a240a
16- Selections > Select All Image > Add Borders: 40 px with any color. Selections > Invert.
17- Activate the reserved image. Edit > Copy. Back to work. Edit > Paste Into Selection. Adjust > Blur > Gaussian Blur: 35
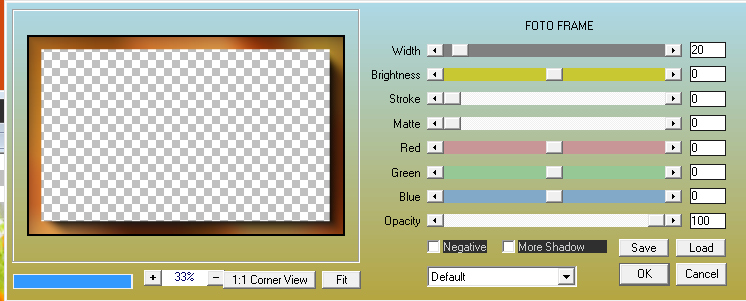
18- Effects > Plugin AAA Frame > Foto Frame:
19- Selections > Invert. Effects > 3D Effects > Drop shadow: 0 > 0 > 100 > 40
20- Edit > Copy no título_pascoa_leni Edit > paste as New Layer, position where you prefer.
21-
Apply your watermark or signature.
Credits: Tutorial by LeniDiniz English Translation by Moderation SIM-PSP Main Tube: Tubed by Leny Decorative tube: 13 or partage Narah_Mask_1286 Mask001
Feel free to send your versions.
I will be happy to publish them on our website.
|