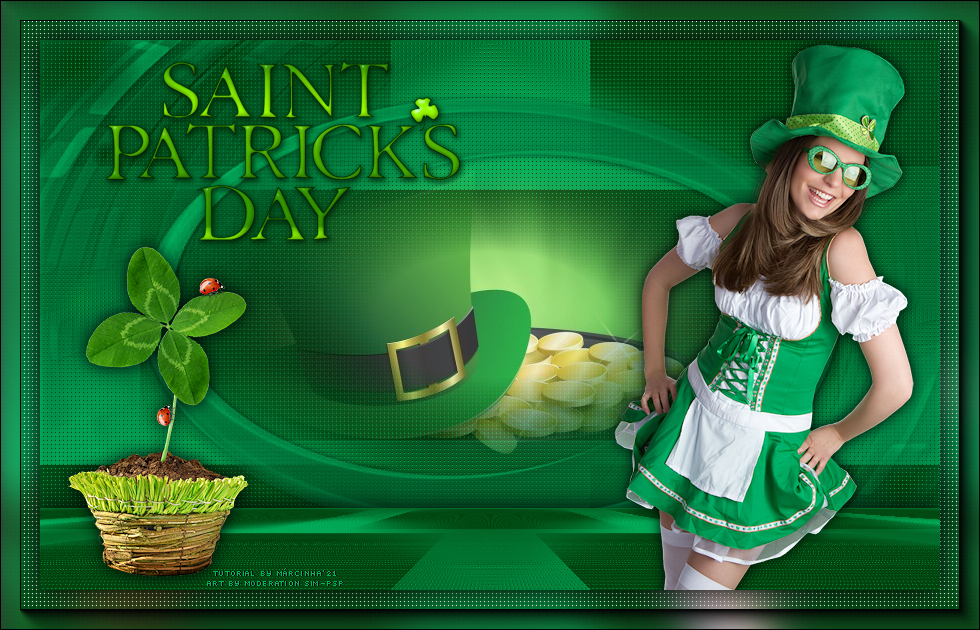
Tutorial by Márcinha English Translation by Moderation SIM-PSP Original Tutorial
MATERIAL Main Tube of your choice Misted Landscape of your choice Decorative tube of your choice. Word Art St Patrick's Day Masks by NarahMask
PLUGINS AAA Frames MuRa's Filters Meister
TUTORIAL
01 - Open the material on the PSP, duplicate and close the original.Choose two colors to work with. #013f0b - Foreground #01b460 - Background
02 - Open a transparent image of 900x550px.Paint with the color of the foreground - #013f0b
03- Effects > Image Effects > Offset Color do background - #01b460
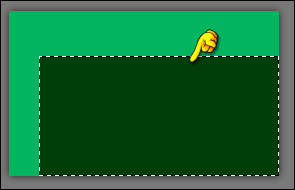
04- With the Magic Wand Tool: Tolerance and Feather: 0, select the dark color:
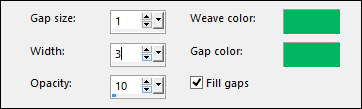
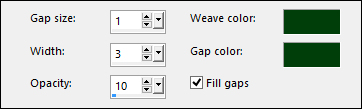
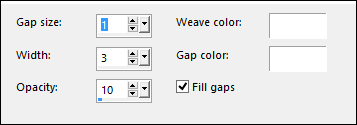
05- Effects > Texture Effects > Weave. Weave color e Gap color: background - #01b460
Selections > Invert.
06- Effects > Texture Effects > Weave. Weave color e Gap color: foreground - #013f0b
Selections > Select None.
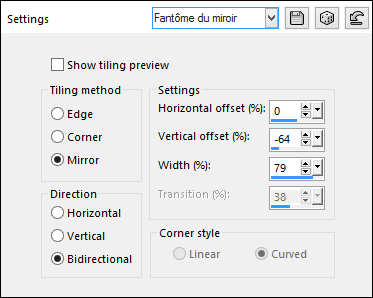
07- Effects > Image Effects > Seamless Tiling: Fantôme du miroir
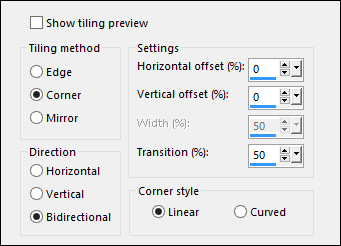
08- Effects > Image Effects > Seamless Tiling: Default:
09- Layers > New Raster Layer. Paint with the color of the background - #01b460
10- Layers > New Mask Layer > From image: NarahsMasks_1520 Layers > Merge > Merge Group.
11- Layers > New Raster Layer. Paint with the color of the background - #01b460
12- Layers > New Mask Layer > From image: Narah_Mask_1484 Layers > Merge > Merge Group. Layers > Merge > Merge Down.
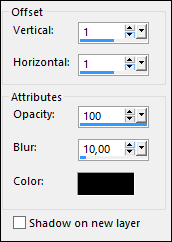
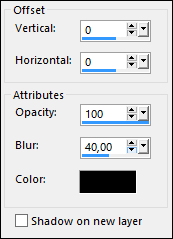
13- Effects > 3D Effects > Drop Shadow:
14- Edit > Copy in the misted landscape Edit > Paste as new layer. Position it in the center of the mask effect. Layers > Arrange > Move Down.
15- Activate layer Raster 1. Layers > Duplicate. Layers > Arrange > Bring to Top.
16- Effects > Plugins > MuRa's Filters Meister > Perspective Tiling:
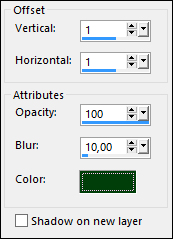
17- Effects > 3D Effects > Drop Shadow:
18- Edit > Copy the main tube Position to your right. Effects > 3D Effects > Drop Shadow of your choice.
19 - Edit > Copy in the decorative tube. Position to your left. Effects > 3D Effects > Drop Shadow of your choice.
20- Edit > Copy in titulo
saintpattyswordart-001 Position your choice Adjust > Sharpness > Sharpen. Effects > 3D Effects > Drop Shadow:
21- Edit > Copy Special > Copy Merged. Selections > Select All. Image > Add Bordes > 40px - simmetric - Any color. Selections > Invert. Edit > paste into selection.
22- Adjust > Blur > Gaussian Blur: 20 Effects > Texture Effects > Weave. Weave color e Gap color: #FFFFFF (White)
23- Selections > Invert. Effects > 3D Effects > Drop Shadow:
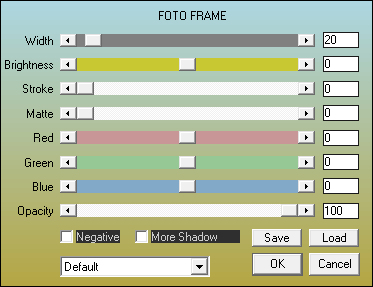
24- Selections > Select None. Effects > Plugins > AAA Frames > Foto Frame
25 - If desired, resize your work.
CREDITS Tutorial, Formatting and Final Art by Márcinha'21 Tube Woman & Decoration: Tubed by Krys Design Misted Paisagem by Marcinha'21 Masks by NarahMask Word Art by iezombie
Feel free to send your versions. I will be happy to publish them on our website.
|