  Material:
1 Main Tube of your choice
1 Decorative Tubes of your
choice
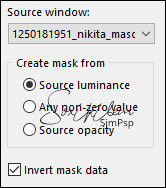
Mask
1250181951_nikita_masques
Mask CHR154
pattern_dourada
motifs
 Colors:
0 (very light gray)
#000000 (black) borders.
Plugin
Filters Unlimited 2.0 > BKG
Desinger IV
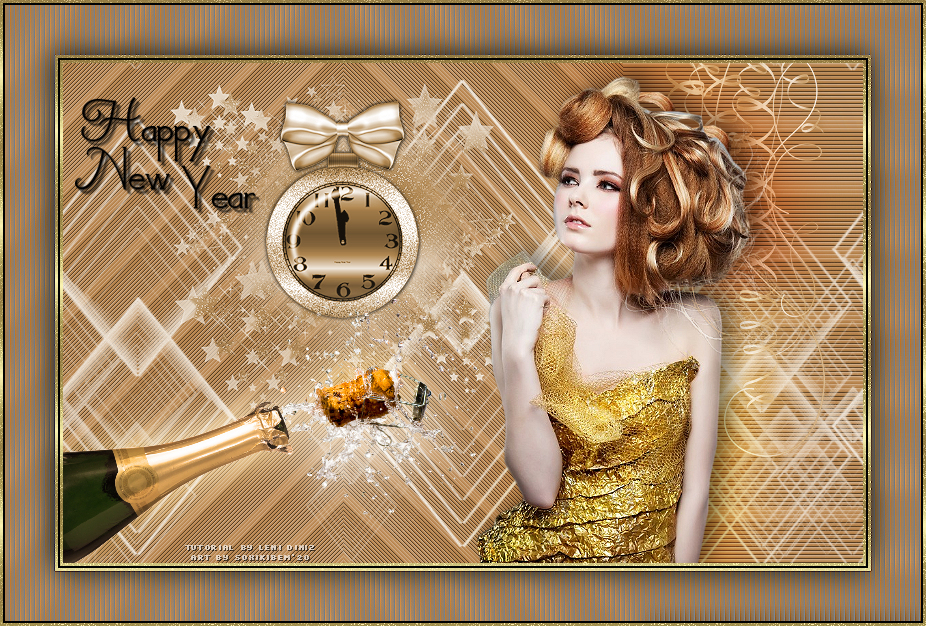
Tutorial
Open the material in psp
duplicate and close the original.
1- Open a 400x400
transparent image.
Color with #dadbdc (light gray). Layers > New Mask Layer > From
Image: CHR154
Layers > Merge > Merge
Group.
Adjust > Sharpness >
Sharpen.
2- Layers > New Raster Layer,
paint with the pattern_dourada.
Layers > New Mask Layer > From
Image: CHR154
Layers > Merge > Merge
Group.
3- Image > Resize 95% all layers unchecked.
Objects > Align > Center in Canvas
Adjust > Sharpness >
Sharpen.
Layers > Merge > Merge Visible.
Reserve.
4- Open an 800X500px
image
Edit > Copy on motifs.jpg
image
Selections > Select
All
Edit > Paste Into
Selection
Selections > None
Effects > Imagem Effects >
Seamless Tiling > Default.
Adjust > Blur > Gaussian Blur
> 35
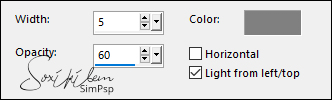
5- Effects > Texture effects >
Blinds.
 Effects > Edges Effects >
Enhance.
6- Effects > Plugin > Filters Unlimited 2.0 >
Background
Desinger IV > sf10 Slice N Dice
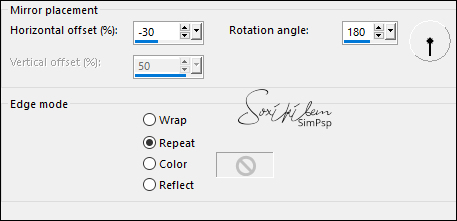
Effects > Reflection Effects >
Rotating Mirror > (-30) > 180 >
repeat.
 7- Layers > New Raster Layer,
paint with the pattern_dourada.
Layers > New Mask Layer > From
Image:
1250181951_nikita_masques:
 Layers > Merge > Merge
Group.
Adjust > Sharpness >
Sharpen.
8- Edit > Copy in
the image that was reserved.
Edit > Paste As New Layer
Pick
Tool: Position
X 103, Position Y
10
9- Edit >
Copy on tube montre.
Edit > Paste As New
Layer
Image > Resize
85% all layers unchecked.
Adjust > Sharpness >
Sharpen Pick Tool: Position
X 203, Position Y 38.
Effects > 3D Effects > Drop
Shadow: 1, 1, 75, 4
Repetir 3D Effects > Drop
Shadow: -1, -1, 75,
4
10-Edit > Copy in
the other decorative tube.
Edit >
Paste As New Layer
Image >
Resize if necessary.
Adjust
> Sharpness > Sharpen Position as you
like.
11- Edit > Copy
on the Main tube.
Edit > Paste As New Layer
Image
> Resize if necessary.
Adjust > Sharpness >
Sharpen
Position as you like.
12-
Enable raster 1,
Edit > Copy.
Layers > Merge > Merge
All.
13-
Sectinos > All
Image > Add Borders 3 px
with any color,
Sections > Invert.
Paint
with the pattern_dourada.
Selection > None.
14-
Image > Add Borders
2 px color #000000 (black)
15- Selections
> Select All
Image > Add Border 3 px
with any color.
Selections > Invert.
Paint with the pattern_dourada.
Selections >
Select None.
16- Image > Add Border
Selections > Select All
Image > Add Border 50 pixes
with any color,
Selections > Invert.
Edit > Paste Into Selection.
Adjust > Blur > Gaussian Blur:
10
17- Effects > Texture Effects > Blinds:
Effects > Edge Effects > Enhance More.
18- Selections > Invert
Effects > 3D Effects > Drop Shadow: 0, 0, 85, 40
Selections > None.
19- Image > Add Borders
> 2 px color #000000 (black)
Selections >
Select All
Image > Add Border 3
px with any color.
Sections > Invert
Paint with the pattern_dourada.
Selections >
Select None.
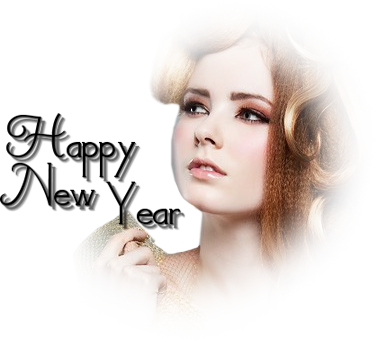
20- Edit > Copy
in
título_festividade_new_year_leni-1,
with the pick
tool, position as you prefer.
21- Place
your signature or watermark on a
new layer.
File > Export > JPG Optimizer.
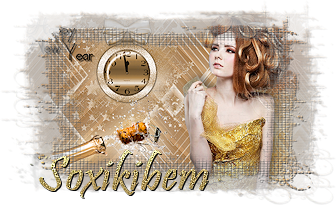 Credits:
Tutorial by LeniDiniz
Tube Woman by
Ridzi
Tube champanhe
here
Remaining material
provided by leni Diniz
Feel free to send your versions. I will be happy to publish them on our website.
|