Tutorial by Roberta Maver English Translation by Soxikibem Original tutorial
MATERIAL 1 Main Tube 1 Decorative Tube Wallpaper deco1_anonovo_roberta @nn_140112_mask_062_tdstudio masque-579-franiemargot retangulo_seleção_roberta PLUGINS Filter Factory Gallery E Mehdi MuRa's Meister
TUTORIAL :
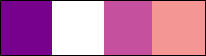
1 - Open the material on the PSP, duplicate and close the original. Save the rectangulo_selecao_roberta in your psp selections folder. Choose two colors to work with. Foreground #77018d Background #ffffff and two extra colors color 3: #c5509e color 4: #f49694
2 - Open a 900 x 550 px transparent image.
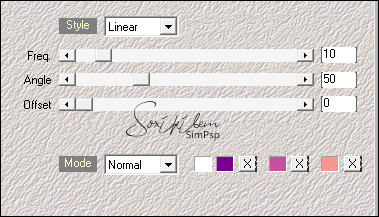
3 - Effects > Plugin Mehdi > Wavy Lab 1.1. Sequence of colors: 2,1,3,4
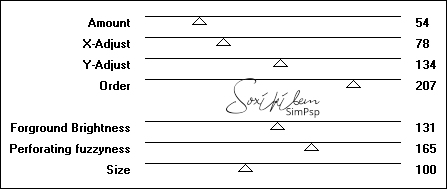
4- Effects > Plugins > Filter Factory Gallery E > Perforator 1
5 - Layers > New Raster Layer Paint the layer with color 4 Layers > Arrange > Move Down Layer > Merge > Merge visible.
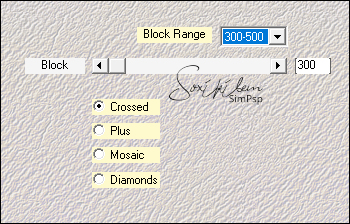
6 - Effects > Plugins > Mehdi > Weaver
7- Layers > Duplicate. Image > Mirror > Mirror Horizontal.
8- Layers > Properties > General > Opacity: 50% Layer > Merge > Merge Down.
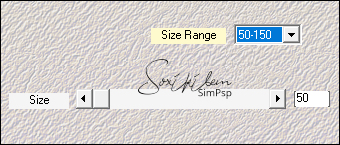
9- Effects > Plugin Mehdi > Sorting Tiles.
10- Effects > Edge Effects > Enhance. Layers > Duplicate.
11- Effects > Texture Effects > Blinds.
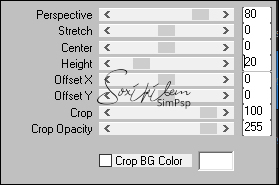
12 - Effects > Plugin > Murra's Meister > Perspective Tiling
13- Effects > 3D Effect > Drop Shadow: 0, 0, 100, 40, black color.
14 - Activate Layer > Merged
15 - Layers > New Raster Layer Selections > Select All. Edit > Copy Wallpaper "papel vermelho_ano novo". (You can choose another one of your preference, see other models here) Edit > Paste Into Selection. Selections > Select None.
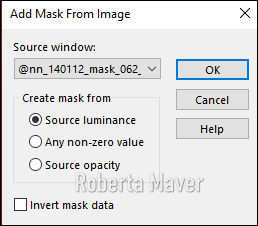
16- Wallpaper layers. Layers > New mask layer > From image >@nn_140112_mask_062_tdstudio Layers > Merge > Merge Group. Adjust > Sharpness > Sharpen.
17- Layers > Properties > General > Opacity: 70
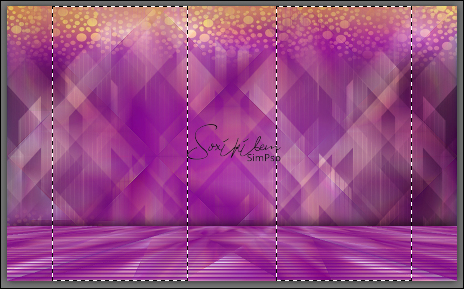
18- Layers > New Raster Layer Selections > Load Save Selections> Load selection Fom Disk: retangulo_selecao_roberta
19- Ative a Layer Group - Raster 1 Edit > Copy Activate layer Raster 1 Edit > Paste Into Selection Selections > Select None.
20- Effects > 3D Effect > Drop Shadow: 0, 0, 80, 20, black color. Activate the top layer.
21- Edit > Copy on the deco1_anonovo_roberta . Edit > Paste a New Layer. Pick Tool: Position X 38, Position Y 0
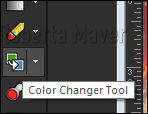
22 - Paint with the Color Changer toll with the color # ab983d or whatever you like
23- Layers > New Raster Layer Paint the layer with the color #ffffff (white) Layers > New mask layer > From image > masque-579-franiemargot. Layers > Merge > Merge Group.
24- Image > Add Borders: 1px color 1 2 px color 3 1px color 1. Edit > Copy
25- Selections > Select All. Image > Add Borders: 50 px with any color. Selections > Invert. Edit > Paste Into Selection.
26- Adjust > Blur > Gaussian Blur: 30.
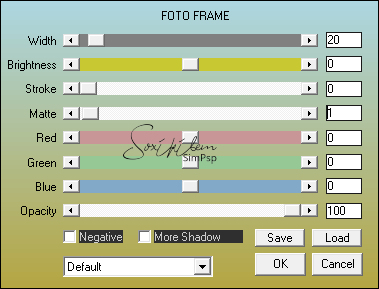
27- Effects > Plugin AAA Frames > Foto Frame.
Selections > Invert.
28- Effects > 3D Effects > Drop Shadow: 0, 0, 100, 40, black color. Selections > Select None.
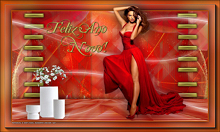
29- Edit > Copy in the titulo_ano novo_roberta. Edit > Paste a New Layer. Pick Tool: Position X 212, Position Y 95
30- Edit > Copy on the Decorative Tube. Edit > Paste a New Layer. Position to the left. Adjust > Sharpness > Sharpen. Effects > 3D Effect > Drop Shadow as you wish.
31- Edit > Copy on the Main Tube. Edit > Paste a New Layer. Resize the tube as you prefer. Adjust > Sharpness > Sharpen. Position to your choice. Effects > 3D Effect > Drop Shadow as you prefer.
32 - If desired, resize your work. Apply your watermark or signature .File > Export > JPEG Optimizer.
Créditos
Tutorial by Roberta
Maver - Art by Soxikibem
Tube by Grisi
Background
here
Decorative Tube by
Nena Silva
Feel free to send your versions.
I will be happy to publish them on our website.
|