|
TRADUÇÕES:
Obrigada aos nossos tradutores!
-- MATERIAL -- 1 Tube principal à sua escolha. decor1_happyeasterbysoxiki decor2_happyeasterbysoxiki decor3_happyeasterbysoxiki titulo_happyeasterbysoxiki decor4_happyeasterbysoxiki decor5_happyeasterbysoxiki
-- PLUGINS -- Carolaine and Sensibility Mura's Meister Mura's Seamless -- REALIZAÇÃO --
01- Abra o material no psp. Escolha duas cores de acordo com o tube escolhido. Escolhi para Foreground: #7f6747 e para o Background #ebcf68.
02 - Abrir uma nova transparência de 850x550 pixels. Pintar com um gradiente Sunburst formado pelas cores escolhidas.
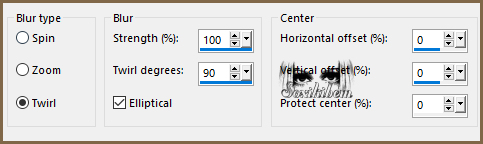
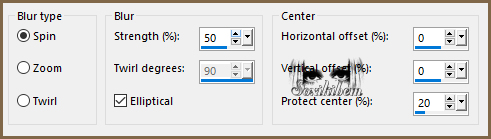
03 - Adjust > Blur > Radial Blur.
04 - Effects > Texture Effects > Weave.
05 - Layers > New Raster Layer. Selections > Select All.
06 - Edit > Copy no Tube. Edit > Paste Into Selection. Selections > Select None.
07 - Effects > Image Effects > Seamless Tiling: Default.
08 - Adjust > Blur > Motion Blur: Angle 50, Strength 100. Edit > Repeat Motion Blur.
09 - Effects > Edge Effects > Enhance. Edit > Repeat Enhance Edges.
10 - Image > Free Rotate: Right 90.
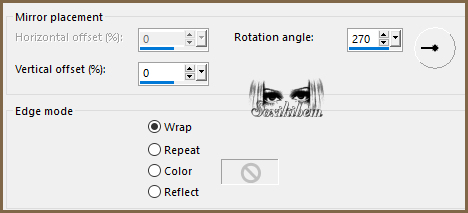
11 - Effects > Reflection Effects > Rotating Mirror.
12 - Objects > Align > Left.
13 - Layers > Duplicate. Image > Mirror > Mirror Horizontal.
14 - Layers > Merge > Merge Down.
15 - Image > Free Rotate: Left, 90.
16 - Effects > Reflection Effects > Rotating Mirror.
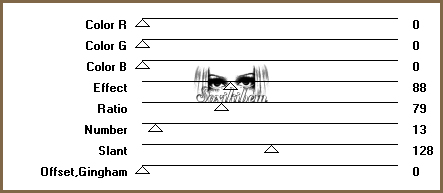
17 - Plugin Carolaine and Sensibility > CS-LDots: 50, 3, 2.
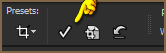
18- Layers > Merge > Merge Down. Ative a ferramenta Crop Tool > Crop Layer Opaque.
Clique em Apply.
19 - Layers > Duplicate. Adjust > Blur > Radial Blur.
20 - Plugin Mura's Seamless > Checks.
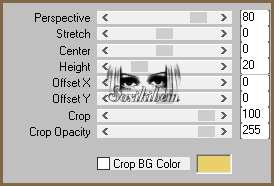
21 - Plugin Mura's Meister > Perspective Tiling.
22 - Effects > 3D Effects > Drop Shadow: -30, 0, 45, 60, cor preta.
23 - Edit > Copy no decor1_happyeasterbysoxiki. Edit > Paste a New Layer. Com a Ferramenta Pick tool posicione: Position X 2.00, POsition Y 144.00. Layers > Arrange > Move Down.
24 - Edit > Copy no decor2_happyeasterbysoxiki. Edit > Paste a New Layer. Com a Ferramenta Pick tool posicione: Position X 71.00, Position Y 0.00.
25 - Ativar a layer Copy of Raster 1.
26 - Edit > Copy no decor3_happyeasterbysoxiki. Edit > Paste a New Layer. Com a Ferramenta Pick tool posicione: Position X 0.00, Position Y 137.00.
27 - Edit > Copy no titulo_happyeasterbysoxiki. Edit > Paste a New Layer. Com a Ferramenta Pick tool posicione: Position X 108.00, Position Y 128.00.
28 - Edit > Copy no decor4_happyeasterbysoxiki. Edit > Paste a New Layer. Com a Ferramenta Pick tool posicione: Position X 615.00, Position Y 51.00.
29 - Edit > Copy no decor5_happyeasterbysoxiki. Edit > Paste a New Layer. Com a Ferramenta Pick tool posicione: Position X 77.00, Position Y 31.00.
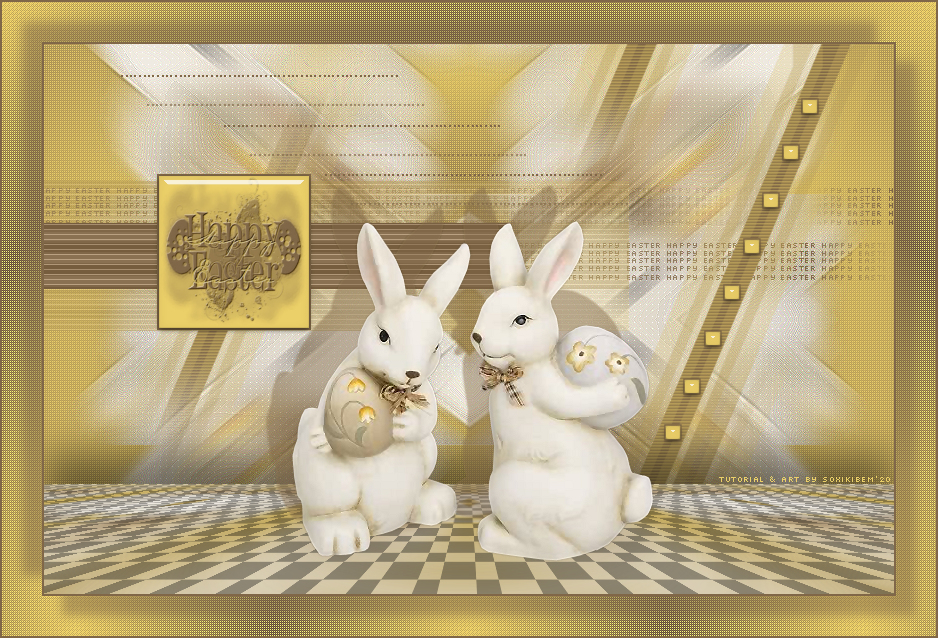
30 - Edit > Copy no Tube principal. Edit > Paste a New Layer. Posicione e aplique Drop Shadow como preferir.
31 - Image > Add Borders: 2px com a cor do Foreground.
32 - Selections > Select All. Image > Add Borders: 40px com qualquer cor. Selections > Invert.
33 - Pintar esta borda com o gradiente em uso. Effects > Texture Effects > Weave.
34 - Adjust > Sharpness > Sharpen.
35 - Selections > Invert. Effects > 3D Effects > Drop Shadow: -20, -20, 50, 15, com a cor do foreground. Effects > 3D Effects > Drop Shadow: 20, 20, 50, 15, com a cor do foreground.
36 - Selections > Select None.
37 - Image > Add Borders: 2px com a cor do Foreground.
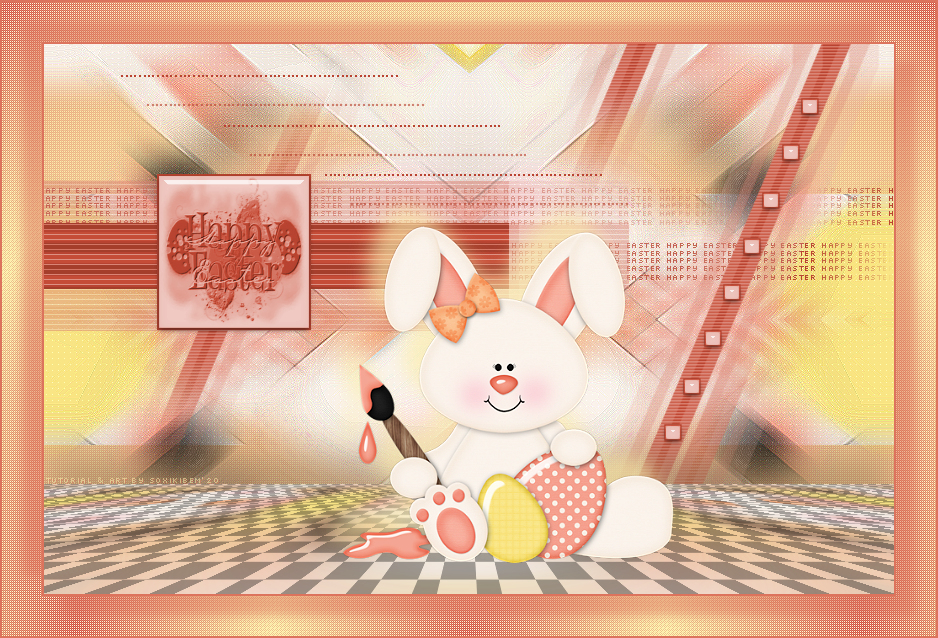
38 - Se preferir redimensione seu trabalho.
Aplicar sua marca d'água ou assinatura.
 CREDITOS Tube by Wieske - Mask do Titulo by Vix - Versao2 tube Aqui
Sinta-se à vontade para enviar suas versões. Terei todo o prazer em publicá-las em nosso site.
|