|
English Translation by Soxikibem Original Tutorial
MATERIAL 1 Main Tube your choice 1 Decorative tube of your choice linhas_ouradas_bysoxikibem tree_bysoxikibem titulo_natal1 alpha_channel_natal1
Pluguins Carolaine and Sensibility Filters Factory Gallery M Unlimited 2.0 Mura's Meister Mehdi
EXECUTION
1- Open the material in the PSP, duplicate and close the original. Choose two colors: Foreground #a2203a Background #ffffff
2 - Open the alpha_channel_natal1. Paint with a gradient formed by the colors you choose:
3 - Adjust > Blur > Gaussian Blur: 100.
4 - Layer > New Raster Layer. Selections > Select All. Edit > Copy no Tube. (I used the decorative tube) Edit > Paste Into Selections. Selections > Select None. Effects > Image Effects > Seamless Tiling: Default.
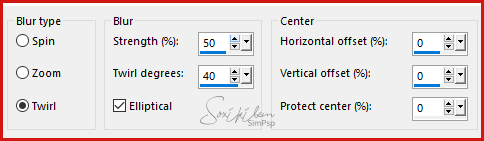
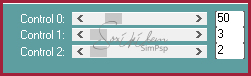
5 - Adjust > Blur > Radial Blur.
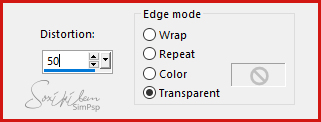
6 - Effects > Distortion Effects > Pinch: 100.
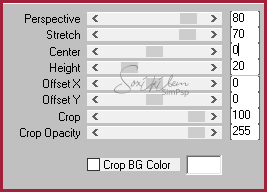
7 - Effects > Geometric Effects > Perspective - Horizontal.
Repeat the Perspective - Horizontal changing the value to -50. Layers > duplicate. Image > Mirror > Mirror Horizontal. Layers > Merge > Merge Down.
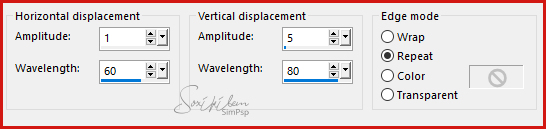
8 - Effects > Distortion Effects > Wave.
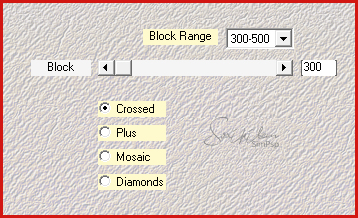
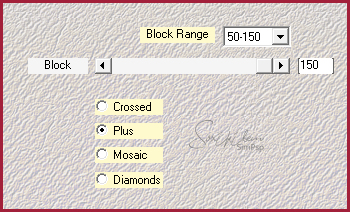
9 - Plugin Mehdi > Sorting Tiles.
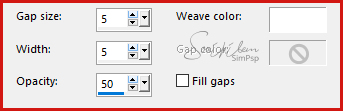
10 - Effects > Texture Effects > Weave.
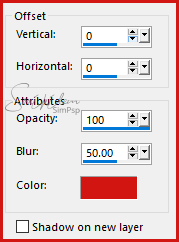
11 - Effects > 3D Effects > Drop Shadow. Foreground color.
Layers > Merge > Merge Down.
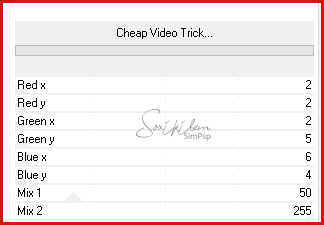
12 - Effects > Filters Unlimited 2.0 > Plugins AB 21 > Cheap Video Trick...
Effects > Plugin Carolaine and Sensibility > CS-LDots.
13 - Layers > New Raster Layer. Paint with foreground color. Effects > Plugin Filters Factory Gallery M > Ambrosia.
Effects > Image Effects > Seamless Tiling: Default. Adjust > Blur > Gaussian Blur: 100. Layers > Properties > General > Blend Mode: Difference - Opacity: 40%
14 - Layers > New Raster Layer. Selections > Load/Save Selection > Load Selection From Alpha Channel: Selection #1. Paint this selection with the background color. Selections > Select None.
15 - Effects > Filters Unlimited 2.0 > Bkg Designer sf 10 I > 4 Way Average.
16 - Layers > Properties > General > Blend Mode: Difference - Opacity: 20%
17 - Layers > Merge > Merge Visible. Layers > Duplicate. Effects > Plugin Mehdi > Sorting Tiles.
18 - Effects > Plugin Mura's Meister > Perspective Tiling.
Effects > 3D Effects > Drop Shadow.
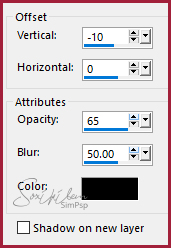
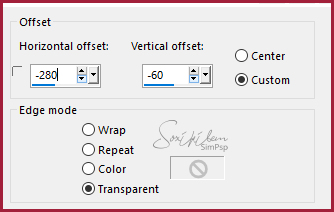
19 - Edit > Copy on linhas_ouradas_bysoxikibem. Edit > Paste a New Layer. Effects > Image Effects > Offset.
Layers > Arrange > Move Down.
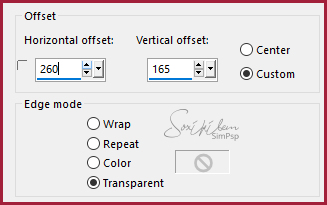
20 - Enable top layer of all. Edit > Copy on tree_bysoxikibem. (Colorize if you wish) Edit > paste a new layer. Effects > Image Effects > Offset.
21 - Edit > Copy on decorative tube. Position right. Effects > 3D Effect > Drop Shadow as you wish.
22 - Edit > Copy on titulo_natal1. Edit > Paste a New Layer. Effects > Image Effects > Offset.
23 - Edit > Copy on main tube. Edit > Paste a new layer. Position. Effects > 3D Effect > Drop Shadow as your wish.
24 - Image > Add Borders: 3px background color 20px Foreground color 3px background color
25 - Selections > Select All. Selections > Modify > Contract: 26. Selections > Invert. Effects > Plugin Carolaine and Sensibility > CS-LDots.
Selections > Select None.
26 - If you want to resize your work now. Apply your watermark or signature. File > Export > JPEG Optimizer...
CREDITS: Versão 1: Tube Principal e Decorativo by Maryse / Versão 2: Tube by Jardim des tubes - Tube decorativo by Louize
Tutorial by Soxikibem'19
Feel free to submit your versions. I'll be happy to post them on our site.
Send your version to the email address: soxikibem.simpsp@gmail.com
|