  Material:
1 Main tube of your
choice
masktisha_mj
Narah_Mask_1155
Narah_Mask_1265
 Plugins:
Mehdi
Mura's Seamless
Colors:
Foreground: #de537a
Background: #f2aba9
Tutorial Open the material on the PSP, duplicate and close the original.
1- Open a transparent image
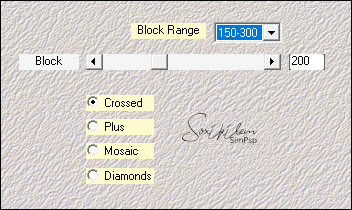
of 800x600px. 2- Adjust > Blur > Gaussian Blur: 35 3- Effects > Plugin Mehdi > Sorting Tiles.
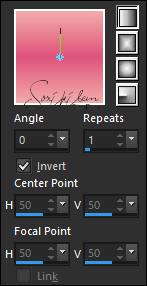
4- Image > Mirror > Mirror Vertical Effects > Reflection Effects > Rotating Mirror. 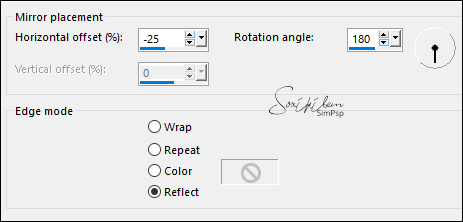 5- Effects > Edge Effects > Enhance More. 6- Layers > New Raster Layer. Paint with the background color. Layers > New Mask Layer > From Image > Narah_Mask_1247 Layers > Merge > Merge Group. Image > Mirror > Mirror Horizontal. Effects > Plugin Mura's Seamless > Emboss at Alpha: 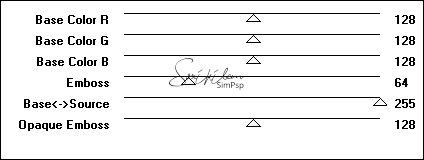 7- Layers > New Raster Layer, paint with the color of the foreground Layers > New Mask Layer > From Image> Narah_Mask_1155 Layers > Merge > Merge Group. Effects > Plugin Mura's Seamless > Emboss at Alpha: 8- Layers > New Raster Layer, paint with the color of the foreground. Layers > New Mask Layer > From Image > masktisha_mj Layers > Merge > Merge Group. Effects > Plugin Mura's Seamless > Emboss at Alpha: 9- Edit > Copy on the título_outubro_rosa_leni Edit > Paste As New Layer. Pick Tool: Position X 60 > Position Y 293. Adjust > Sharpness > Sharpen. 10- Edit > Copy on the Main tube. Edit > Paste As New Layer. Image > Resize if necessary. Adjust > Sharpness > Sharpen. Position as you prefer. Effects > 3D Effects > Drop Shadow as you prefer. 11- Image > Add Border: 2 px foreground color 2 px background color 2 px foreground color 12- Selections > Select All Image > Add Border 50 px with any colorr Selections > Invert. 13 - Paint this selection with a gradient: Linear, Ang 45 > Repeats 5, invert marcado. 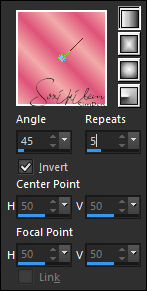 Adjust > Blur > Gaussian Blur: 10. 14- Effects > Plugin Caroline and Sensilility: CS-LDots. 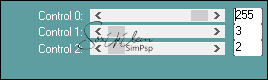
15- Selections > Invert. Effects > 3D Effects > Drop Shadow: 0, 0, 90, 30, black color Selections > None. 16- Image > Add Border de 2 px foreground color. 17- Place your signature or watermark. File > Export > JPG Optimizer.  CREDITS
Tutorial by Leni Diniz - Art by Soxikibem
Tube by Kad - masktisha_mj
- Narah_Mask_1155
Narah_Mask_1265 -
título_outubro_rosa_leni
Tutorial by Leni Diniz
Feel free to send your versions.
|