|

MATERIAL: 1 Main Tube of your choice Mask Narah_mask_0810 Decor cube_deco_colombe Misted flor Gabry-fiore-100 Título_sweet_spring_by_leni
PLUGINS: Mehdi Xero Mura's Meister Mura's Seamless Toadies
TUTORIAL
1- Choose 4 colors to work.
#f2a77e #b34a43 #80bf93 #3a88fe
2- Open an 800x500 transparency.
3- Effects > Plugin Mehdi > Wavy Lab 1.1. 4- Adjust > Blur Gaussian: 35.
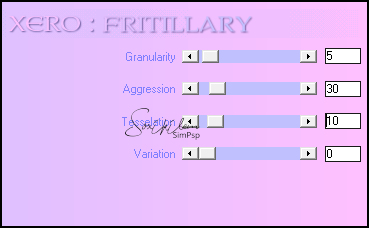
5- Effects > Plugin Xero > Fritallary.
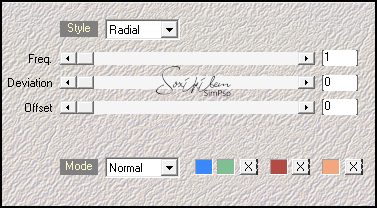
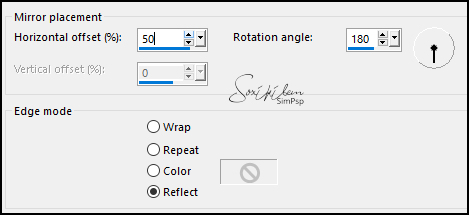
6- Effects > Reflection Effects > Rotating Mirror:
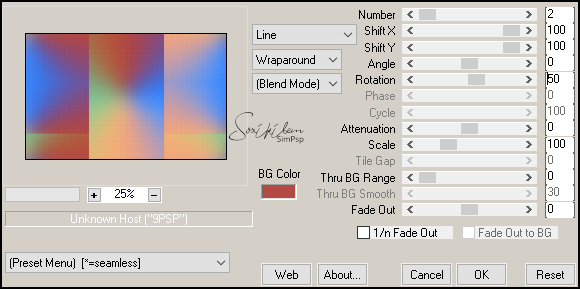
7- Effects > Plugin Mura's Meister > Copies.
8- Effects > Plugin Toadies > What are you?: 20 > 20
9- Effects > Reflection Effects > Rotating Mirror.
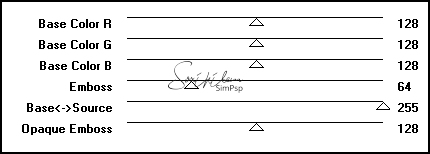
10- Effects > Plugin Mura's Seamless > Emboss at Alpha.
11- Adjust > Sharpen > Sharpness More.
12- Layers > New Layer, paint with white color. Layers > New Mask Layer > From Image: Narah_mask_0810. Layers > Merge > Merge Group. Layers > Properties: Blend Mode and opacity of your choice, I used the blend Luninance (L) and opacity 70%.
13- Layers > Merge > Merge All. Edit > Copy. Edit > Paste As New Image, reserve.
14- Enable tube flower or misted flower, Edit > Copy. Edit > paste a new layer. Image > Resize if necessary. Place on the left side. Edit > Sharp > Sharpness. Effects > 3 D Effects > Drop Shadow as you wish. I used, 0, 0, 90, 40.
15- Image > Add Borders:
Among the colors of your work, 2 px with the first color chosen 2 px with the second chosen 2 px with the first color chosen
16- In the copy of the reserved image, item 14, Edit > Copy.
17- In our work, Selections > Select All Image > Add Border 50 px with any color. Selections > Invert. Edit > Paste into Selection.
18- Adjust > Blur Gaussian: 10
19- Effects > Plugin Xero > Fritallary:
20- Selections > Invert. Effects > 3D Effects > Drop Shadow: 0, 0, 90, 40, black color. Selections > None.
21- Enable decor cube_deco_colombe. Edit > Copy. With the pick tool: Position X 647 Position Y 160.
22- Enable Main tube, Edit > Copy. Edit > Paste As New Layer, position where you prefer. Edjust > Sharpeness > Sharpen. Effects > 3D Effects > Drop Shadow as you wish.
23- Enable título_sweet_spring_byleni. Edit > Copy Edit > Paste As New Layer. With the pick tool: Position X 680, Position Y 62
24- Image > Add Borders: 2 px with the second color chosen.
25- Sign in new layer. 26- File > Export > JPG Optimizer.
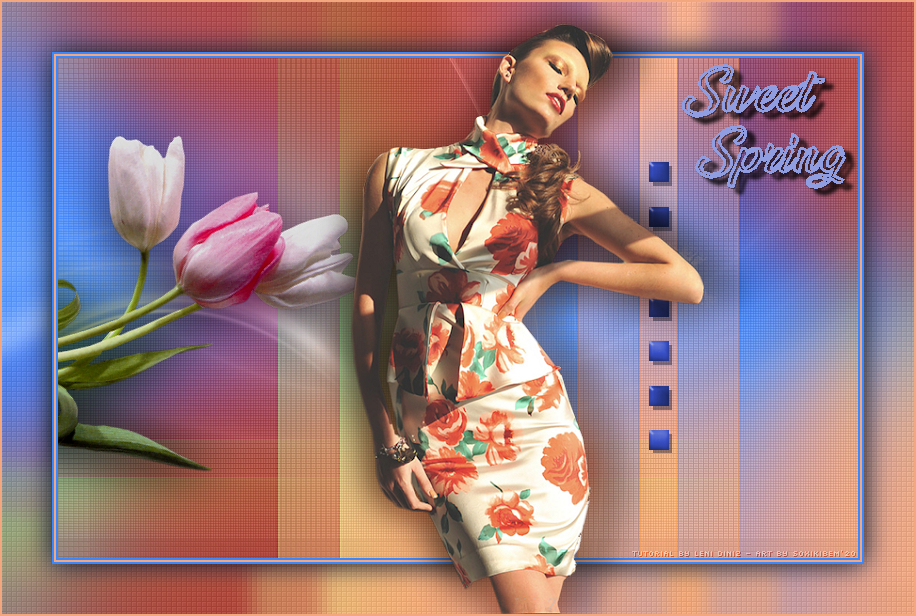
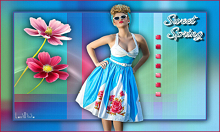
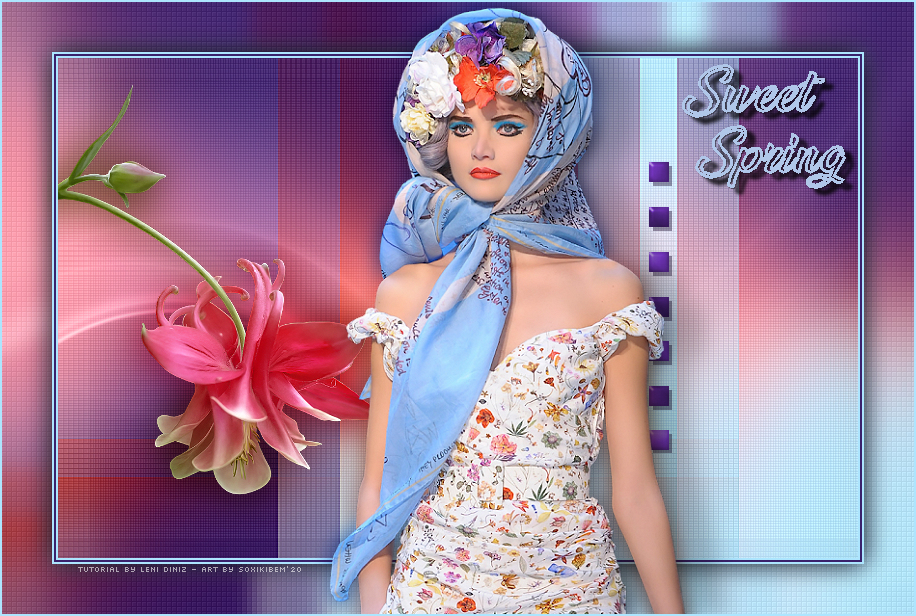
Credits: Tutorial by Leni diniz - Art by Soxikibem'20 Version 1: Tube by Ana Ridzi - Tube pink_tulips (old tube without watermark) Version 2: Main Tube and Flower by Maryse Mask Narah_mask_0810 Decor cube_deco_colombe título_sweet_spring_byleni.
Tutorial by Leni Diniz'20
Feel free to send your versions.
|