|
TRADUÇÕES:
Obrigada aos nossos Tradutores
********** Obrigada a Márcinha que testou o Tutorial. **********
MATERIAL: 1 Tube Personagem à sua escolha 1 Misted Floral à sua escolha Decor1_FelizMulher_byCidaBen Decor2_FelizMulher_byCidaBen 1 mask: smArt_mask_131 título_FelizMulher_byCidaBen Selection1_felizmulher_ByCidaBen Selection2_felizmulher_ByCidaBen ***Salvar as seleções na pasta Selections do PSP.***
PLUGINS: MuRa's Meister > Cloud Filters Unlimited 2.0 > Buttons & Frames > Glass Frame 3 Filters Unlimited 2.0 > Noise Filters > X-Noise Murra's Meister > Perspective Tiling Filters Unlimited 2.0 > Noise Filters > Background Noise Andromeda > Perspective *
Nota: *No link abaixo você encontrará um tutorial ensinando a instalar o plugin Andromeda > Perspective. http://simpsp.com/Help_SimPsp/01_andromeda/InstalandoAndromeda.htm
*******
TUTORIAL 3ª cor #ffffff
2 -
Abra uma imagem
transparente de 900x600px. 3 - Effects > Plugins > MuRa's Meister > Cloud > Default.
Layers > Duplicate.
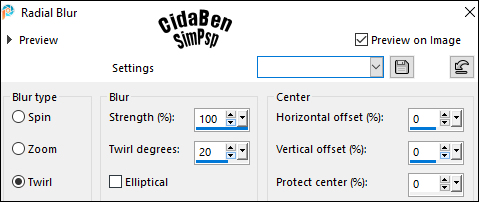
4 - Adjust > Blur > Radial Blur.
5 - Selections > Select All.
6 - Edit > Copy no Misted
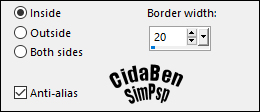
Floral. Selections > Select None. Image > Resize > 70% > all layers desmarcado. Selections > Load/Save Selections > Load Selection From Disk: selection1_feliz_mulher_ByCidaBen. Selections > Modify > Select Selections Borders.
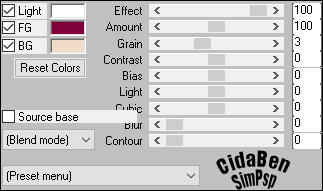
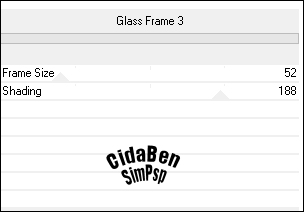
7 - Effects > Plugins > Filters Unlimited 2.0 > Buttons & Frames > Glass Frame 3.
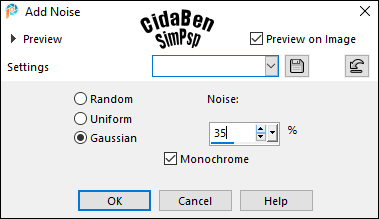
8 - Adjust > Add/Remove Noise > Add Noise.
Selections > Select None.
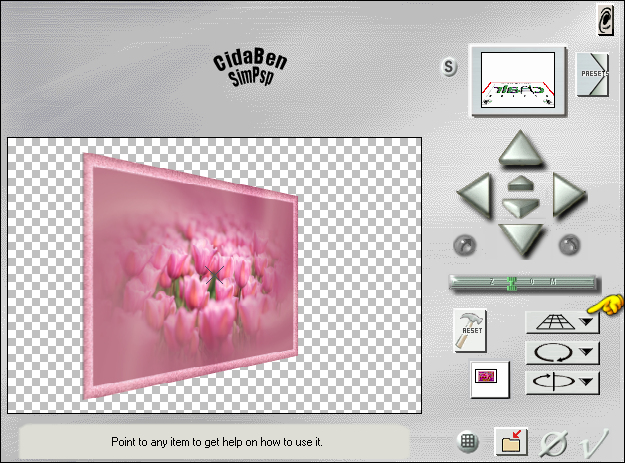
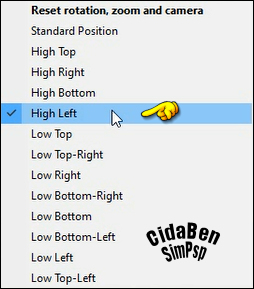
9 - Effects > Plugins > Andromeda > Perspective > High Left: *Primeiro clicar em Reset e depois escolher High Left...
Pick Tool > Position X: -1 > Position Y: 19. Effects > 3D Effects > Drop Shadow: 1 > 1 > 100 > 20 > Color: Foreground (#80003c) Adjust > Sharpness > Sharpen More
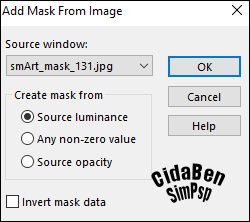
10 - Layers > New Raster Layer. Pintar com a 3ª Cor (ffffff). Layers > New Mask Layer > From Image: smArt_mask_131
Layer > Merge > Merge Group Effects > 3D Effects > Drop Shadow: 1 > 1 > 100 > 20 > Color: Foreground (#80003c).
11 - Selections > Load/Save Selections > Load Selection From Disk: selection2_feliz_mulher_ByCidaBen.
12 - Edit > Copy no Misted Floral. Edit > Paste Into Selection. Selections > Select None. Image > Resize > 70% > all layers desmarcado. Pick Tool > Position X: 627 > Position Y: 113. Adjust > Sharpness > Sharpen More. Effects > 3D Effects > Drop Shadow: 1 > 1 > 100 > 20 > Color: Foreground (#80003c)
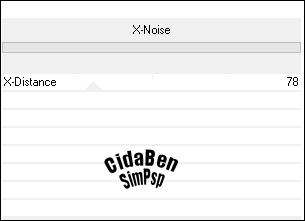
13 - Ativar a Layer Raster 1 Effects > Plugins > Filters Unlimited 2.0 > Noise Filters > X-Noise.
Layers > Duplicate.
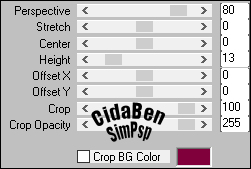
14 - Effects > Plugins > Murra's Meister > Perspective Tiling.
15 - Com a ferramenta Magic Wand Tool > Tolerance 0 > Feather 50 Selecionar a parte transparente. Aperte a tecla Delete do teclado por 5vezes. Selections > Select None. Adjust > Sharpness > Sharpen More. ***Retornar para 0 o Feather da ferramenta Magic Wand Tool.
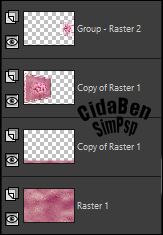
16 - Posição das Layers
Layers > Merge > Merge All (Flattem).
17- Eidt > Copy No Tube Personagem. Edit > Paste As New Layer. Image > Resize se necessário. ***Se usar o Tube do Marterial: Resize 70% Posicionar ao centro do trabalho, como no tutorial. Adjust > Sharpness > Sharpen Effects > 3D Effects > Drop Shadow > 1 > 1 > 50 > 20 > Color (#000000) preto ou como preferir.
18 -
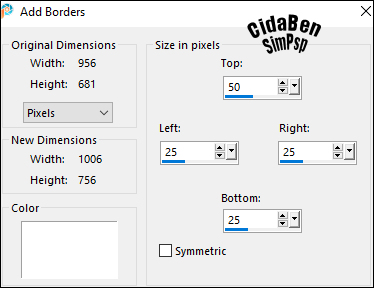
Image > Add Borders > Symmetric:
19 - Image > Add Borders: Symmetric > Desmarcado Top: 50 > Left: 25 > Right: 25 > Bottom: 25 Color 3ª (#ffffff)
20 - Edit > Copy no titulo_FelizMulher_byCidaBen. Edit > Paste As New Layer. Pick Tool > Position X: 355 > Position Y: 0. Colorize como desejar.
21 - Image > Add Borders > Symmetric marcado:
1px - Color: cor do Foreground
22 - Selections > Select All.
23 - Image > Add Borders: 50px > Symmetric > qualquer cor. Selections > Invert.
24 - Effects > Plugins > MuRa's Meister > Cloud > Default.
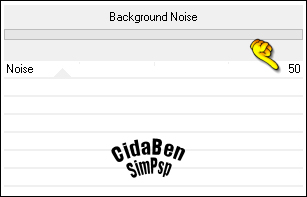
25 - Effects > Plugins > Filters Unlimited 2.0 > Noise Filters > Background Noise > 50
Adjust > Sharpness > Sharpen. Effects > 3D Effects > Drop Shadow: 0 > 0 > 60 > 40 > Color: #000000 (preto). Selections > Select None.
26 - Edit > Copy no Decor1_FelizMulher_byCidaBen. Edit > Paste As New Layer. Pick Tool > Position X: 79 > Position Y: 62. Adjust > Sharpness > Sharpen. Colorize como desejar.
27 - Edit > Copy no Decor2_FelizMulher_byCidaBen. Edit > Paste As New Layer. Pick Tool > Position X: 81 > Position Y: 710. Adjust > Sharpness > Sharpen. Colorize Como desejar
28 - Image > Add Borders > Symmetric: 1px - Color: cor do Foreground
29 -
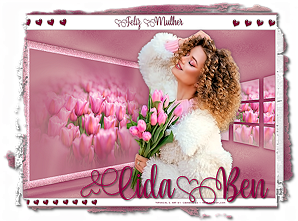
Aplicar sua marca d'água ou assinatura.
Versão:
Créditos: Formatação, Arte Final e Tutorial by CidaBen Tube Principal: Tubed by CalliTubes Misted Floral: by Animabelle Mask: by smArt_mask Outros Materiais: by CidaBen Créditos Versão: Tube Principal: Tubed by Leny Misted Floral: by smArt_deco
Sinta-se à vontade para enviar suas versões. Terei todo o prazer em publicá-las em nosso site.
|