|
TRADUÇÕES:
MATERIAL: 1 Tube Principal ou
Personagem à sua escolha. ***Selections :
Salvar na Pasta Selections do PSP.
PLUGINS: Carolaine and Sensibility > CS-LDots. Mehdi > Weaver. MuRa's Meister > Perspective Tiling.
Fique à vontade para
mudar os Blends de acordo com as cores que estiver usando.
1 - Abrir o material no PSP, duplique e feche os originais.
2 - Abra uma imagem transparente 900 x 550 px. *Inverte Desmarcado.
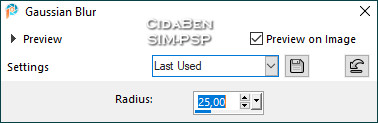
3 - Adjust > Blur > Gaussian Blur: 25.
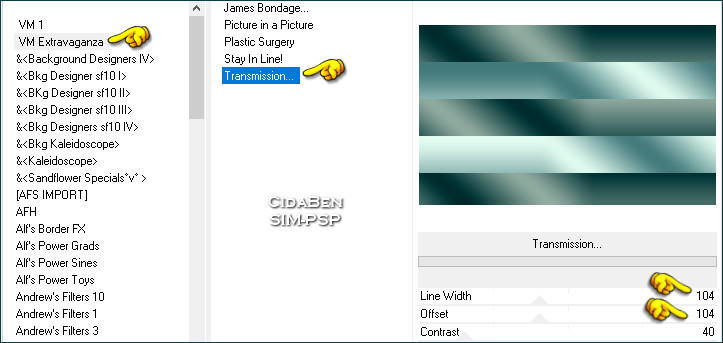
4 - Effects > Plugins > Unlimited 2.0 > VM Extravaganza >
Transmission:
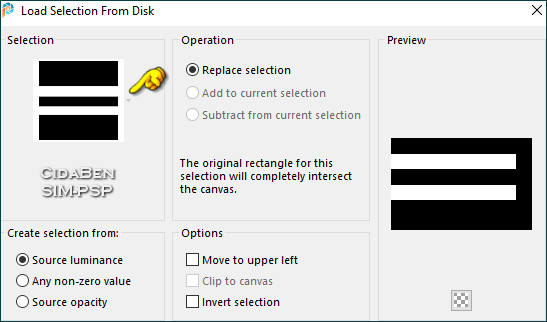
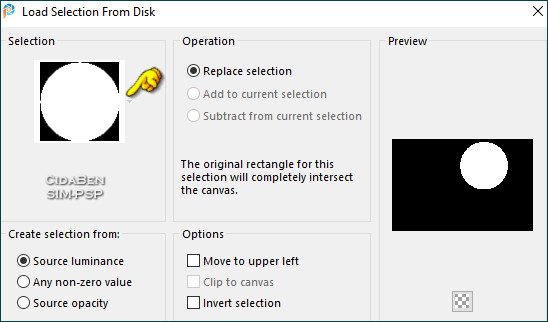
5 - Selections > Load/Save Selections > Load Selection From Disk: Sel_25_CBen1.
Selections > Promote Selection to Layer. Selections > Select None. Layers > Duplicate.
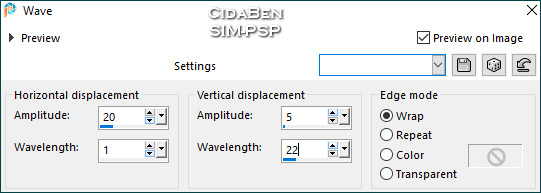
6 - Effects > Distortion Effects > Wave.
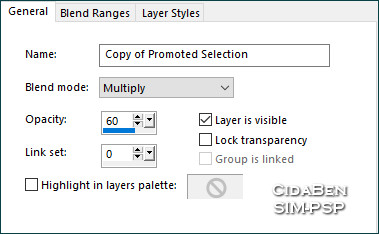
7 - Layers > Properties > General > Blend mode: Multiply > Opacity: 60%
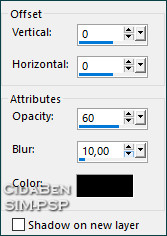
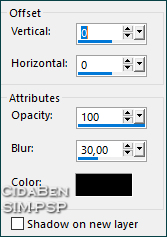
8 - Effects > 3D Effects > Drop Shadow > 0, 0, 60, 20, Color: #000000.
9 - Ativar a Layer > Promoted Selection. Effects > 3D Effects > Drop Shadow > 0, 0, 60,10, Color: #000000.
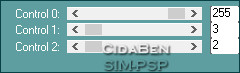
10 - Effects > Carolaine and Sensibility > CS-LDots:
Ativar a Layer Copy of Promoted Selection (Topo). Layers > Merge > Merge Down.
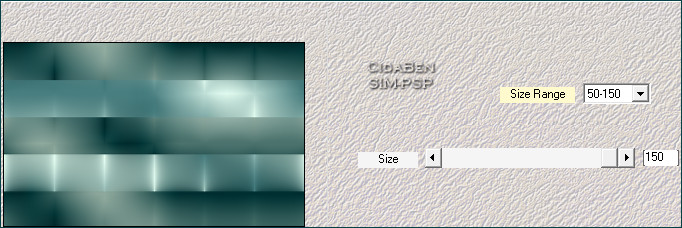
11 - Ativar a Raster 1. Layers > Duplicate. Effects > Mehdi > Weaver:
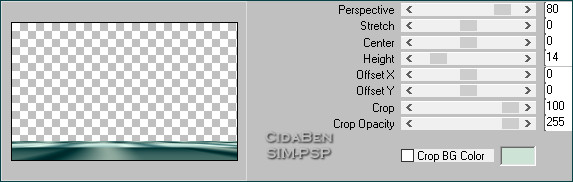
12 - Ativar a Raster 1. Layers > Arrange > Brig to Top. Effects > MuRa's Meister > Perspective Tiling.
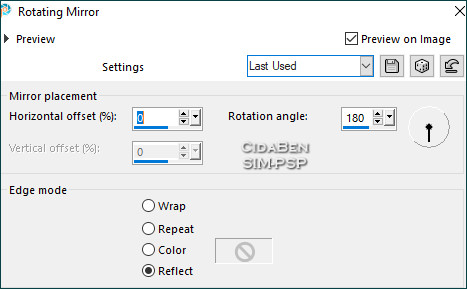
13 - Effects > Reflection Effects > Rotating Mirror:
14 - Effects > 3D Effects > Drop Shadow: 0, 0, 100, 50, Color #000000.
15 - Ativar a Layer > Promoted Selection. Layers > Properties > Blend mode: Hard Light > Opacity: 60%. Image > Resize 80% > All laters desmarcado.
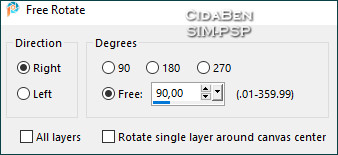
16 - Image > Free Rotate:
Objects > Align > Left. Adjust > Sharpness > Shapen More.
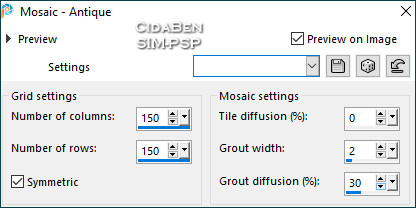
17 - Ativar a Copy of Raster 1: Pick Tool: Position X: 0,00, Position Y: -48,00. Effects > Texture Effects > Mosaic - Antique:
Em versões anteriores ao PSP 22, a
configuração do Grid settings vai apenas até 100,
18 - Ainda com a Layer Copy of Raster1 ativada: Selections > Load/Save Selections > Load Selection From Disk: Sel_25_CBen2
19 - Layers > New
Raster Layer.
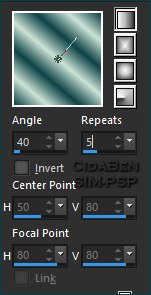
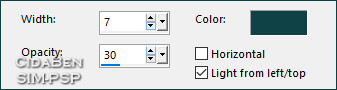
Pintar a seleção com o gradiente Linear, Angle 40, Repeats 5, formado pelas cores em uso:
20 - Effects > Texture Effects > Blinds:
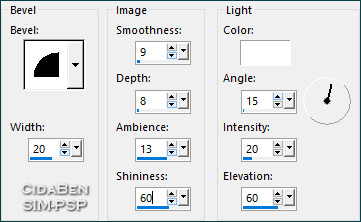
21 - Effects > 3D Effects > Inner Bevel.
22 - Adjust > Sharpness > Sharpen More. Selections >
Select None.
Layers > New Raster Layer Adjust > Sharpness > Sharpen More. Layers > Arrange > Move Down.
24 - Ativar a layer Raster 2. Layers > Merge > Merge Down. Selections > Select None. Effects > 3D Effects > Drop Shadow: 0, 0, 100, 30, Color #000000.
25 - Até o momento a layers estarão assim:
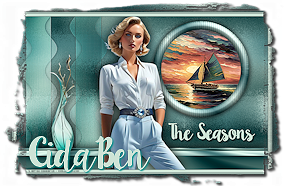
26 - Ativar a Layer do Topo (Raster1). Edit > Copy no Tube Personagem. Edit > Paste As New Layer. Resize se necessário: No tube do Material o Resize foi de: 95% Posicione ao centro do trabalho ou: Objects > Align > Center in Canvas Adjust > Sharpness > Sharpen. Effects > 3D Effects > Drop Shadow: 0, 0, 100, 50, Color #000000.
27 - Edit > Copy no Tube > Decor _Vaso_CBen25. Edit > Paste As New Layer. Image > Resize 60% > Resize desmarcado. Posicionar como no exemplo, ou: Pick Tool: Position X: 117,00, Position Y: 136,00. Adjust > Sharpness > Sharpen. Effects > 3D Effects > Drop Shadow: 0, 0, 100, 50, Color #000000.
28 - Image > Add Borders > Symmetric: 1px cor Foreground #074145. 10 px cor
Background #cde3d6.
29 - Image > Add Borders > Symmetric: 40px com qualquer
cor Pintar com o gradiente Linear, Angle 40, Repeats 5, formado pelas cores em uso:
30 - Adjust > Blur > Gaussian Blur:
Adjust > Add/Remove Noise > Add Noise:
31 - Adjust > Sharpeness > Sharpen More. Selections > Invert. Effects > 3D Effects > Drop Shadow: 0, 0, 100, 50, Color #000000.
32 - Selections > Select None. Layers > New Raster Layer Selections > Load/Save Selections > Load Selection From Disk: Sel_25_CBen3.
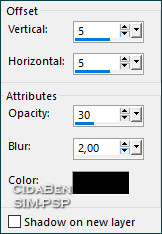
33 - Pintar a seleção com a cor do Background #cde3d6. Layers > New Raster Layer. Selections > Modify > Expand: 1 Pintar essa seleção com a cor do Foreground: #074145 Layers > Arrange > Move Down. Selections > Select None. Effects > 3D Effects > Drop Shadow: 5, 5, 30, 2, Color #000000.
34 - Ativar a Layer Raster 2: Layers > Merge > Merge Down. Pick Tool: Position X: 600,00, Position Y: 438,00. Ou Posicione como desejar. Adjust > Sharpness > Sharpen.
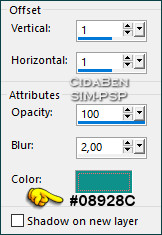
35 - Edit > Copy no > Decor _CBen25. Edit > Paste As New Layer. Layers > Properties > General > Blend mode: Luminance (L). Já está no lugar. Opcional***Effects > 3D Effects > Drop Shadow: 1, 1, 100, 2, color #08928c.
36 - Image > Add Borders > Symmetric: 1 px - Color: Foreground #074145.
37 - Aplicar sua marca d'água ou assinatura.
|
|||
|