|
TRADUÇÕES:
Obrigada aos nossos Tradutores
*************** Obrigada a Márcinha que testou o Tutorial.
***************
MATERIAL: 1 Tube Principal ou Personagem à sua escolha 1 Misted Paisagem à sua escolha 1 Tube Decorativo à sua escolha 1 mask: Narah_mask0115 Word: Riet Tekst Inspire - Tubed by Riet
PLUGINS: FM Tile Tools > Blend Emboss. Filters Unlimited 2.0 > Convolution Filters > Emboss (light). Filters Unlimited 2.0 > Distortion Filters > Black Hole. MuRa's Seamless > Emboss at Alpha. MuRa's Meister > Perspective Tiling.
*******
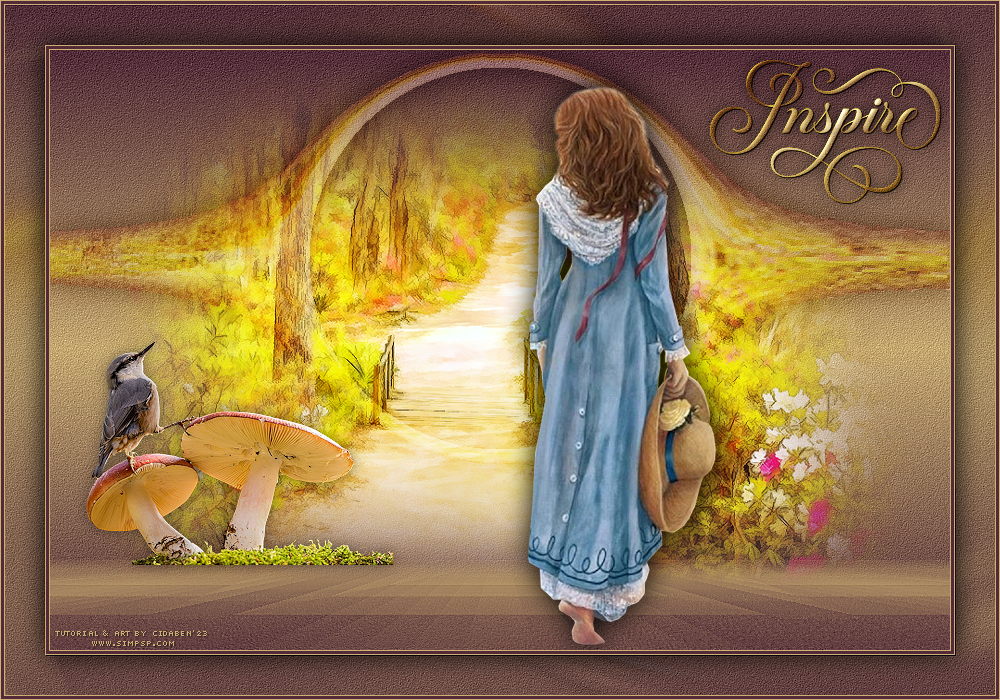
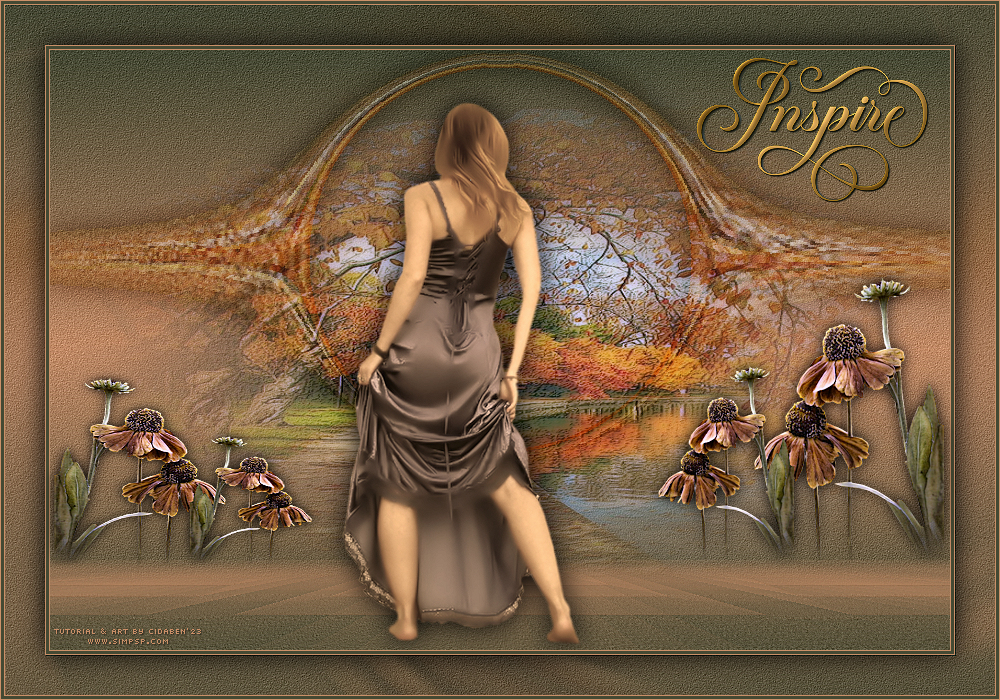
TUTORIAL
2 - Abra uma imagem
transparente 900X600px.
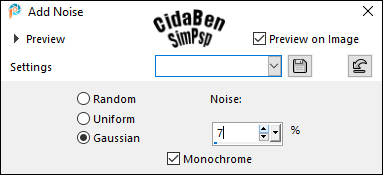
3 - Adjust > Add/Remove Noise > Add Noise.
4 - Effects > Plugins > FM Tile Tools > Blend Emboss > Default. Layer > Duplicate.
5 - Selections > Select All. Edit > Copy >
Misted Paisagem. Adjust > Sharpness > Sharpen. Selections > Select None. Layer > Duplicate. Layers > Properties > General > Blend Mode: Soft Light > Opacity: 100.
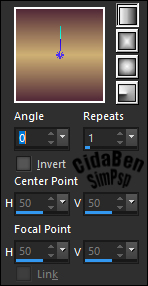
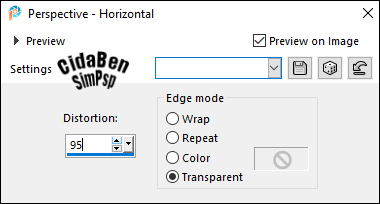
6 - Effects > Geometric
Effects > Perspective Horizontal:
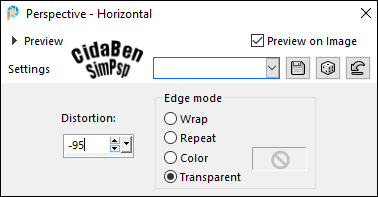
Repetir > Effects >
Geometric Effects > Perspective Horizontal:
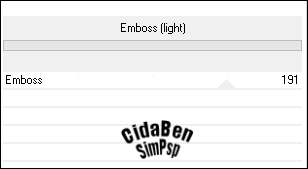
7 - Effects > Plugins > Filters Unlimited 2.0 > Convolution Filters > Emboss (light).
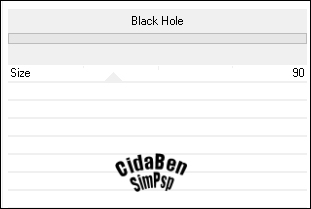
8 - Effects > Plugins > Filters Unlimited 2.0 > Distortion Filters > Black Hole.
9 - Feche a visibilidade das layers Raster 1 e a Copy of Raster 1 Com a layer Copy (2) of Raster 1 ativada: Clicar na parte de cima limpa com a ferramenta Magic Wand > Tolerance 0 > Feather 0. Selections > Modify > Expand > Number of pixels: 4
Aperte a tecla Delete do Teclado. Selections > Select None.
Repetir na parte limpa de baixo, com a ferramenta Magic Wand > Tolerance 0 > Feather 0 Selections > Modify > Expand > Number of pixels: 4
Aperte a tecla Delete do Teclado. Selections > Select None. Pick Tool > Position X 0 > Position Y 2. Effects > 3D Effects > Drop Shadow > 0, 0, 100, 40 > Color #000000.
10 - Abrir a visibilidade da Layer Copy of Raster 1. Ativar e Abrir a visibilidade da layer Raster 1. Layers > Arrange > Bring to Top. Layers > New Raster Layer. Pintar com a cor do Background.
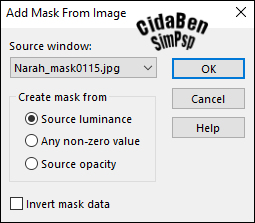
11- Layers > New Mask Layer > From Image > Narah_mask0115
Layers > Merge > Merge Group.
12 - Effects > Plugins > MuRa's Seamless > Emboss at Alpha > Default
Layers > Merge > Merge Down.
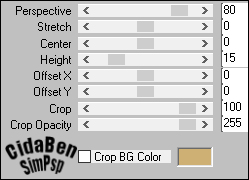
13 - Effects > Plugins > MuRa's Meister > Perspective Tiling.
14 - Com a ferramenta
Magic Wand Tool > Tolerance 0 > Feather 30
15 - Edit > Copy no Tube
principal. Image > Resize se
necessário, no tube do material o resize foi de 78%. Posicionar como desejar.
16 - Edit > CopySpecial > Copy Merged.
17 - Image > Add Borders:
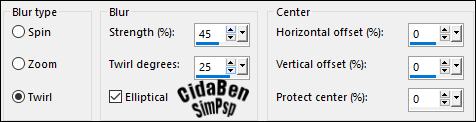
18 - Adjust > Blur > Radial Blur.
19 - Adjust > Add/Remove Noise > Add Noise.
Effects > Plugins > FM Tile Tools > Blend Emboss > Default. Adjust > Sharpness > Sharpen.
20 - Selections > Invert. Effects > 3D Effects > Drop Shadow > 0, 0, 100, 40 > Color #000000. Selections > Select None.
21 - Image > Add Borders.
22 - Edit > Copy no Tube
Decoração. Image > Resize se
necessário, no tube do material o resize foi de 35%. Posicione como desejar.
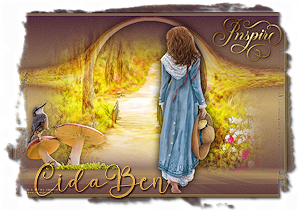
23 - Edit > Copy > no
Word: Riet Tekst Inspire - Tubed by Riet. Effects > 3D Effects > Drop Shadow > como preferir. Usei o Blend mode: Hard Light.
24 -
Aplicar sua marca d'água ou assinatura.
Versão:
Créditos: Formatação, Arte Final e Tutorial by CidaBen Tube Principal: Tubed by Lana Tube decorativo: Tubed by Animabelle Misted Paisagem: by Nikita Mask: by Narah Word: Riet Tip Top Tubes Créditos Versão: Tube Principal: Tubed by Nara Pamplona Tube decorativo: Tubed by Callitubes Misted Paisagem: by Nena Silva
Sinta-se à vontade para enviar suas versões. Terei todo o prazer em publicá-las em nosso site.
|