Tutorial By
CidaBen
MATERIAL 1 Main Tube of your choice Mask: creation.tine_masque074 Mask: creation.tine_masque092.
PLUGINS Italian Editors Effect Frischluft MuR'As Meister Alien Skin Eye Candy 5 Impact L en K landksiteofwonders Carolaine and Sensibility Graphics Plus
Tutorial created in PSP
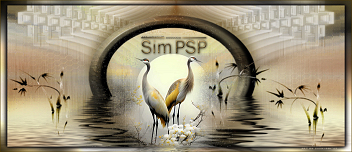
2020 Ultimate TUTORIAL 1 - Open the material in PSP, duplicate and close the original. Choose two colors to work with. Foreground #36898c Background #00332e Extra Color: #8cd3d2
2 - Open a 900 X 600 transparent image.
3 -
Paint with a gradient formed with the chosen colors:
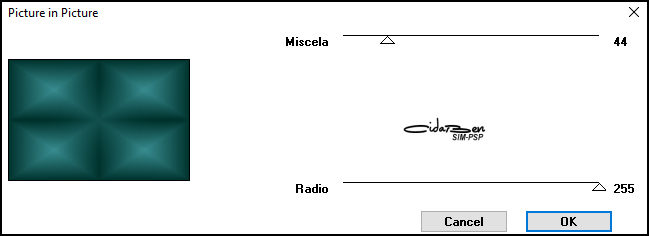
4 - Effects > Plugins > Italian Editors Effect > Picture
in Picture:
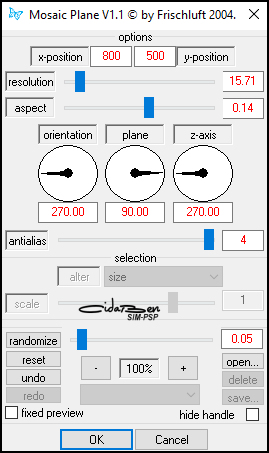
5 - Effects > Plugins > Frischluft > Mosaic Plane V1.1
6 - Layers > Duplicate. 7 - Effects > Plugins > MuR'As Meister > Perspective Tiling...
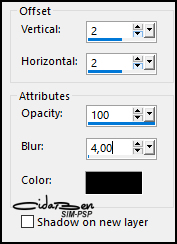
Effects > 3D Effects > Drop Shadow:
Edit > Repeat Drop Shadow.
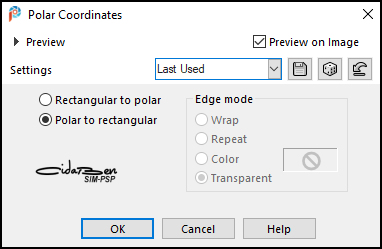
8 - Activate layer Raster 1. Effects > Distortion Effects > Polar Coordinates > Polar to rectangular:
9 - Layers > New Raster Layer Paint with Foreground color #36898c. Layers > New Mask Layer > From Image > creation.tine_masque074.
Layers > Merge > Merge Group. Image > Resize > 73% > all layers > unchecked. Activate the Pick Tool tool and place: Position X 250 > Position Y 30. Effects > 3D Effects > Drop Shadow:
Adjust > Sharpeness > Sharpen.
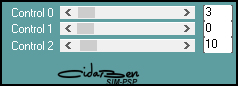
10 - Com a Layer Group - Raster 2 ativada: Layers > New Raster Layer. With the Selection tool configured as indicated:
select the center of the squares:
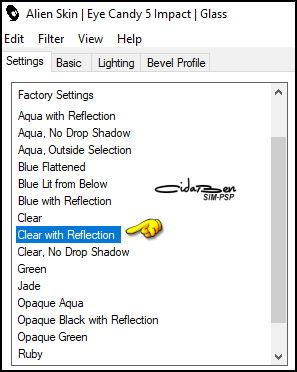
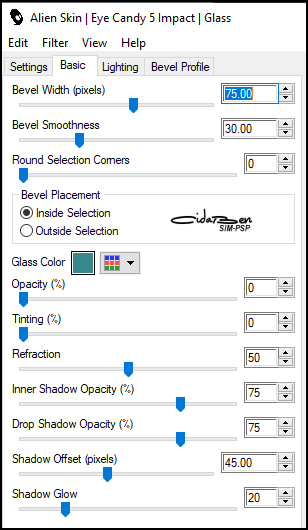
Paint these selections with Foreground color #36898c Effects > Plugins > Alien Skin Eye Candy 5 Impact > Glass:
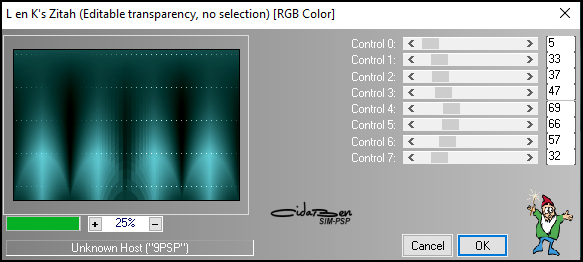
11 - Selections > Select None. Activate Layer Raster 1. Effects > Plugins > L en K landksiteofwonders > L en K's Zitah: Default
12 - Layers > Merge > Merge All.
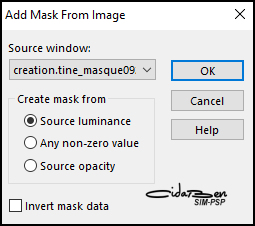
13 - Layers > New Raster Layer Paint with Extra color #8cd3d2. Layers > New Mask Layer > From Image > creation.tine_masque092.
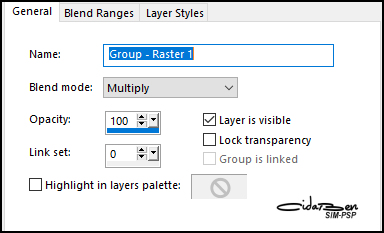
Layers > Merge > Merge Group. Image > Mirror > Mirror Horizontal, Layers > Properties > General > Blend Mode: Multiply
Or use the Blend Mode according to the colors you've chosen.
14 - Edit > Copy the Main Tube. Image > Resize if necessary. Position of your choice. Adjust > Sharpness > Sharpen. Effects > 3D Effects > Drop Shadow: your choice.
15 - Edit > Copy the Decorative Tube.Edit > Paste As New Layer. Image > Resize if necessary. Position of your choice. Adjust > Sharpness > Sharpen. Effects > 3D Effects > Drop Shadow: your choice.
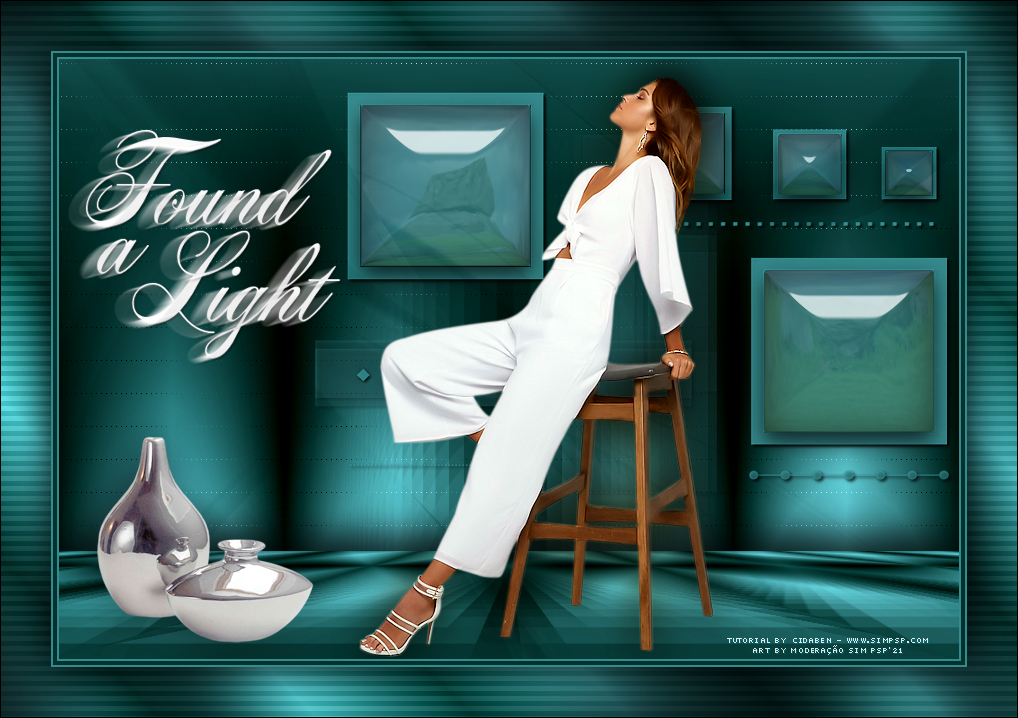
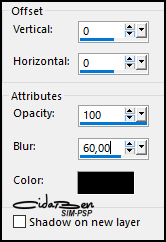
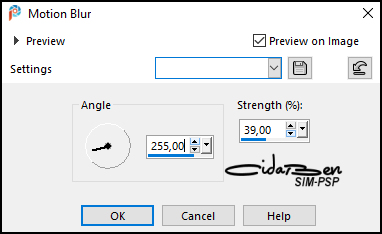
16 - Edit > Copy > wordart_08_found_light_bycidaben Edit > Paste As New Layer. Position of your choice. Layers Duplicate. Adjust > Blur > Montion Blur:
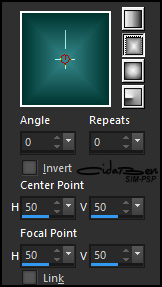
17- Image > Add Borders > Symmetric: 2 px - color: Foreground (#36898c) 4 px - color: Background (#00332e) 2 px - color: foreground (#36898c) Selections > Select All Image Add Borders > Symmetric: 50 px > with any color. Selections > Select Invert. Paint with a gradient formed with the colors used: Linear > Angle: 45 > Repeats: 10 > invert: unchecked
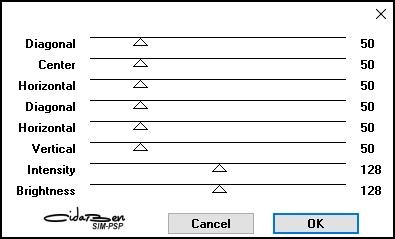
18 - Effects > Plugins > Carolaine and Sensibility > CS-HLines: Default
Effects > Plugins > Graphics Plus > Cross Shadow: Default
Selections > Select Invert. Effects > 3d Effects > Drop Shadow:
19- Selections > Select None. Image > Add Borders > Symmetric: 1px - color: #000000.
20 -
Apply your watermark or signature.
Versão 1: Tube by Suizabella - Decor: by Syl
CREDITS:
English Translation by
Moderation SIM-PSP Decorative Tube: tubed by Syl
Feel free to send your versions.
|