|
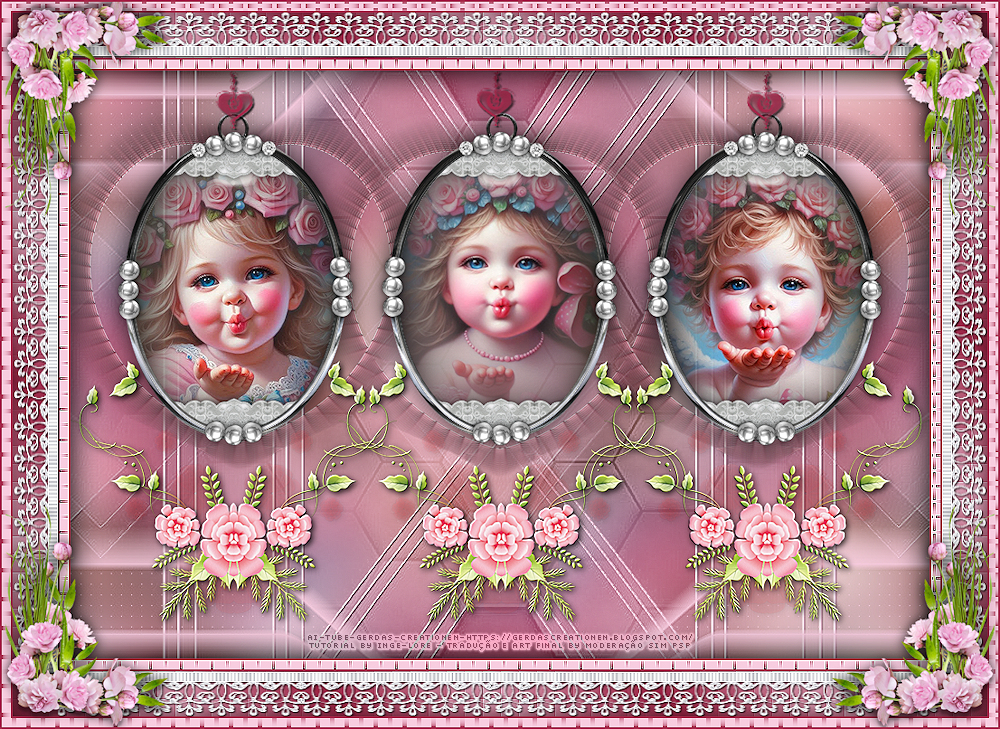
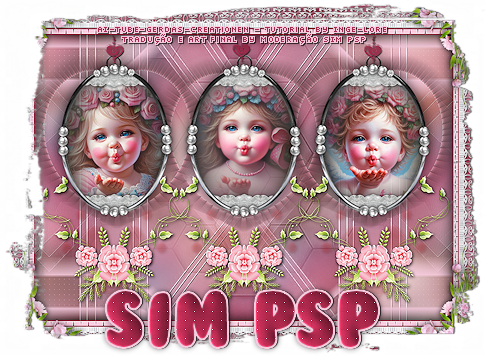
Tutorial "Happy
Birthday SIM" by
Inge-Lore
Nota Especial de Agradecimento:
Querida Inge-Lore, Em
nome de todo o SIM PSP, o nosso muito obrigada, com todo carinho!
Besonderer Dank:
Liebe Inge-Lore, Im
Namen des gesamten SIM PSP: Vielen, vielen Dank – von Herzen!
Nota da autora:
MATERIAL
CORES Escolha das cores do tube ou imagem
Ative a cópia do arquivo Alpha-Datei, ela contém seleções. Pinte com a cor escura do Background. Selections > Select All.
Ative a cópia de um dos
tubes. Edit > Paste Into Selection.
Selections > Select None.
02 - Effects > Image Effects > Seamless Tiling: Default
Adjust > Blur > Gaussian Blur:
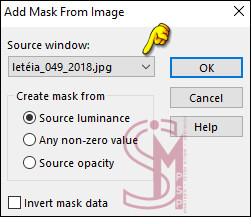
Layers > New Raster Layer. Pintar com a cor clara do Foreground. Layers > New Mask Layer > From image: letéia_049_2018
Effects > Edge effects > Enhance. Layers > Merge > Merge Group.
02 - Ative a cópia do arquivo
christine blank7. Edit > Paste as New Layer. Ativar a ferramenta Pick e configure: Position X: 48,00 - Position Y: 128,00 Layers > Duplicate. Image > Mirror > Mirror Horizontal. Layers > Duplicate. Configure: Position X: 339,00 - Position Y: 128,00 Pressione a tecla "M" para desativar a "Ferramenta Pick". Teremos esse resultado:
Com a layer Copy (2) of Raster 2 ativada... Layers > Merge > Merge Down por 2 vezes.
04 - Selections > Load/Save Selections > Load Selection from Alpha Channel: Auswahl #1
Ative a cópia do primeiro
tube. Edit > Paste as New Layer. Image > Resize se necessário. Adjust > Sharpness > Sharpen. Com a ferramenta Move Tool mova o tube para dentro da seleção, posicionando conforme o modelo:
Selections > Invert. Pressione a tecla Delete do teclado Selections > Select None. Layers > Arrange > Move Down.
05 - Selections > Load/Save Selections > Load Selection from Alpha Channel: Auswahl #2
Ative a cópia do segundo
tube. Edit > Paste as New Layer. Image > Resize se necessário. Adjust > Sharpness > Sharpen. Com a ferramenta Move Tool mova o tube para dentro da seleção, posicionando conforme o modelo:
Selections > Invert. Pressione a tecla Delete do teclado Selections > Select None.
Selections > Load/Save Selections > Load Selection from Alpha Channel: Auswahl #3
Ative a cópia do terceiro
tube. Edit > Paste as New Layer. Image > Resize se necessário. Adjust > Sharpness > Sharpen. Com a ferramenta Move Tool mova o tube para dentro da seleção, posicionando conforme o modelo:
Selections > Invert. Pressione a tecla Delete do teclado Selections > Select None.
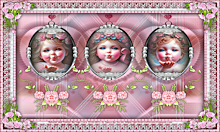
Teremos esse resultado:
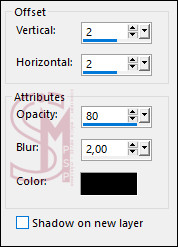
06 - Feche a visibilidade das layers Raster 1 e Group - Raster 2, clicando no "olho". Layers > Merge > Merge Visible. Com a layer Merged ativada... Ativar a ferramenta Pick e configure: Position X: 48,00 - Position Y: 46,00 Pressione a tecla "M" para desativar a "Ferramenta Pick". Effects > 3D Effects > Drop Shadow: color: #000000 (preto)
Abra a visibilidade das layers Raster 1 e Group - Raster 2, clica no no "olho". Teremos esse resultado:
Ativar a layer Group - Raster 2. Effects > Reflection Effects > Rotating Mirror:
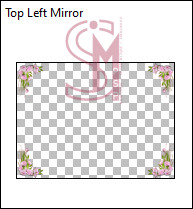
Image > Mirror > Mirror Vertical. Effects > Plugins > Simple > Top Left Mirror: "não há configurações"
Effects > Distortion Effects > Pinch:
07 - Effects > Plugins > MuRa's Seamless > Emboss at Alpha: Default
Layers > New Raster Layer. Pintar com a cor clara do Foreground. Layers > New Mask Layer > From image: Narah_mask_0892
Layers > Merge > Merge Group. Ativar a layer Raster 1...
08 - Layers > New Raster Layer. Pintar com a cor clara do Foreground. Layers > New Mask Layer > From image: NarahsMasks_1587
Effects > Edge Effects > Enhance More. Layers > Merge > Merge Group. Layers > Properties > General > Opacity: 50%
Ative a cópia do arquivo
Deko-2. Edit > Paste as New Layer. Ativar a ferramenta Pick e configure: Position X: 160,00 - Position Y: 0,00 Pressione a tecla "M" para desativar a "Ferramenta Pick". Effects > 3D Effects > Drop Shadow: color: #000000 (preto)
Layers > Arrange > Bring to Top.
09 - Ative a cópia
do arquivo Deko-1. Edit > Paste as New Layer. Ativar a ferramenta Pick e configure: Position X: 0,00 - Position Y: 320,00 Pressione a tecla "M" para desativar a "Ferramenta Pick". Effects > 3D Effects > Drop Shadow: color: #000000 (preto)
Ative a cópia do arquivo
Deko-3. Edit > Paste as New Layer. Ativar a ferramenta Pick e configure: Position X: -28,00 - Position Y: 35,00 Pressione a tecla "M" para desativar a "Ferramenta Pick". Layers > Arrange > Move Down por 3 vezes. Layers > Properties > General > Opacity: 70%
10 - Layers > Merge > Merge All. Selections > Select All. Image > Add Borders > Symmetric: 2 px - Cor escura do Background. Effects > 3D Effects > Cutout:
Selections > Select All. Image > Add Borders > Symmetric: 10 px - Cor clara do Foreground. Selections > Invert. Effects > Texture Effects > Weave: com as cores do Background e Foreground
Effects > Edge Effects > Enhance More. Selections > Select None.
11 - Image > Add Borders > Symmetric: 2 px - Cor escura do Background. Selections > Select All. Image > Add Borders > Symmetric: 50 px - Cor clara do Foreground. Selections > Invert. Pintar a seleção com um gradient Linear, formado pelas cores do Foreground e Background:
Effects > Texture Effects > Blinds:
Repetir o Texture Effects > Blinds marcando o Horizontal:
Effects > Edge effects > Enhance. Effects > 3D Effects > Cutout:
Selections > Select None.
12 - Image > Add Borders > Symmetric: 2 px - Cor escura do Background. Selections > Select All. Image > Add Borders > Symmetric: 10 px - Cor clara do Foreground. Selections > Invert. Effects > Texture Effects > Weave: com as cores do Background e Foreground
Effects > Edge Effects > Enhance. Selections > Select None.
13 - Ative a cópia
do arquivo Deko-4. Edit > Paste as New Layer. Ativar a ferramenta Pick e configure: Position X: 0,00 - Position Y: -8,00 Pressione a tecla "M" para desativar a "Ferramenta Pick". Effects > Plugins > Simple > Top Left Mirror: "não há configurações"
Effects > 3D Effects > Drop Shadow: color: #000000 (preto)
Ative a cópia do arquivo
Deko-5. Edit > Paste as New Layer. Layers > Arrange > Move Down. Effects > 3D Effects > Drop Shadow: color: #000000 (preto)
14 - Image > Add Borders > Symmetric: 2 px - Cor escura do Background. Image > Resize > By Pixel > Width: 1000px, resize all layers marcado. Adjust > Sharpness > Sharpen.
Aplicar marca da autora e tradutora, sua marca d'água ou assinatura. File > Export > JPEG Optimizer...
Formatação, Arte Final e Tradução by Moderação SIM PSP Tutorial "Happy Birthday SIM" by Inge-Lore AI Tube: by Gerdas Creationen Outros Materiais fornecido no tutorial por Inge-Lore
Versão by Marcinha - Owner SIM PSP
Crédtios: Versão e Arte Final by Márcinha Tubes AI Generated by CAZ Outros Materiais fornecido no tutorial por Inge-Lore
Versão by Soxikibem - Owner SIM PSP
Crédtios: Imagens Pinterest Tubed by Pqna&Alice
Agradecimento à Inge-Lore
|