|
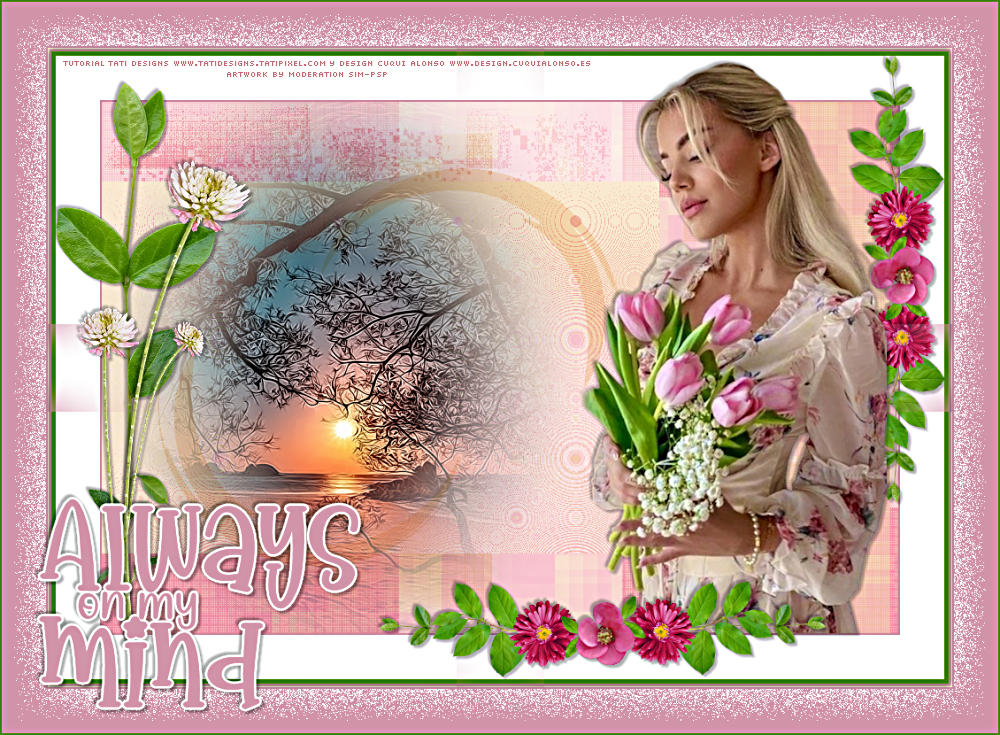
Tutorial by
Cuqui Alonso Design and
Tati Designs
Author's Note: The files with initials "CAD" (Cuqui
Alonso Design) and "TD" (Tati Designs) are material created
by
MATERIAL: Download the material used here:
PLUGINS
<Bkg Designer Sf10II> > Hinzeberg's Mirror 2*
IMPORTANT
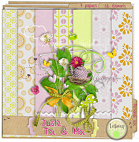
The FTU scrap "Juste Toi & Moi" is from "Letiscrap".
Landscape Misted by
Nena Silva
PREPARATION:
*
Duplicate the tubes. Close the originals. * In the "Brush" folder, there are 2 files. Save them in the "Brushes" folder in your PSP. * In the "Selections" folder, there are 2 files. Save them in the "Selections" folder in your PSP.
If using other colors, you should change the Blend Mode and the Opacity of the layers.
01- Open a new 900 x 600 pixel transparent image.
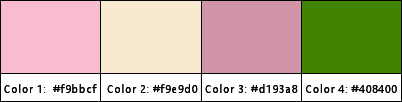
02- In your Materials palette:
Foreground Color: (1) #f9bbcf
03- In your material palette, form a Linear Gradient with the colors:
Fill the transparent image with the Gradient.
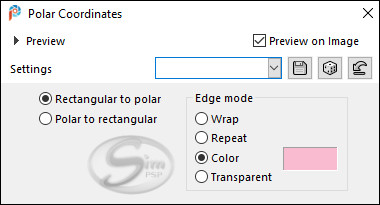
04- Effects > Distortion Effects > Polar Coordinates: Color: (1) #f9bbcf
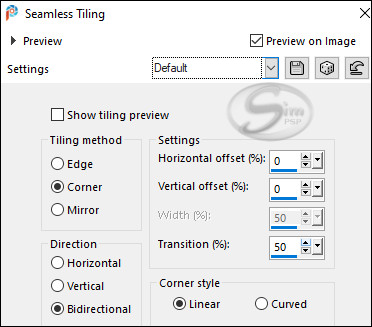
05- Effects > Image Effects > Seamless Tiling: Default
06- Adjust > Blur > Gaussian Blur: 20
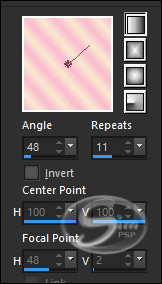
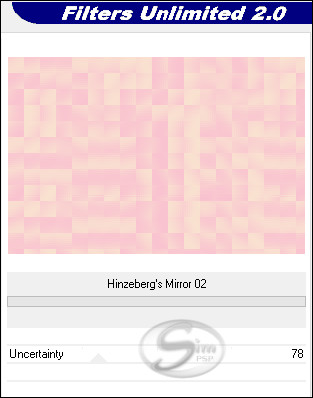
07- Effects > Plugins > Filters Unlimited 2.0 > &<Bkg Designer Sf10II> > Hinzeberg's Mirror 2:
08- Layers > New Raster Layer.
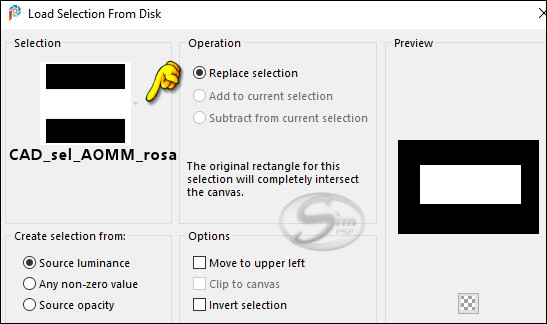
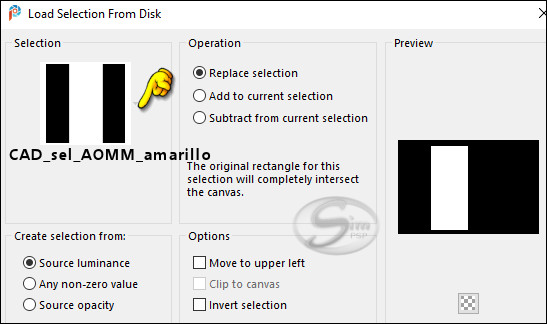
09- Selections > Load/Save Selections > Load Selection From Disk: "CAD_sel_AOMM_rosa"
Paint this selection with the foreground color: #f9bbcf
10- Selections > Select None.
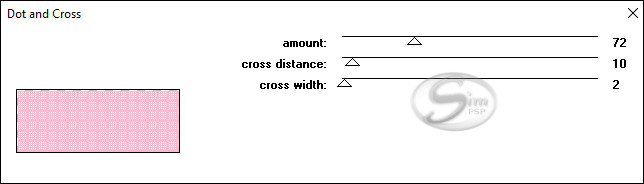
11- Effects > Plugins > penta.com > dot and cross:
12- Layers > New Raster Layer.
13- Selections > Load/Save Selections > Load Selection From Disk: "CAD_sel_AOMM_rosa"
Paint this selection with the background color: #f9e9d0 Selections > Select None.
14- Effects > Plugins > penta.com > dot and cross:
15- Layers > Merge > Merge Down.
16- Effects > Image Effects > Seamless Tiling: Default
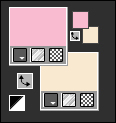
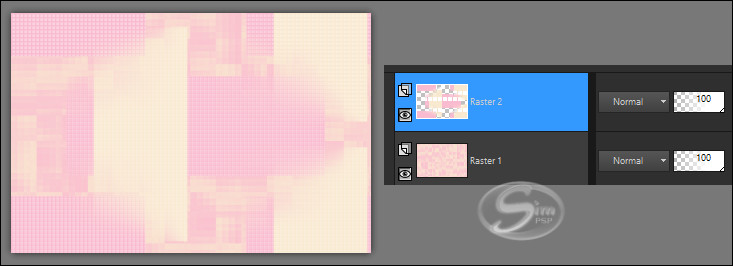
Do you have anything similar to this right now:
17- Selections > Load/Save Selections > Load Selection From Disk: "CAD_sel_AOMM_rosa"
Press the DELETE key on your keyboard.
18- Selections > Select None.
19- Layers > Properties > General > Blend Mode: Multiply
20- Layers > Merge > Merge Visibile.
21- Layers > Duplicate.
22- Image> Resize: 70% - all layers unchecked.
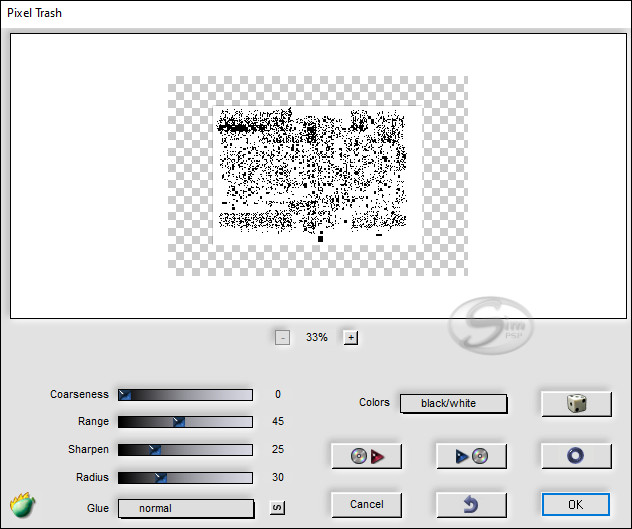
23- Effects > Plugins > Flaming Pear > Pixel trash:
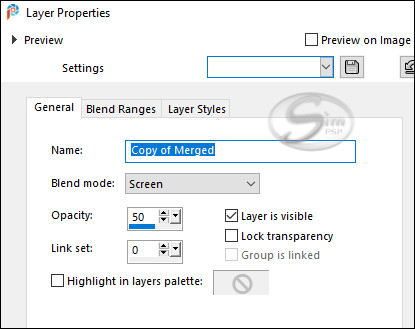
Layers > Properties > General > Blend Mode: Screen - Opacity: 50
24- Objects > Align > Top.
25- Objects > Align > Left.
26- Layers > Merge > Merge Visibile. Layers > Duplicate.
27- Image> Resize: 70% - all layers unchecked.
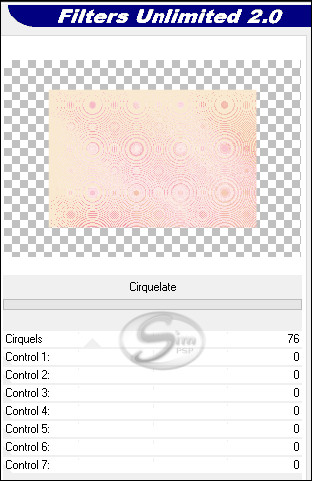
28- Effects > Plugins > Filters Unlimited 2.0 > Funhouse > Cirquelate:
29- Layers > Properties > General > Blend Mode: Multiply
30- Activate the "Pick" Tool (K) and modify the X (0.00) and Y (90.00) positions.
Press "M" KEY to disable Pick Tool.
31- Open the tube "vvs-paisagem0544" and copy it.
32- Image> Resize: 70% - all layers unchecked.
33- Activate the "Pick" Tool (K) and modify the X (0.00) and Y (-58.00) positions. Press "M" KEY to disable Pick Tool.
34- Layers > New Raster Layer.
35- Paint that layer with the background color: #f9e9d0.
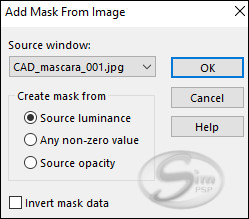
36- Layers > New Mask Layer > From image: "CAD_mascara_001"
37- Layers > Merge > Merge Group. Layers > Properties > General > Blend Mode: Multiply
38- Borders: Image > Add Borders > Symmetric: 2 px - Color (3) #d193a8 Image > Add Borders > Symmetric: 50 px - color #ffffff (White)
39- Adding scrapbook elements...
40- Open the image "letiscrap_justetoietmoi_25".
Edit > Copy. Image > Resize: 20% - all layers unchecked.
Adjust > Sharpness > Sharpen. Press "M" KEY to disable Pick Tool. Effects > 3D Effects > Drop Shadow: -3 / -3/ 30 / 3 / Color: #000000 (Black) Effects > 3D Effects > Drop Shadow: 3 / 3/ 30 / 3 / Color: #000000 (Black)
41- Open the image "letiscrap_justetoietmoi_31".
Edit > Copy. Image > Resize: 20% - all layers unchecked.
Adjust > Sharpness > Sharpen. Press "M" KEY to disable Pick Tool. Effects > 3D Effects > Drop Shadow: -3 / -3/ 30 / 3 / Color: #000000 (Black) Effects > 3D Effects > Drop Shadow: 3 / 3/ 30 / 3 / Color: #000000 (Black)
42- Open the image "letiscrap_justetoietmoi_25".
Edit > Copy.
43- Image> Resize: 5% - all layers unchecked.
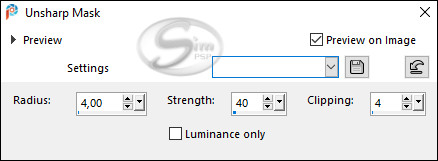
44- Adjust > Sharpness > Unsharp Mask:
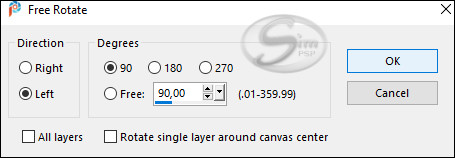
45- Image > Free Rotate: Left, 90, all layers unchecked.
46- Activate the "Pick" Tool (K) and modify the X (367.00) and Y (621.00) positions. Press "M" KEY to disable Pick Tool.
47- Open the image "letiscrap_justetoietmoi_22".
Edit > Copy.
48- Image> Resize: 5% - all layers unchecked.
49- Adjust > Sharpness > Unsharp Mask:
50- Image > Free Rotate: Left, 90, all layers unchecked.
51- Activate the "Pick" Tool (K) and modify the X (422.00) and Y (595.00) positions. Press "M" KEY to disable Pick Tool.
52- Open the image "letiscrap_justetoietmoi_4".
Edit > Copy.
53- Image> Resize: 5% - all layers unchecked.
54- Adjust > Sharpness > Unsharp Mask:
55- Activate the "Pick" Tool (K) and modify the X (513.00) and Y (615.00) positions. Press "M" KEY to disable Pick Tool.
56- Layers > Merge > Merge Down. Edit > Repeat > Layer Merge Down.
57- Layers > Duplicate.
58- Image > Mirror > Mirror Horizontal.
59- Activate the "Pick" Tool (K) and modify the X (646.00) and Y (593.00) positions. Press "M" KEY to disable Pick Tool.
60- Layers > Merge > Merge Down.
61- Open the image "letiscrap_justetoietmoi_24".
Edit > Copy.
62- Image> Resize: 5% - all layers unchecked.
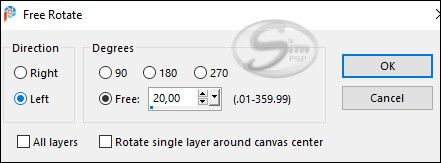
63- Image > Free Rotate: Left, 20, all layers unchecked.
64- Adjust > Sharpness > Unsharp Mask:
65- Activate the "Pick" Tool (K) and modify the X (638.00) and Y (610.00) positions. Press "M" KEY to disable Pick Tool.
66- Open the image "letiscrap_justetoietmoi_24".
Edit > Copy.
67- Image> Resize: 5% - all layers unchecked.
68- Adjust > Sharpness > Unsharp Mask:
69- Image > Mirror > Mirror Horizontal.
70- Activate the "Pick" Tool (K) and modify the X (571.00) and Y (633.00) positions. Press "M" KEY to disable Pick Tool.
71- Open the image "letiscrap_justetoietmoi_24".
Edit > Copy.
72- Image> Resize: 5% - all layers unchecked.
73- Adjust > Sharpness > Unsharp Mask:
74- Activate the "Pick" Tool (K) and modify the X (588.00) and Y (616.00) positions. Press "M" KEY to disable Pick Tool.
75- Layers > Merge > Merge Down three times.
76- Layers > Duplicate.
77- Image > Free Rotate: Left, 90, all layers unchecked.
78- Activate the "Pick" Tool (K) and modify the X (897.00) and Y (00.00) positions. Press "M" KEY to disable Pick Tool.
79- Add shadow to these two floral compositions: Effects > 3D Effects > Drop Shadow: -3 / -3/ 30 / 3 / Color: #000000 (Black) Effects > 3D Effects > Drop Shadow: 3 / 3/ 30 / 3 / Color: #000000 (Black)
80- Open the image "CAD_mujeres_007".
Edit > Copy.
81- Image> Resize: 108% - all layers unchecked.
82- Activate the "Pick" Tool (K) and modify the X (594.00) and Y (06.00) positions. Press "M" KEY to disable Pick Tool.
83- Effects > 3D Effects > Drop Shadow: -3 / -3/ 30 / 3 / Color: #000000 (Black) Effects > 3D Effects > Drop Shadow: 3 / 3/ 30 / 3 / Color: #000000 (Black)
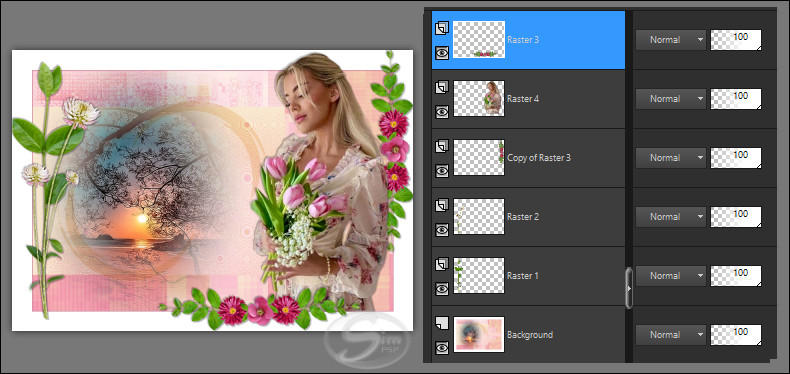
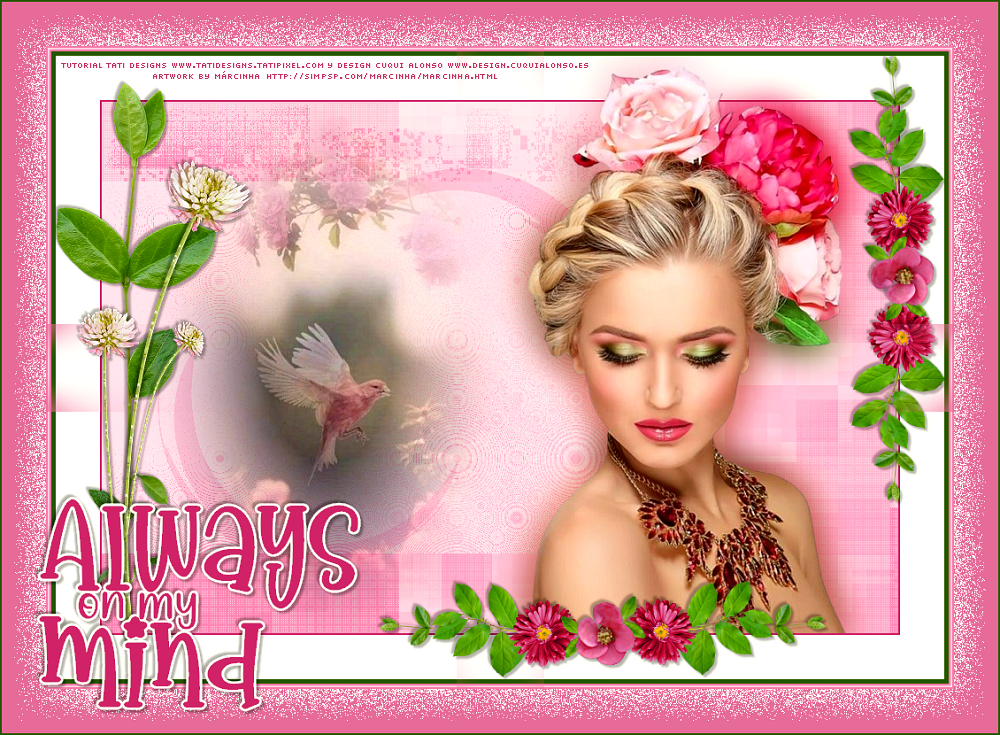
84- Activate the Raster 3 layer. Layers > Arrange > Bring to Top. Here is the result and the layer order:
85- Image > Add Borders > Symmetric: 5 px - color (4) #408400 Image > Add Borders > Symmetric: 2 px - color (3) #d193a8 Image > Add Borders > Symmetric: 2 px - color (2) #f9e9d0 Image > Add Borders > Symmetric: 2 px - color (3) #d193a8 Image > Add Borders > Symmetric: 50 px - color #ffffff (White)
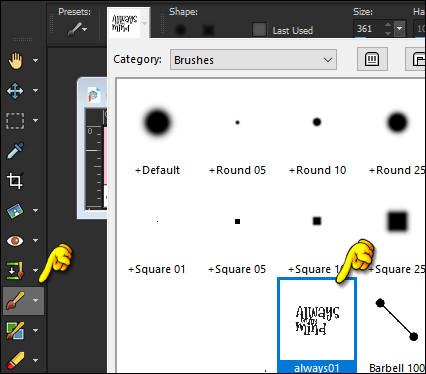
86- Activate the "Brush" (B) tool and select the supplied brush "always01" with its default settings:
87- Layers > New Raster Layer.
88- Select a dark color from your palette and apply the brush to any part of your artwork.
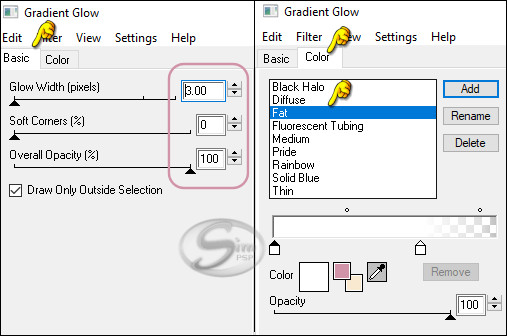
89- Effects > Plugins > EyeCandy 4000 > Gradient Glow:
90- Activate the "Pick" Tool (K) and modify the X (37.00) and Y (559.00) positions. Press "M" KEY to disable Pick Tool.
91- Effects > 3D Effects > Drop Shadow: -3 / -3/ 30 / 3 / Color: #000000 (Black) Effects > 3D Effects > Drop Shadow: 3 / 3/ 30 / 3 / Color: #000000 (Black)
92- Activate the Background layer.
93- With magic wand tool: Tolerance and Feather: 0,
94- Layers > New Raster Layer.
95- Effects > Image Effects > Seamless Tiling: Default
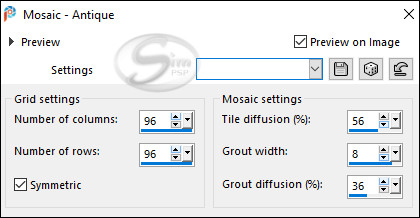
96- Effects > Texture Effects > Mosaic - Antique:
97- Selections > Select All.
98- Selections > Modify > Contract: 55
99- Effects > 3D Effects > Drop Shadow: 0 / 0/ 80 / 10 / Color: #000000 (Black)
100- Selections > Select All.
101- Image > Add Borders > Symmetric: 2 px - color (4) #408400
102- Image > Resize > By Pixels > 1000 Width (Checked "Resize All Layers").
103- Edit > Copy the "©Tutorial_DesignCuquiAlonso"
*If you need to change the color, you can use the "Color Changer" tool Position of your choice. Add tube © if necessary. Apply your watermark or signature. File > Export > JPEG Optimizer.
CREDITS: Landscape Misted: by Nena Silva FTU scrap "Juste Toi & Moi" is from "Letiscrap" Other Materials by Cuqui Alonso Design
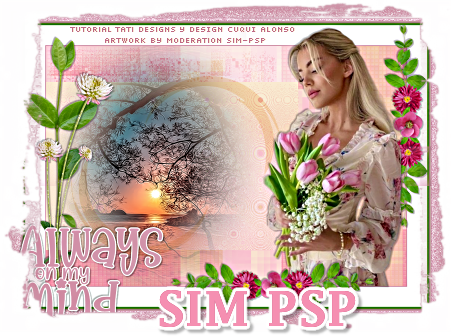
Versão by Márcinha - Owner SIM PSP
CREDITS: Tutorial by Tati Designs and Cuqui Alonso Design - Art by Márcinha - Main Tube and Landscape Misted: Tubed by Pqna&Alice - FTU scrap "Juste Toi & Moi" is from "Letiscrap"
Feel free to send your versions.
|