|
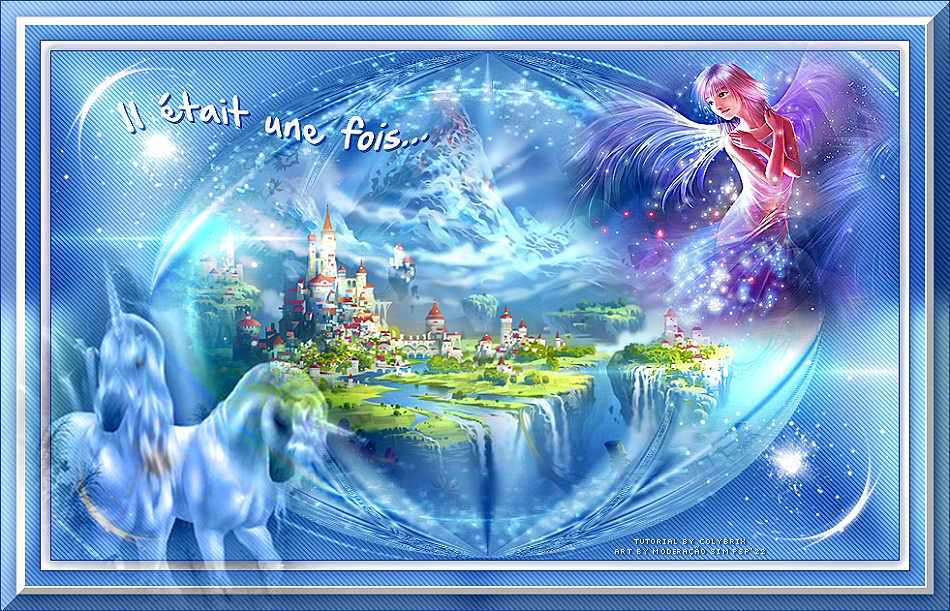
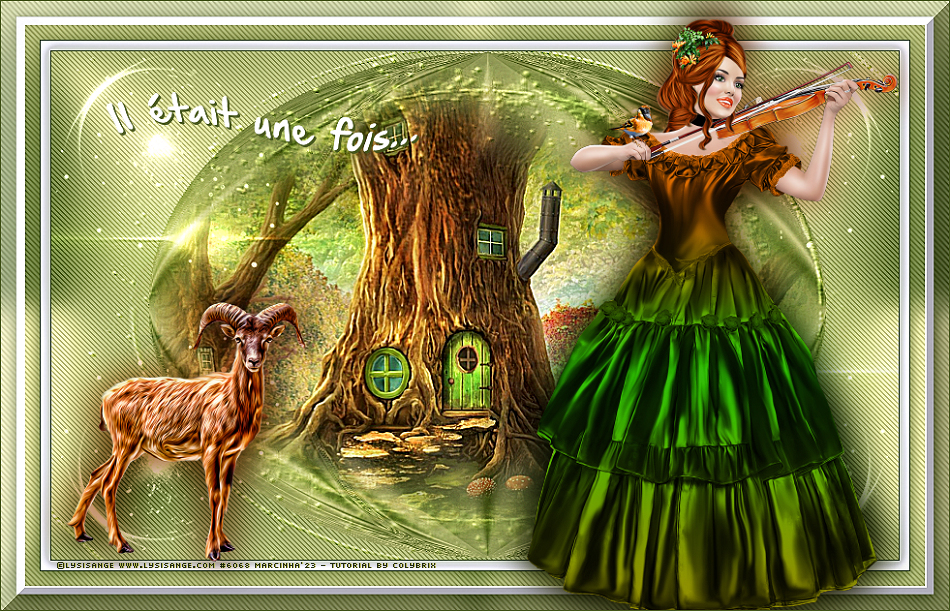
Tutorial Il était une fois by Colybrix Traduzido para o Português pela Moderação do SIM PSP Tutorial Original:
MATERIAL Masks: by Narah Demais materiais by Colybrix
PLUGINS
Carolaine and Sensibility > CS-DLines
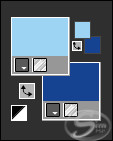
CORES: Escolher 3 cores para trabalhar
Cor 1 -
Foreground: #9ed4f3
TUTORIAL
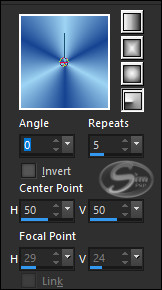
01 - Abrir o material no PSP, duplique e feche o original. Abra uma transparência de 875 x 525px. Pintar a transparência com um gradiente Radial formado pelas cores 1 e 2:
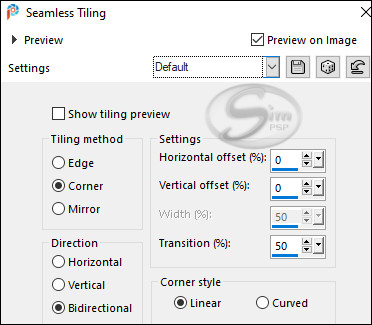
02 - Adjust > Blur > Gaussian Blur: 10 Effects > Image Effects > Seamless Tiling: Default
Repetir Adjust > Blur > Gaussian Blur: 10
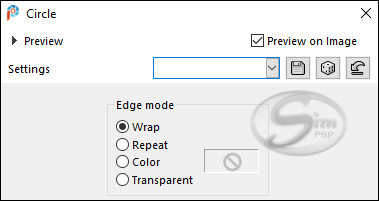
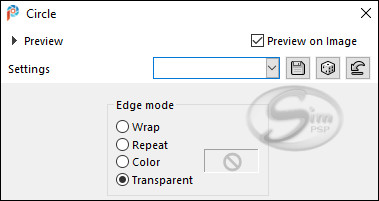
03 - Layers > Duplicate. Effects > Geometric Effects > Circle: Wrap
Repetir Effects > Geometric Effects > Circle: Transparent
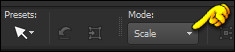
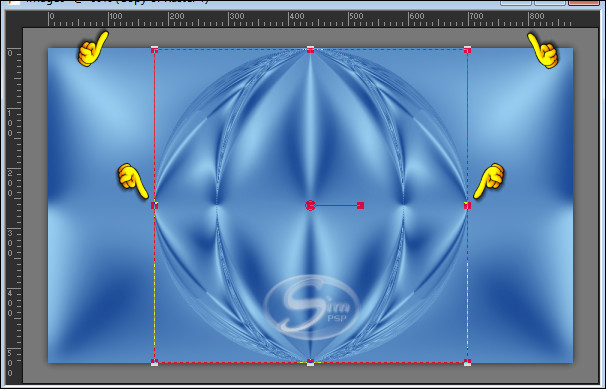
04 - Ativar a ferramenta "Pick Tool" (K): Mode: Scale
Puxar os nós centrais esquerdo e direito para a esquerda até 100 pixels e direita até 800pixels:
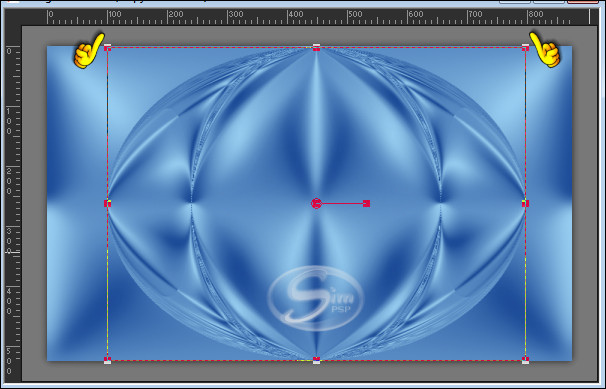
Resultado:
Pressionar a tecla "M" do teclado para sair da ferramenta Pick Tool. Effects > 3D Effects > Drop Shadow: 0 / 0 / 100 / 100 / Color: #174391(background)
05 - Layers > New Raster Layer. Selections > Select All. Ativar o tube mistfantasy20-coly. Edit > Copy. Volte a imagem que estamos trabalhando... Edit > Paste Into Selection. Selections > Select None. Ativar a ferramenta "Pick Tool" (K): Configure as posições: X (39,00) e Y (-7,00)
Pressionar a tecla "M" do teclado para sair da ferramenta Pick Tool. Nota: se usar outro misted centralize-o dentro do efeito da esfera.
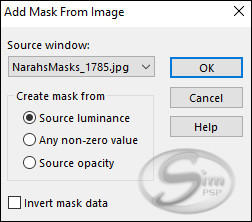
06 - Layers > New Raster Layer. Pintar com a cor 3: #ffffff (Branco) Layers > New Mask Layer > From image: NarahsMasks_1785
Effects > Edge effects > Enhance. Layers > Merge > Merge Group.
07 - Effects > 3D Effects > Drop Shadow: 2 / 2 / 100 / 0 / Color: #174391(background) Image> Resize: 110% - all layers desmarcado. Layers > Properties > General > Blend Mode: Overlay
08 - Ativar a layer Raster 1. Effects > Plugins > Carolaine and Sensibility > CS-DLines: Default
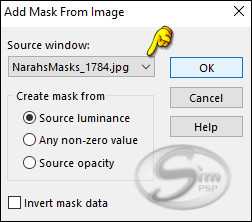
09- Ativar a layer Group - Raster 3 (camada do topo) Layers > New Raster Layer. Pintar com a cor 3: #ffffff (Branco) Layers > New Mask Layer > From image: NarahsMasks_1784
Effects > Edge effects > Enhance. Layers > Merge > Merge Group.
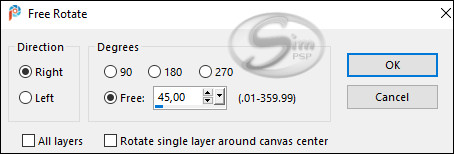
10 - Image> Resize: 50% - all layers desmarcado. Image > Free Rotate: Right, 45, all layers unchecked.
Ativar a ferramenta "Pick Tool" (K) Configure as posições: X (-1,00) e Y (-3,00) Pressionar a tecla "M" do teclado para sair da ferramenta Pick Tool.
11 - Effects > Plugins > Simple > Top Left Mirror.
12 - Ativar a layer Raster 1. Edit > Copy.
13 - Image > Add Borders > Symmetric: 1px Color: Cor 2 - Background: #174391 Selections > Select All. Image > Add Borders > Symmetric: 10px Color: Cor 3 #ffffff (branco) Effects > 3D Effects > Drop Shadow: 0 / 0 / 75 / 15 / Color: Cor 2 - Background: #174391 Selections > Select None.
14 - Image > Add Borders > Symmetric: 1px Color: Cor 2 - Background: #174391 Selections > Select All. Image > Add Borders > Symmetric: 15px qualquer cor.
15 - Selections > Invert. Edit > Paste Into Selection. (Imagem da raster 1 que está na memória) Selections > Invert. Effects > 3D Effects > Drop Shadow: 0 / 0 / 75 / 20 / Color: Cor 2 - Background: #174391 Selections > Invert. Edit > Copy
16 - Selections > Select All. Image > Add Borders > Symmetric: 25px Color: Cor 3 #ffffff (branco) Selections > Invert. Edit > Paste Into Selection. Selections > Select None.
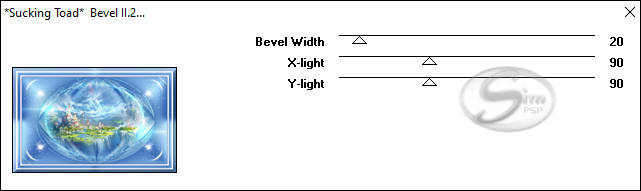
17 - Effects > Plugins > Toadies > *Sucking Toad* Bevel II.2:
18 - Ativar o misted mistFantasy1-coly.Edit > Copy. Voltar a imagem que estamos trabalhando... Edit > Paste a New Layer. Image> Resize: 75% - all layers desmarcado. Posicionar no superior à direita. Se você estiver usando um tube, adicione um Drop Shadow à sua escolha.
19 - Ativar o misted fantasyLicorne1-coly.Edit > Copy. Voltar a imagem que estamos trabalhando... Edit > Paste a New Layer. Image > Mirror > Mirror horizontal. Posicionar no canto inferior esquerdo. Layers > Properties > General > Blend Mode: Luminance (L) - (opcional) Layers > Duplicate (opcional) Effects > 3D Effects > Drop Shadow à sua escolha.
20 - Ativar o título titre blanc. Edit > Copy. Voltar a imagem que estamos trabalhando... Edit > Paste a New Layer. Mova o titulo para o canto superior esquerdo. Effects > 3D Effects > Drop Shadow: 1 / 1 / 100 / 0 / Color: Cor 2 - Background: #174391 Edit > Repeat > Drop Shadow:
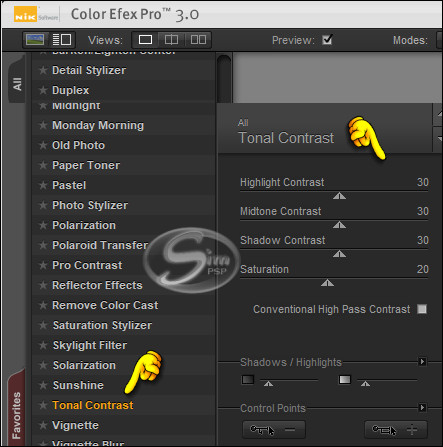
21 - Layers > Merge > Merge All. Effects > Plugins > Nik Software > Color Efex Pro - Tonal Contrast: Default
22 - Image > Add Borders > Symmetric: 1px Color: Cor 2 - Background: #174391
23 - Image > Resize > By Pixel > Width: 950px, resize all layers marcado. Adjust > Sharpness > Sharpen.
24- Aplicar sua marca d'água ou assinatura. File > Export > JPEG Optimizer.
CREDITOS: Tutorial Il était une fois by ColybrixTradução, Formatação e Art Final by Moderação SIM PSP Tubes e Misted: Tubed by Colybrix Mask: by Narah Mask
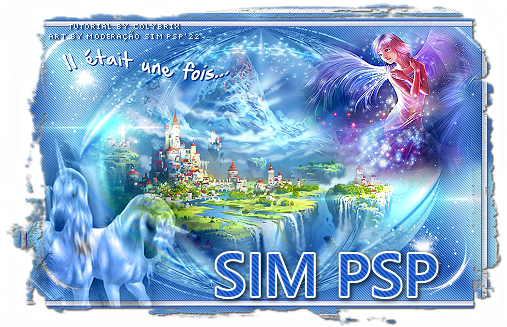
Versão by Marcinha - Owner SIM PSP
Créditos: Tubes: ©Lysisange #6068 - Misted: Tubed by Pqna&Alice
|