|
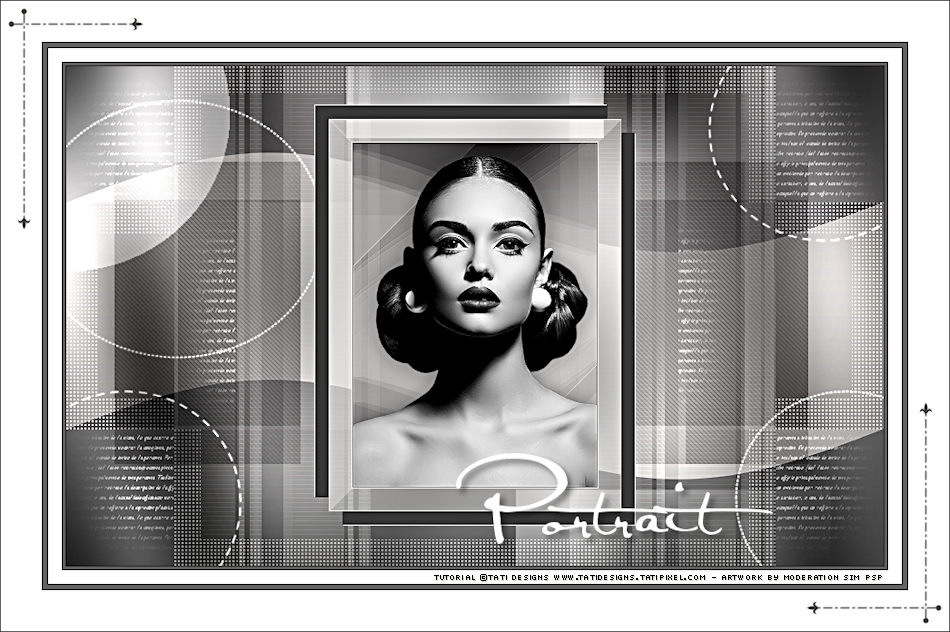
Tutorial by
Tati Designs
MATERIAL 1 Main Tube Mask: by Narah All other materials were created by Tati.
PLUGINS Graphics Plus > Cross Shadow Toadies > What are you? Carolaine and Sensibility > CS_DLines y cs-texture [AFS Import] > sqborder2 &<Background Designers IV > @Night Shadow ** Xero > Clarity ** Import this filter into Unlimited 2.0.
IMPORTANT
Colors
If using other colors, you should change the Blend Mode and the Opacity of the layers.
TUTORIAL
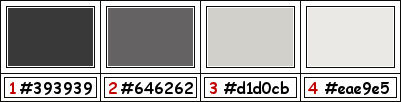
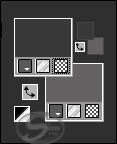
01- Open the material on the PSP, duplicate and close the original. In your Materials palette: Foreground color (1) #393939 Background color (2) #646262
Note: I recommend you choose matte colors for 1 and 2
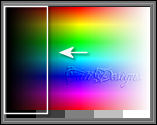
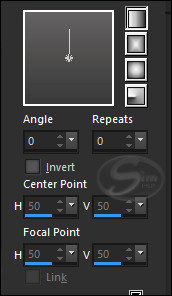
02- Click on the foreground color and prepare a "Foreground-background" gradient: Linear
03- Open the TD_Canal_Alfa_Portrait.pspimage file.
(This will be the basis for our work, which contains
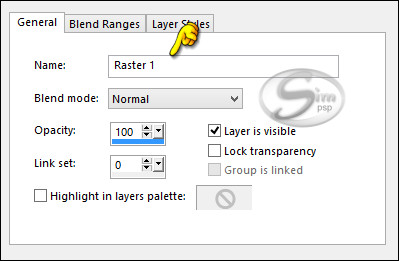
selections recorded on the alpha channel.) Layers > Properties > General > Name: Raster 1
04- Fill the transparent image with the Gradient.
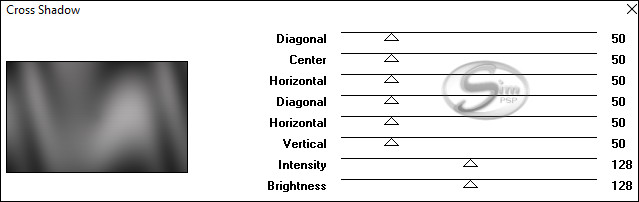
05- Effects > Plugins > Graphics Plus > Cross Shadow (Default):
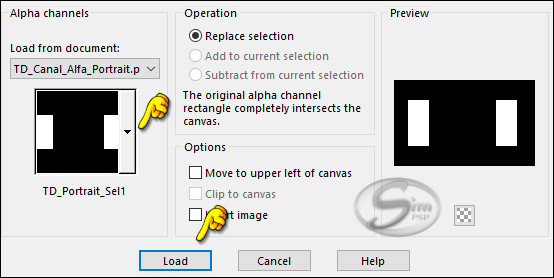
06- Selections > Load/Save Selections > Load Selection from Alpha Channel: TD_Portrait_Sel1
07- Selections > Promote Selection to layer.
08- Selections > Select None.
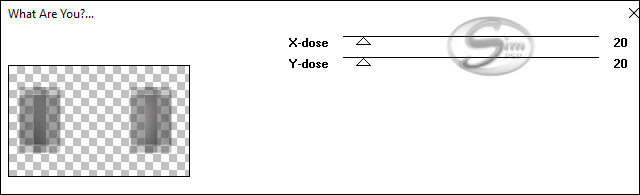
09- Effects > Plugins > Toadies > What are you? (Default):
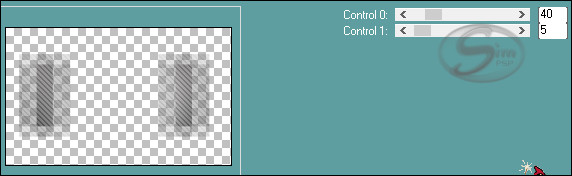
10- Effects > Plugins > Carolaine and Sensibility > CS_DLines (Default):
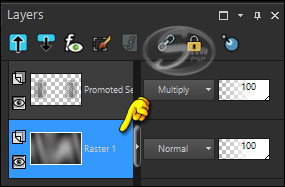
11- Layers > Properties > General > Blend Mode: Multiply
12- Activate the Background layer (Raster 1)
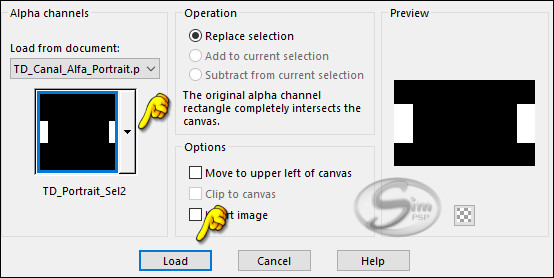
13- Selections > Load/Save Selections > Load Selection from Alpha Channel: TD_Portrait_Sel2
14- Selections > Promote Selection to layer.
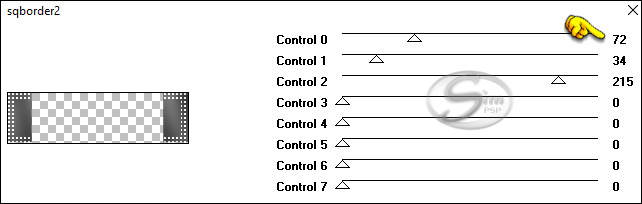
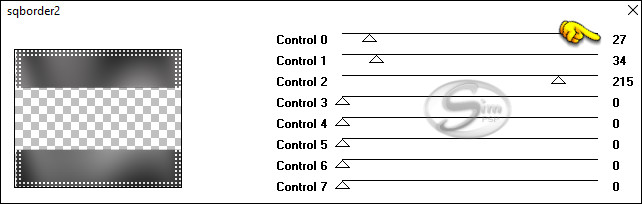
15- Effects > Plugins > [AFS Import] > sqborder2:
16- Selections > Select None.
17- Layers > Properties > General > Blend Mode: Overlay
18- Activate the Background layer (Raster 1)
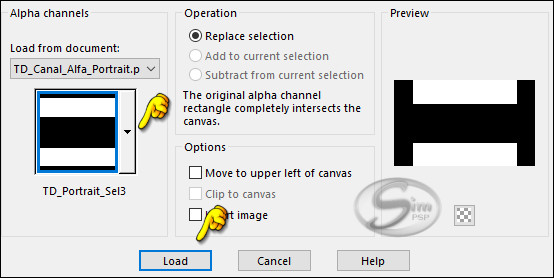
19- Selections > Load/Save Selections > Load Selection from Alpha Channel: TD_Portrait_Sel3
20- Selections > Promote Selection to layer.
21- Effects > Plugins > [AFS Import] > sqborder2:
22- Selections > Select None.
23- Layers > Properties > General > Blend Mode: Soft Light
24- Activate the Background layer (Raster 1)
25- Layers > New Raster Layer.
26- Selections > Load/Save Selections > Load Selection from Alpha Channel: TD_Portrait_Sel4
27- Activate Flood Fill Tool (F) and Set the Opacity to 50:
28- Fill in the color (4) #eae9e5 * Return to Fill Tool (F) for Opacity to 100.
29- Selections > Select None.
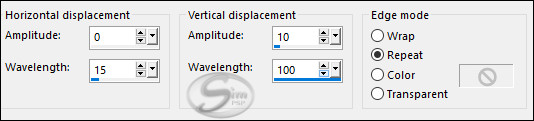
30- Effects > Distortion Effects > Wave:
31- Activate Top Layer (Promoted Selection)
32- Layers > New Raster Layer. Fill in the color (3) #d1d0cb
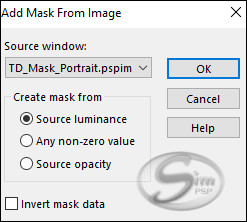
33- Layers > New Mask Layer > From image: TD_Mask_Portrait
Layers > Merge > Merge Group.
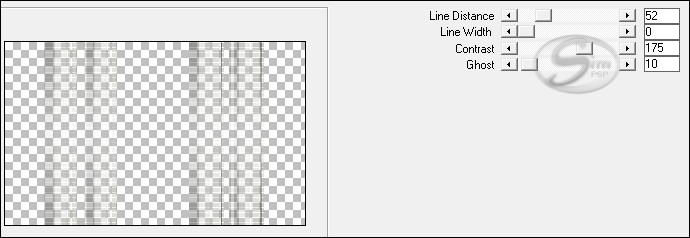
34- Effects > Plugins > Carolaine and Sensibility > cs-texture (Default):
35- Layers > Properties > General > Blend Mode: Soft Light
36- Edit > Copy the "TD_Deco1_Portrait" No need to Move!
37- Layers > Properties > General > Blend Mode: Screen - Opacity: 50%
38- Layers > New Raster Layer. Fill in the color (white) #ffffff
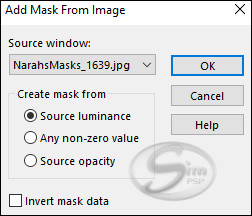
39- Layers > New Mask Layer > From image: NarahsMasks_1639
Layers > Merge > Merge Group.
40- Image > Mirror > Mirror Horizontal.
41- Layers > Merge > Merge Visibile.
42- Layers > New Raster Layer.
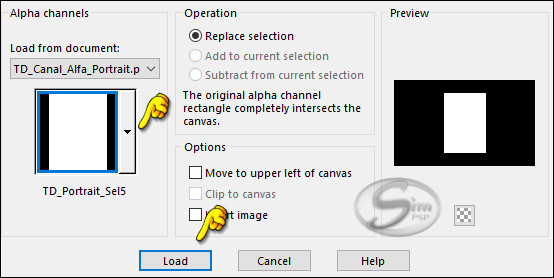
43- Selections > Load/Save Selections > Load Selection from Alpha Channel: TD_Portrait_Sel5
44- Fill the selection with the white color #ffffff
45- Selections > Modify > Contract: 1
46- Fill the selection with color (1) #393939
47- Selections > Modify > Contract: 1
48- Press the Delete key on the Keyboard.
49- Activate Layer Merged.
50- Selections > Promote Selection to layer.
51- Effects > Plugins > Toadies > What are you? (Default):
52- Selections > Promote Selection to layer.
53- Selections > Select None.
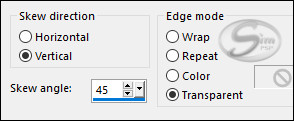
54- Effects > Geometric Effects > Skew.
55- Effects > Edge effects > Enhance.
56- Effects > 3D Effects > Drop Shadow: 15 / 15 / 50 / 0 / Color: (1) #393939
57- Layers > Properties > General > Blend Mode: Soft Light
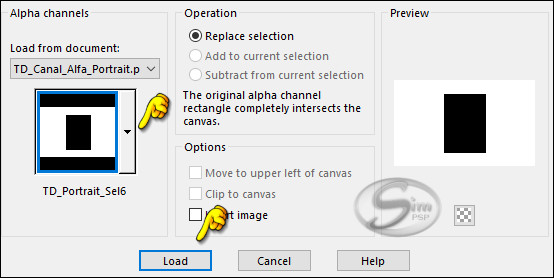
58- Selections > Load/Save Selections > Load Selection from Alpha Channel: TD_Portrait_Sel6
59- Press the Delete key on the Keyboard.
60- Selections > Select None.
61- Layers > Merge > Merge Down.
62- Open the tube "SuizaBella_Ref_AG-00691"
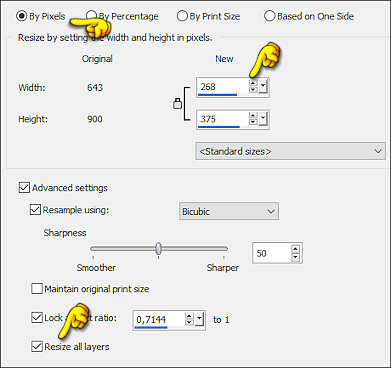
63- Image > Resize: 268 Pixels Width
64- Edit > Copy. Activate the working image. Edit > Paste as New Layer.
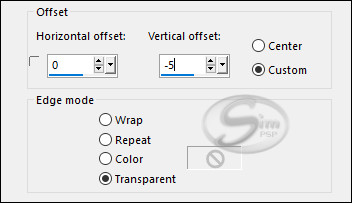
65- Effects > image Effects > Offset:
Note: This step is for this tube, place your tube on the bottom edge of the frame.
66- Adjust > Sharpness > Sharpen.
67- Effects > 3D Effects > Drop Shadow: 0 / 0 / 60 / 30, Color: (1) #393939
68- Selections > Load/Save Selections > Load Selection from Alpha Channel: TD_Portrait_Sel6
69- Press the Delete key on the Keyboard.
70- Selections > Select None.
71- Activate the top layer (Raster 1)
72- Layers > Merge > Merge Down. Edit > Repeat Layer Merge Down.
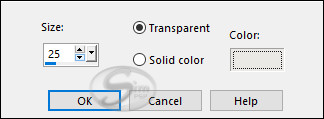
73- Effects > 3D Effects > Chisel: color (4) #eae9e5
74- Selections > Load/Save Selections > Load Selection from Alpha Channel: TD_Portrait_Sel7
75- Effects > 3D Effects > Drop Shadow: 16 / 16 / 100 / 0, Color: #ffffff
80- Activate the Background Layer (Merged)
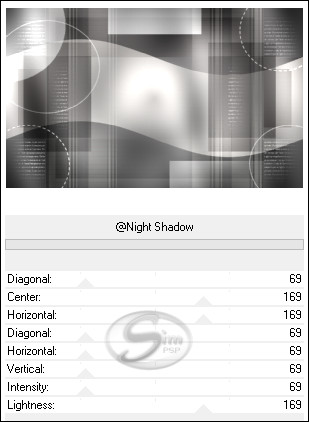
81- Effects > Plugins > I.C.NET Software > Filters Unlimited 2. > &<Background Designers IV: @Night Shadow: Default
82- Layers > Merge > Merge Visibile.
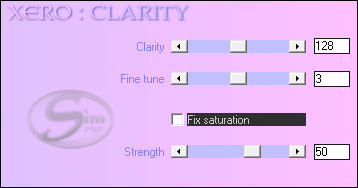
83- Effects > Plugins > Xero > Clarity (Default):
84- Image > Add Borders > Simmetric: 1 px - color Black or Color (1) #393939 Image > Add Borders > Simmetric: 3 px - color (2) #646262 Image > Add Borders > Simmetric: 1 px - color Black or Color (1) #393939 Image > Add Borders > Simmetric: 15 px - color #ffffff Image > Add Borders > Simmetric: 1 px - color Black or Colr (1) #393939 Image > Add Borders > Simmetric: 5 px - color (2) #646262 Image > Add Borders > Simmetric: 1 px - color Black or Color (1) #393939) Image > Add Borders > Simmetric: 45 px - color #ffffff
85- Open the tube "TD_Titulo_Portrait" Edit > Copy. Activate the working image. Edit > Paste as New Layer.
86- Activate the "Pick" Tool (K) and modify the positions of X (501.00) and Y (498.00)
87- Effects > 3D Effects > Drop Shadow: 5 / 5 / 50 / 10, Color: #000000
88- Open the tube "TD_Deco2_Portrait" Edit > Copy. Activate the working image. Edit > Paste as New Layer.
89- Activate the "Pick" Tool (K) and modify the positions of X (8.00) and Y (8.00)
90- Layers > Duplicate. Image > Mirror > Mirror Horizontal. Image > Mirror > Mirror Vertical.
91- Image > Add Borders > Simmetric: 1 px - Color (1) #393939)
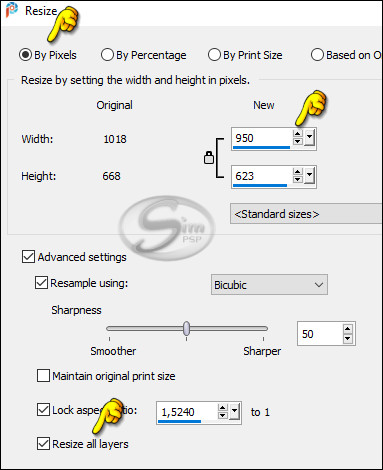
92 - Image > Resize > By Pixels > 950 Pixels Width - Resize All Layers Checked.
93
- Edit > Copy the "©Tutorial_TatiDesigns" *If you need to change the color, you can use the "Color Changer" tool Position of your choice.
94 - Apply your watermark or signature. File > Export > JPEG Optimizer.
CREDITS: Mask: Narah
Versão by Márcinha - Owner SIM PSP
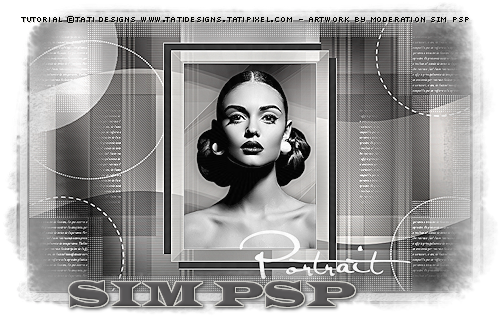
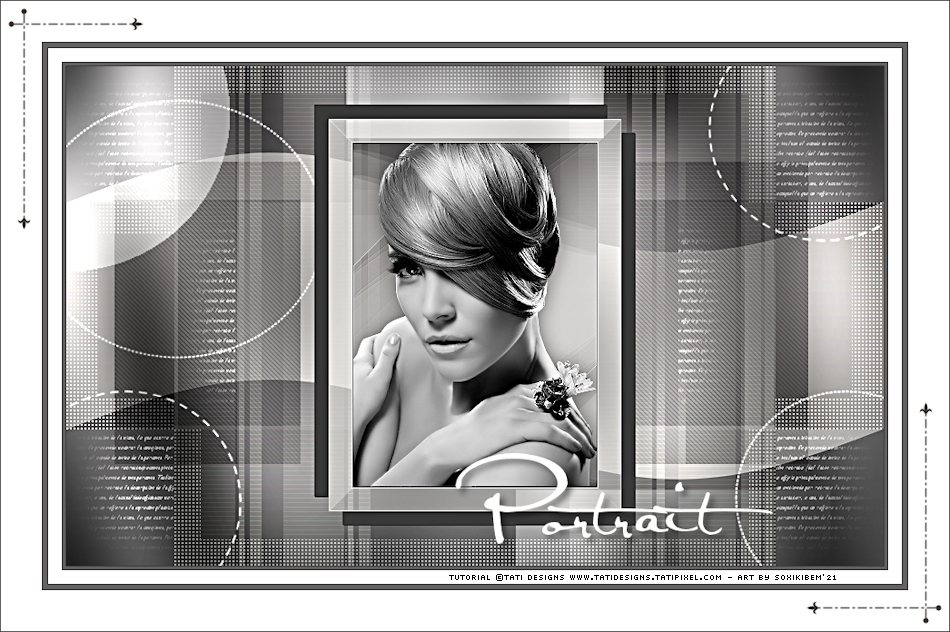
CREDITS: Art by Márcinha - Tutorial Portrait by Tati Designs - Main Tube: Tubed by SuizaBella
Versão by Soxikibem - Owner SIM PSP
CREDITS: Art by Soxikibem - Tutorial Portrait by Tati Designs - Main Tube: Tubed by Criss Linda Gatita
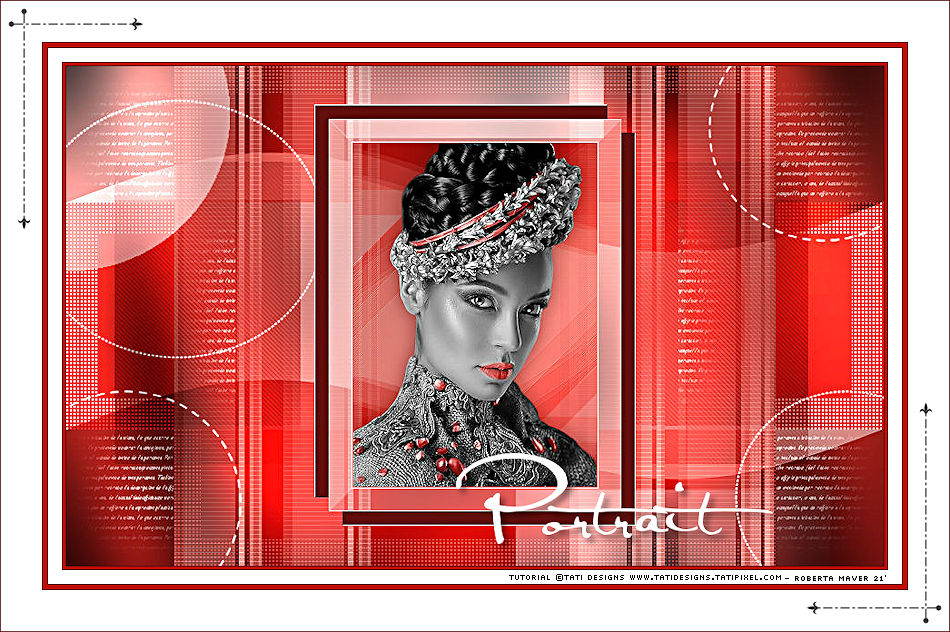
Versão by RobertaMaver - Moderação SIM PSP
CREDITS:
Art by
RobertaMaver -
Tutorial
Portrait by Tati Designs
- Main Tube: Tubed by
SuizaBella
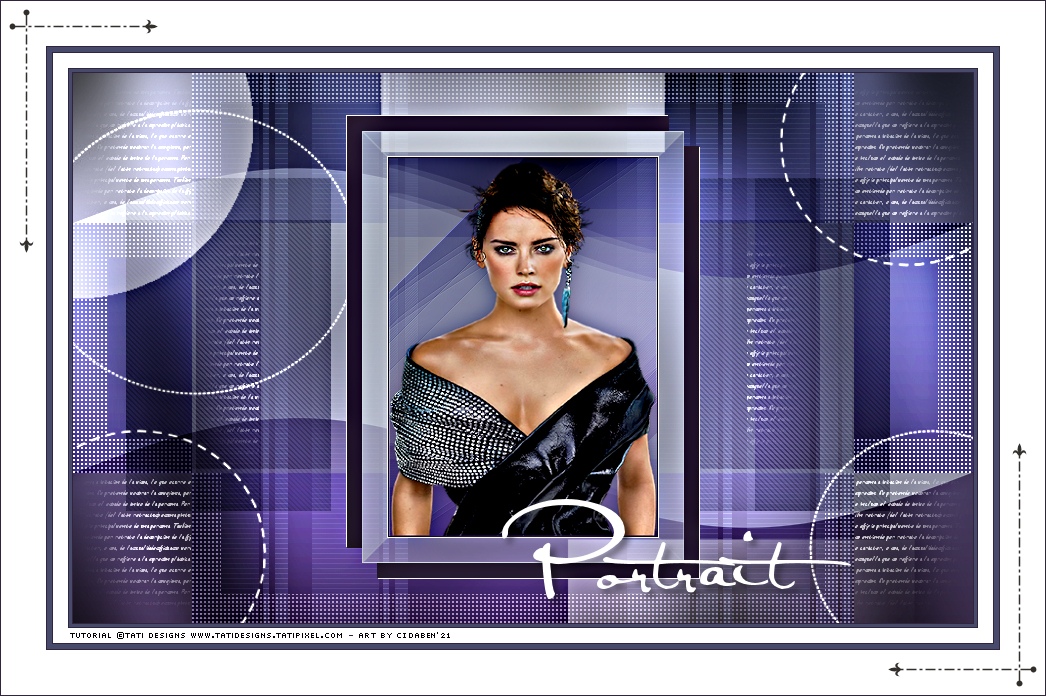
Versão by CidaBen - Moderação SIM PSP
Art by CidaBen - Tutorial Portrait by Tati Designs - Main Tube: Tubed by LuzCristina
Feel free to send your versions.
|